You've steamed the milk, pulled the coffee, and poured with care. Then the surface breaks apart: large bubbles gather at the rim, thin milk runs through the center, and the drink tastes hotter and flatter than expected. Learning how to make a good latte at home starts by treating milk as a working ingredient, not just something you heat and foam.
A reliable latte balances a concentrated coffee base with silky milk, restrained foam, and careful temperature control. The same principles work with a home espresso machine, a handheld frother, or a well-made instant coffee base.
Why Your Milk Foam Never Looks Like the Pictures
The familiar failure happens just after steaming. The milk looks airy in the pitcher, but as soon as it hits the cup, the foam separates into dry bubbles and a watery layer. You may blame the pour, yet the problem usually began earlier, when the milk absorbed too much air or reached the wrong temperature.
Microfoam depends on a delicate structure of protein, fat, water, and air. Milk proteins help surround and stabilize tiny air bubbles, while fat contributes body and a creamy impression. If the bubbles become large, the foam turns brittle and soapy. If the milk is barely aerated, it stays thin and sinks into the espresso instead of flowing like wet paint.
Milk choice changes the margin for error. Pasteurized whole milk tends to produce stable foam and a more uniform bubble distribution, particularly near 60°C, according to independent food-science research published by Food Hydrocolloids. Plant milks can work well, but their protein, fat, and stabilizer combinations vary, so a barista-style formulation usually behaves more predictably than an ordinary carton.
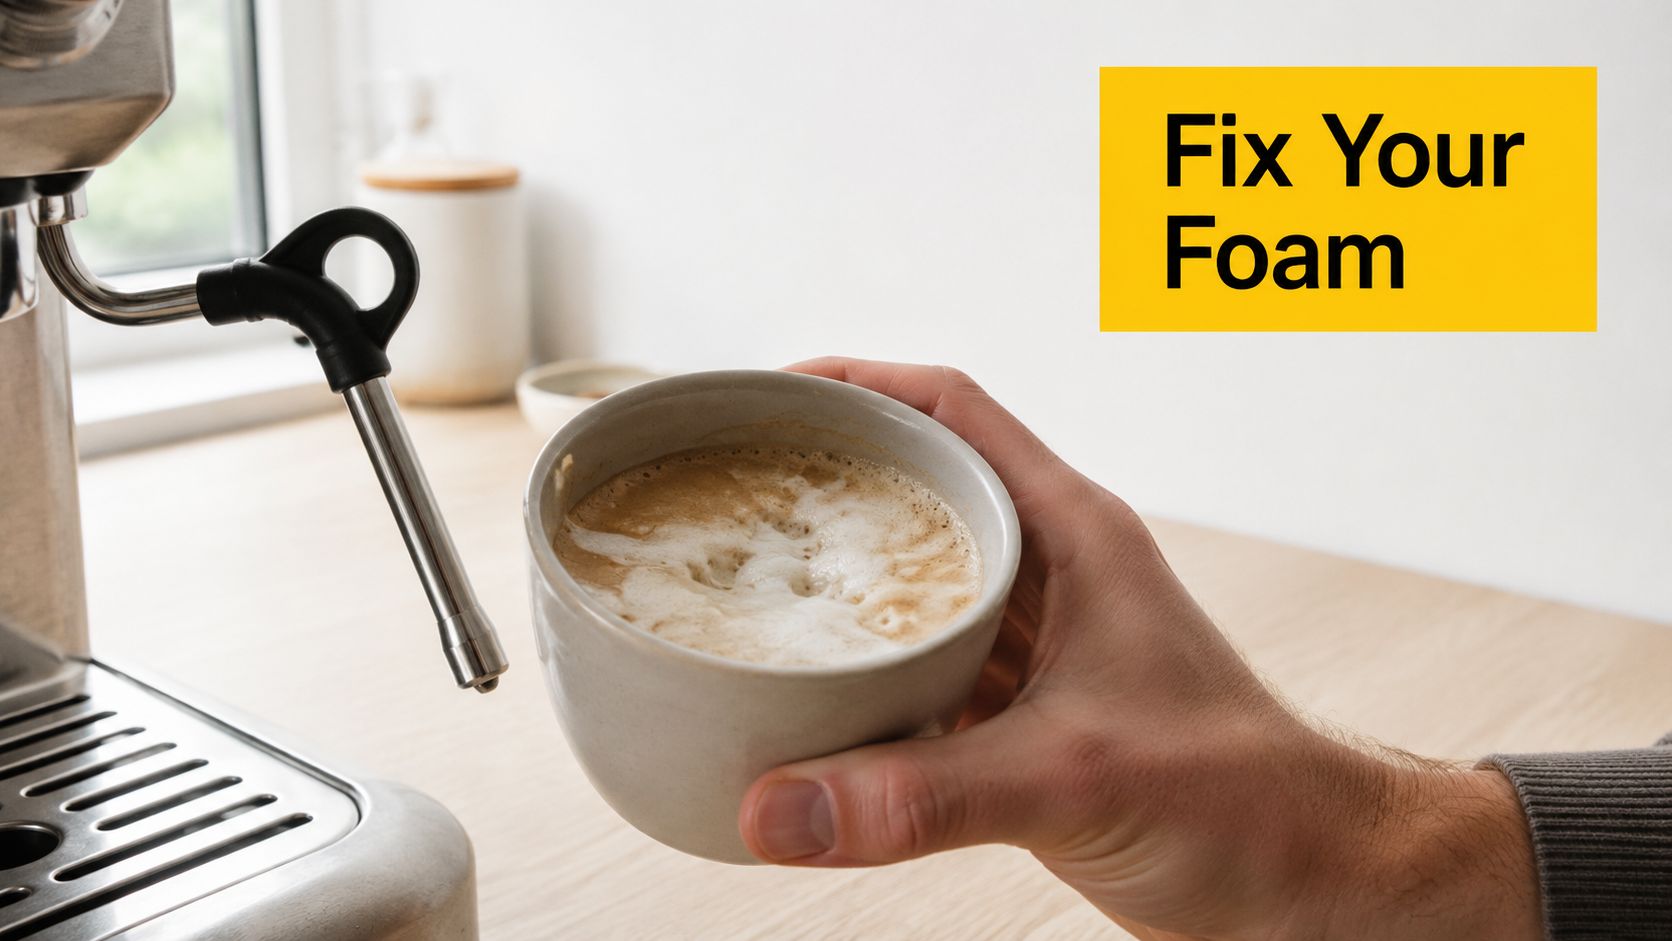
Think glossy, not fluffy
The best visual target isn't a mound of foam. It's a smooth, reflective surface that resembles wet paint or melted ice cream. A latte needs a thin layer of integrated microfoam, while a cappuccino relies on a much thicker, airier cap.
Practical rule: If the foam looks dry in the pitcher, it won't become silky in the cup.
Cold milk gives you more time to build texture before heat destabilizes the structure. Start with a clean, chilled pitcher and introduce air only briefly at the surface. Then lower the wand so the milk rolls in a vortex, breaking larger bubbles into smaller ones.
For a closer look at how milk selection affects pourability, the milk for latte art guide from AQEEK Coffee is a useful companion. Cartograph Coffee's guide to frothing milk for coffee also offers practical context for home equipment. The point isn't to copy a café gesture mechanically. It's to create milk whose structure remains cohesive long enough to blend with espresso and support a controlled pour.
The Temperature Window That Makes or Breaks a Latte
Milk temperature determines whether the proteins support a stable foam or the drink develops cooked flavors and weakened texture. The practical target sits around 60–65°C, while temperatures above roughly 70°C can produce bitter, grainy, or scalded notes as milk proteins denature and the foam destabilizes, as explained in this coffee milk-temperature guide.
The lower research window matters too. Independent testing found especially favorable steam-frothed dairy microfoam between 50–60°C, with pasteurized whole milk showing particularly stable behavior around 60°C. That doesn't contradict the broader service target. It shows why stopping slightly earlier can improve both texture and flavor, especially when the pitcher continues to heat briefly after steaming.
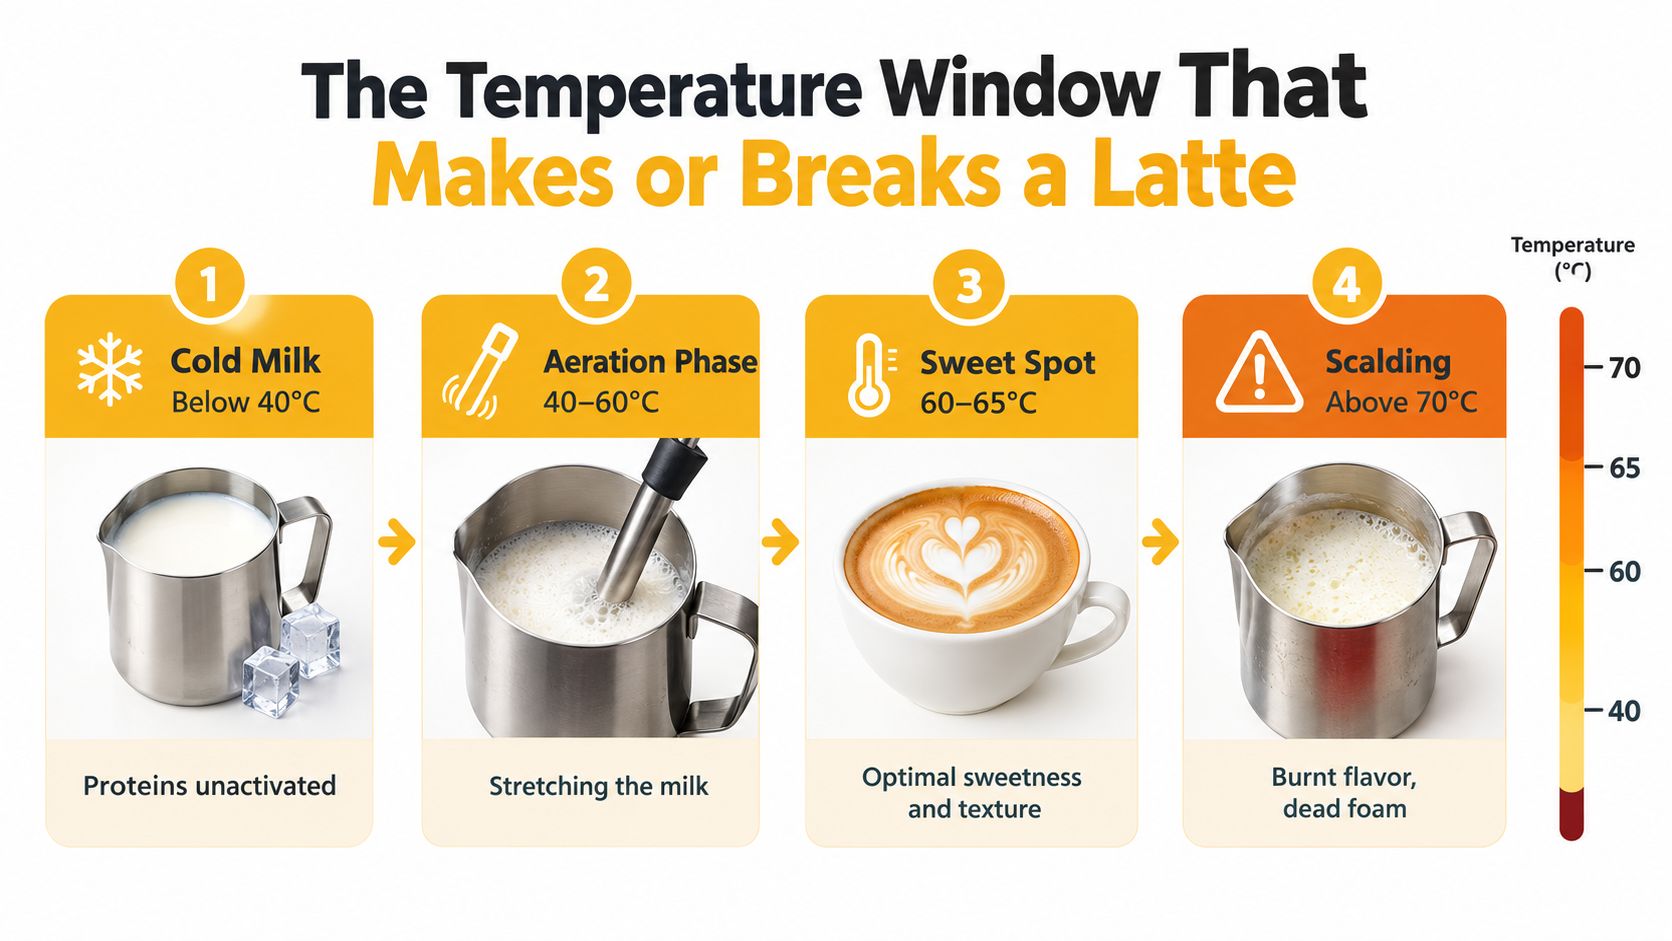
Steam in two distinct phases
1. Stretch the milk briefly. Place the wand tip just below the surface. You should hear a soft, intermittent hiss, not a loud roar. That sound indicates controlled air intake. Keep the pitcher angled so the milk begins to circulate rather than sitting still.
2. Build the vortex. Once you've introduced enough air, lower the pitcher slightly so the wand is submerged. The milk should roll smoothly, drawing visible bubbles into the liquid and refining them.
3. Stop before the milk screams. Use a thermometer if you have one, and stop within the target window. Without one, use the pitcher as a guide. When it becomes too hot to hold comfortably for more than a moment, you're close, so stop the steam and check your result rather than chasing a hotter drink.
The critical decision is stopping early. Milk continues to gain heat from the metal pitcher and steam wand, and pushing past the target can erase the sweetness you were trying to preserve. A proper coffee temperature guide can help you apply the same temperature discipline to the coffee side of the drink.
Why overheating tastes flat
Heat doesn't just make milk warmer. It changes the way the proteins behave and reduces the perception of natural sweetness. The foam may initially look abundant, but its bubbles become less stable and the finished latte can taste cooked rather than creamy.
Swirl the milk immediately after steaming. This polishes the texture, redistributes the foam, and buys you a short window to pour before the liquid separates.
Espresso or Instant Coffee Which Method Wins for Lattes
Espresso gives a latte its most concentrated coffee flavor, but it isn't the only route to a satisfying cup. The better method depends on whether you value layered extraction, speed, portability, or minimal equipment.
A traditional build uses roughly one part espresso to three parts steamed milk, often pairing a double shot with approximately 6–10 ounces of milk, plus a thin foam cap, according to Nuova Simonelli's milk research. That proportion gives espresso enough presence to survive dilution without turning the drink into a small cappuccino.
| Method | Flavor Profile | Equipment Needed | Best For |
|---|---|---|---|
| Espresso | Concentrated, layered, and often more persistent through milk | Espresso machine, grinder, and steaming setup | Weekend brewing and people who enjoy dialing in shots |
| Instant coffee | Clean, direct, and easy to adjust for strength | Kettle or saucepan, mug, and frother | Busy mornings, offices, travel, and small kitchens |
With espresso, grind consistency and extraction quality matter. A weak or uneven shot disappears under milk, while an overly bitter shot becomes more obvious when the drink is hot. Prepare the coffee first, keep the volume concentrated, and avoid filling the cup with excess water before adding milk.
Instant coffee works best when you treat it as a concentrated coffee base rather than a full mug of diluted coffee. Dissolve the powder in a small amount of hot water, then add steamed or frothed milk. A premium instant option such as Cartograph Coffee fits this format because it's designed for convenient preparation at home, at work, or outdoors.
For a practical instant method, follow Cartograph Coffee's guide to making a latte with instant coffee. If your workplace needs a dependable hot-water setup for this style of preparation, a resource such as Ring Hot Water office solutions is relevant because water access can shape the routine as much as the coffee itself.
The trade-off is straightforward. Espresso offers greater extraction complexity and a stronger café character. Instant coffee offers repeatability and speed, and it can still produce a balanced latte when the coffee base remains concentrated and the milk is textured carefully.
Steaming and Pouring Techniques for Perfect Microfoam
A good pour begins before the pitcher reaches the cup. Prepare the coffee in a warmed cup, then steam only the amount of milk you plan to use. The modern latte commonly combines one or two espresso shots with approximately 150–240 mL of microfoamed milk, using a restrained foam layer rather than the thick cap associated with a cappuccino, as described in this overview of café latte construction.
Build the texture
Hold the pitcher at a slight angle and keep the wand near one side of the milk. Start with the tip close enough to the surface to create a quiet paper-tearing sound. Too high, and the wand pulls in large bubbles. Too low, and it heats the milk without adding enough air.
After the brief aeration phase, submerge the tip and create a rolling vortex. The milk should look smooth rather than frothy, with no visible islands of foam. When the texture is ready, wipe and purge the wand immediately. Dried milk residue can damage hygiene and restrict steam performance.
Polish before pouring
Swirl the pitcher firmly. The surface should become glossy and the milk should move as one fluid mass. If large bubbles remain, tap the pitcher gently on the counter and swirl again. Don't scoop foam from the top. That separates the very structure you're trying to integrate.
Pour soon after polishing. Start from a moderate height so the milk sinks through the espresso and creates an even brown canvas. Keep the stream steady and rotate the cup slightly if you need to distribute the coffee and milk evenly.
Control the final shape
Lower the pitcher close to the surface when you're ready to place foam on top. A slower, fuller stream makes the white pattern appear. Pull the pitcher through the center at the end to finish a heart or simple leaf shape.
The goal isn't decorative complexity. A controlled pour proves that the foam has the right viscosity. If the white foam drops beneath the surface, the milk is too thin or the pour is too high. If it sits as a dry island, you created too much air or waited too long before pouring.
Plant-based milk may need a gentler approach because formulations vary. Oat milk often provides a creamy, forgiving texture, while almond milk can separate more readily. Use a barista formulation, keep aeration brief, and judge the result by gloss and flow rather than by volume.
Fixing Common Latte Mistakes Before They Ruin Your Cup
A failed latte usually leaves a recognizable pattern. Diagnose the pattern before changing several variables at once.
Thin, watery coffee
If the drink tastes like warm milk with a faint coffee note, the base is underpowered or the milk volume is too high. For espresso, check the grind and extraction before adding more foam. For instant coffee, dissolve the coffee in less water and build a concentrated base.
A classic latte generally sits around a 1:3 to 1:4 espresso-to-milk relationship, with milk around 140–150°F, or 60–65°C, according to this latte ratio and temperature guide. Use that as a starting point, then adjust the coffee strength rather than just adding sugar.
Flat, bitter foam
Bitter or cooked milk points to overheating. Once the milk passes the useful range, proteins lose stability and the flavor becomes less sweet. Stop steaming earlier, and remember that the pitcher retains heat after the steam stops.
Separated milk
Large bubbles and a watery lower layer usually mean insufficient vortexing, excessive aeration, or a delayed pour. Swirl immediately, tap out large bubbles, and pour while the milk still moves as a unified liquid.
Fresh milk also matters. If the aroma is sour or the texture behaves unusually despite careful technique, replace it before adjusting your entire process.
Adapting Your Latte for Different Lifestyles and Tastes
The same temperature and texture principles work across hot, iced, dairy, plant-based, and travel preparations. For an iced latte, keep the coffee base concentrated and pour it over ice before adding cold milk, otherwise melting ice can dilute the flavor quickly. For a hot latte, preserve the silky texture by stopping within the established temperature window.

Oat milk has become the default plant milk in cafés across the UK, US, and Australia, replacing almond in that role, while cold drinks account for roughly 70% of US coffee shop revenue and 68% of Gen Z prefer cold formats year-round, according to FoodNavigator's coffee and tea trend coverage. Those trends make an oat-based iced latte a practical choice, but taste should decide the final recipe.
For camping or office use, instant coffee and hot water remove the need for an espresso machine. If you brew regularly, keep water quality in the process too. A cafe water filter maintenance guide can help operators protect consistency when mineral buildup or stale filtration affects the water used for coffee.
Cartograph Coffee offers organic instant coffee for convenient preparation at home, work, and outdoors, making it a practical coffee base for the latte techniques described here. Visit Cartograph Coffee to explore its instant coffee options and make your next latte with a concentrated base and properly textured milk.