Use 2 grams of instant coffee dissolved in 60 milliliters of hot water, then add 180 to 200 milliliters of heated, frothed milk. Keep the coffee concentrate dense, pour the milk gently, and finish with only a thin foam layer.
You're standing at the kitchen counter with instant coffee, a mug, and no espresso machine. The first attempt often produces coffee-flavored milk: weak, bitter, or topped with bubbles that disappear before the first sip. The fix isn't expensive equipment. It's controlling concentration, milk temperature, and foam structure in the right order.
This method takes only a kettle, spoon, mug, and jar or frother. It also gives you a repeatable way to make a hot, iced, flavored, or lower-sugar latte that still tastes like coffee rather than warm milk.
Why Instant Coffee Can Make a Real Latte
A latte traditionally combines espresso, steamed milk, and a thin layer of foam. At home, the characteristics you taste are a concentrated coffee base, heated milk, and stable microfoam. Instant coffee removes the hardest part of the espresso setup, because the soluble granules can dissolve directly in a small amount of hot water.
That doesn't mean instant coffee is identical to espresso. A pulled shot has more viscous body and may carry a crema layer that instant coffee can't reproduce. Instant coffee can still work well when the concentrate stays small and strong, especially with a quality product whose flavor remains distinct beneath the milk.
The broader format is practical, not a novelty. The global instant coffee market was estimated at USD 80.2 billion in 2024, with one forecast projecting USD 110.28 billion by 2030 and a 5.4% CAGR from 2025 to 2030, according to Grand View Research's instant coffee market report. That scale helps explain why soluble coffee has become a useful base for people who want café-style drinks without brewing equipment.
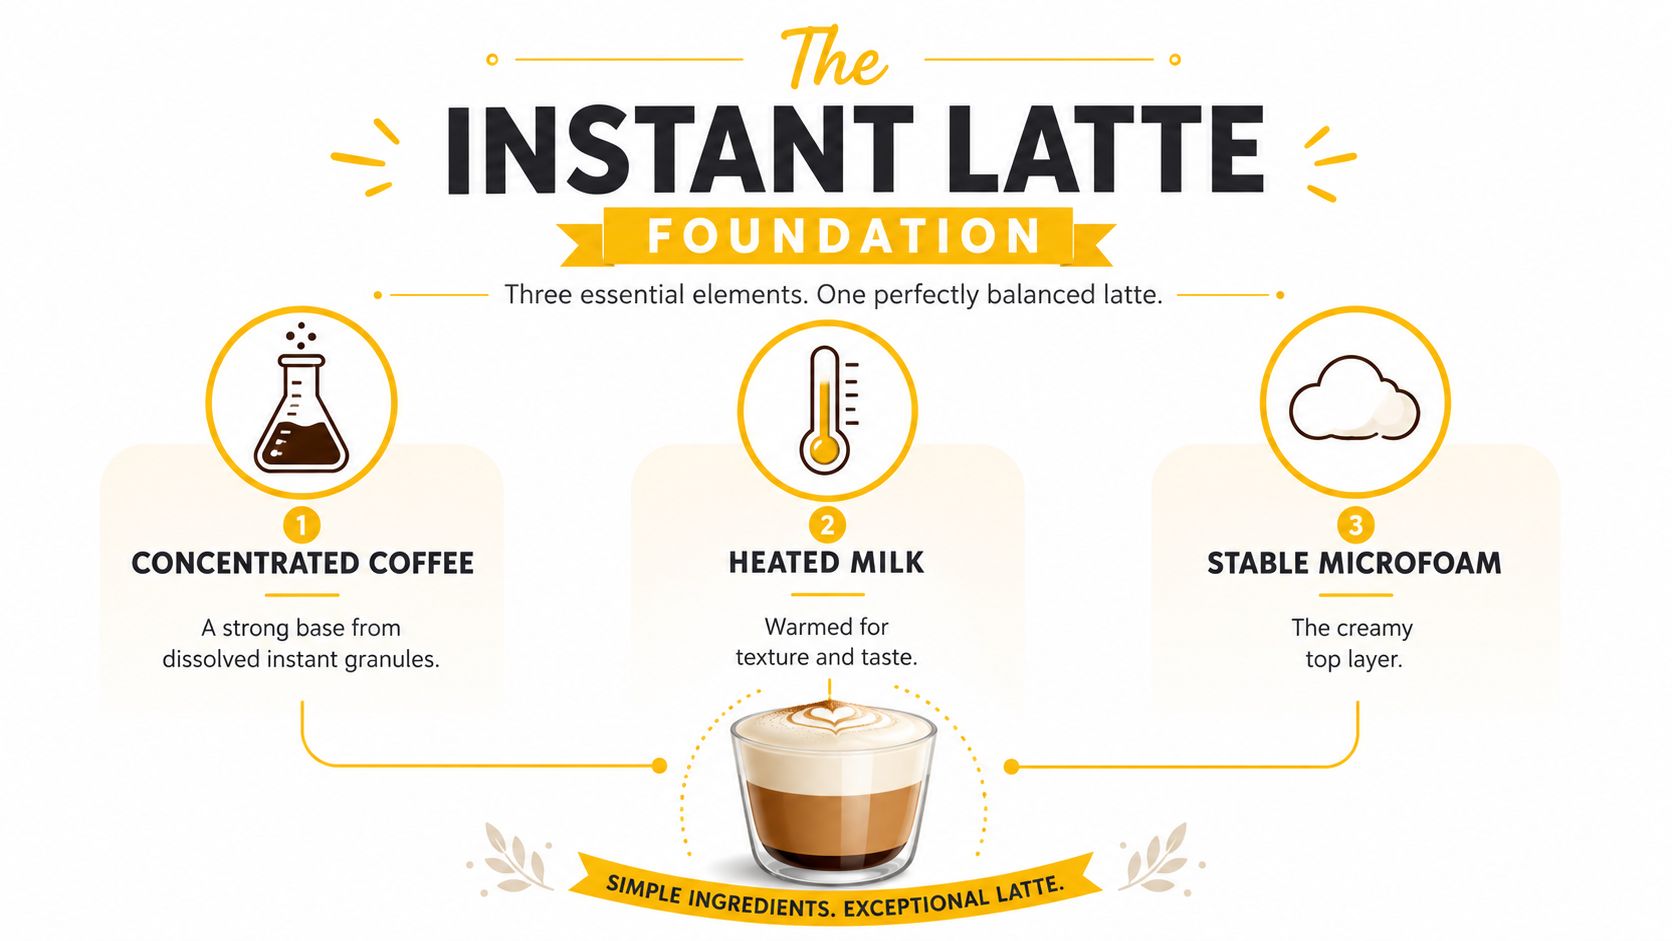
Practical rule: Don't try to make a latte by dissolving instant coffee in a full mug of water first. Build a short, intense coffee base, then let the milk provide the volume.
A dense base also gives you better control over sweetness. Sugar, syrup, or no sweetener at all becomes a deliberate choice rather than a rescue attempt for diluted coffee. For more background on the distinction between soluble coffee and brewed coffee, see Cartograph's explanation of whether instant coffee is real coffee.
Ingredients, Ratios, and Tools You Need
Set everything out before heating anything. A latte is easier to balance when the coffee, milk, mug, and frothing tool are ready at the same time.
For one 10 to 12 ounce serving, use:
- Instant coffee: 2 grams, or about 1 rounded teaspoon.
- Hot water: 60 milliliters at 175 to 185°F.
- Milk: 180 to 200 milliliters, depending on the size of your mug.
- Sweetener: Optional. Add it to the coffee concentrate, not the finished foam.
The water amount is intentionally modest. Recipe guidance converges around 1 to 2 teaspoons of instant coffee dissolved in roughly 1 to 2 tablespoons of hot water, creating a short espresso-style base before milk is added, as described in this instant coffee espresso-style method. A finished latte generally works best with a coffee-to-milk balance around 1:3 to 1:4 by volume, so too much dissolving water quickly turns the drink thin.
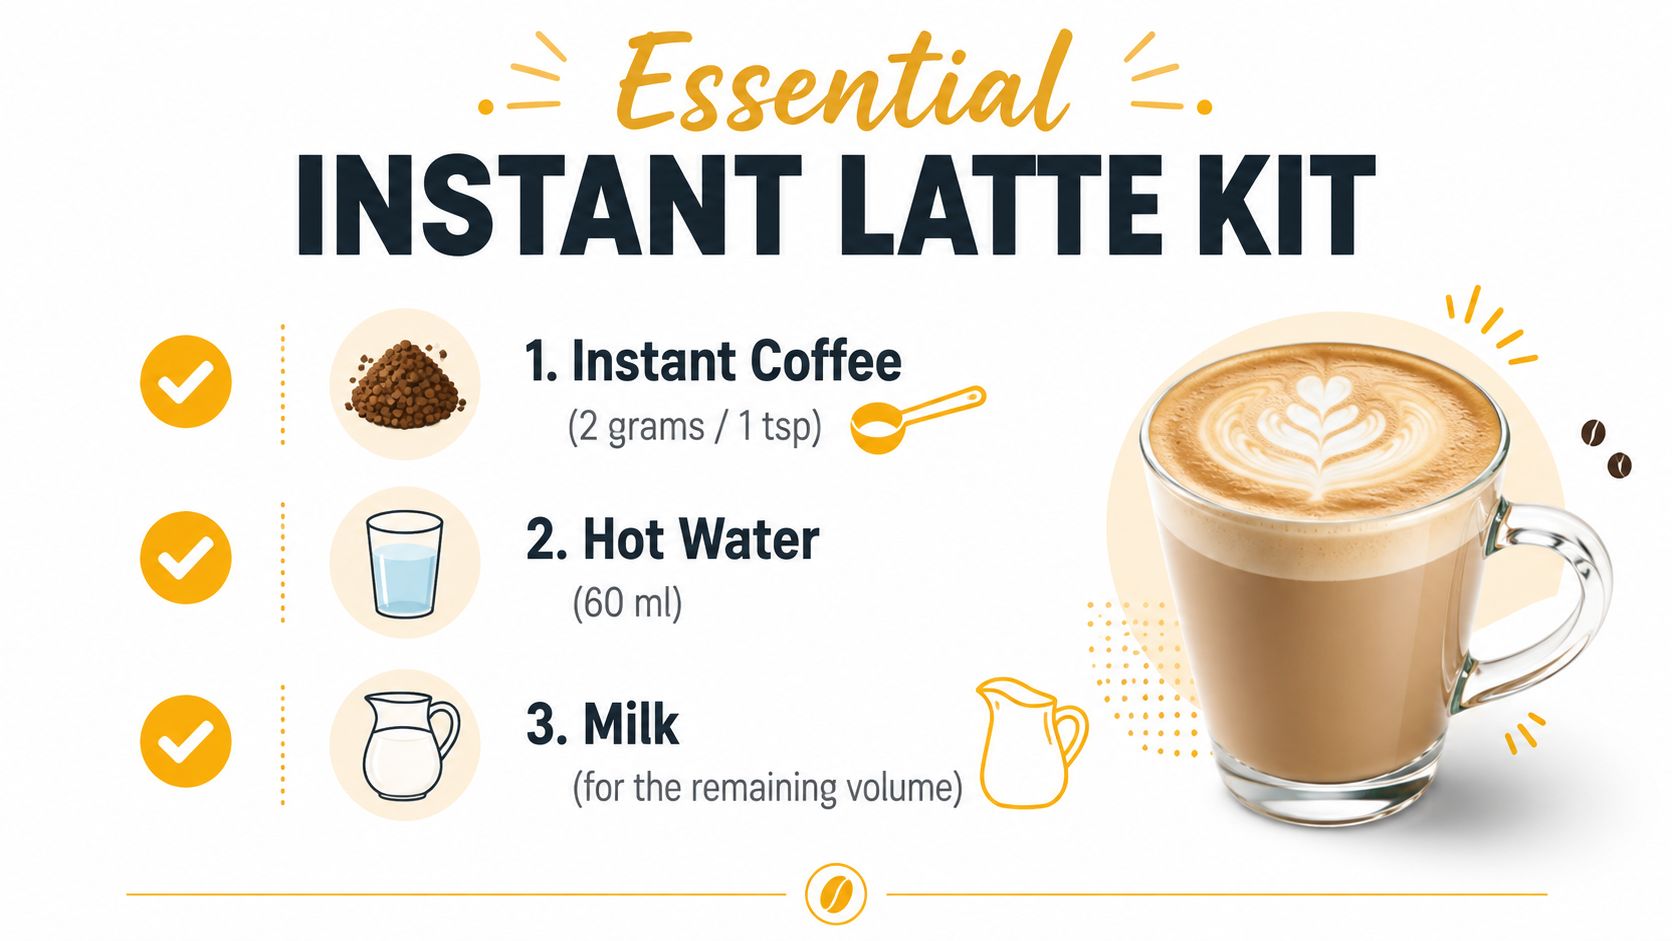
Use a digital scale if you have one. Instant granules vary in density, so a rounded teaspoon isn't always as consistent as weighing the coffee. You'll also need a heatproof mug, kettle, thermometer if your kettle has no temperature setting, and one frothing tool.
Choose the milk by texture
Whole milk usually gives the most forgiving foam because its fat and protein contribute to a creamy structure. Two-percent milk can also work, while lower-fat milk tends to produce lighter bubbles that collapse sooner. For plant-based versions, choose a barista-style oat or soy milk when available. Almond and coconut milk can taste good, but their foam may be less stable.
A small saucepan works for heating. A handheld battery frother, clean lidded mason jar, French press, or whisk can handle the foam. A French press isn't useful for brewing instant coffee, but it can be repurposed as a frother. For a deeper look at how milk choice affects texture and pouring, use this barista guide to latte art milk.
For a more detailed approach to measuring the liquid base, compare the instant coffee water ratio guide before adjusting the recipe to a larger mug.
Building the Coffee Base and Heating the Milk
Start with the coffee, then handle the milk separately. Mixing coffee, cold milk, and water in one vessel makes it harder to control extraction, temperature, and foam.
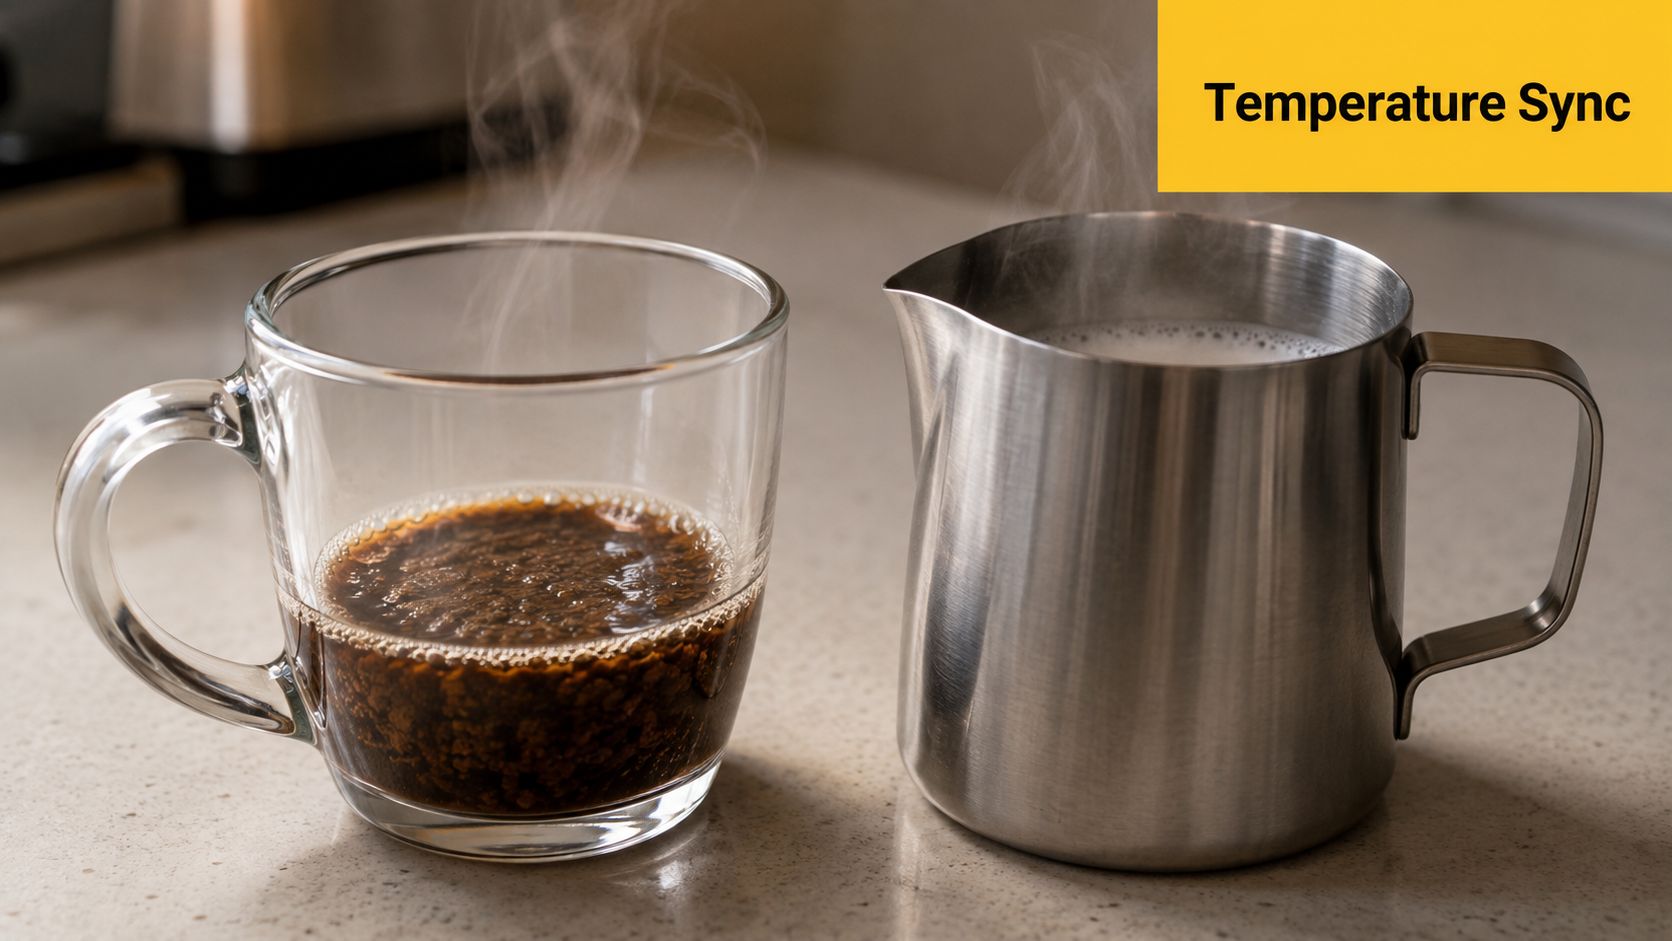
Make a concentrated base
- Heat 60 milliliters of water. If it reaches a full boil, allow it to cool for roughly 20 to 30 seconds before using it.
- Add the water to your mug, then stir in 2 grams of instant coffee.
- Stir for 10 to 15 seconds, scraping the bottom, until no granules remain.
- Add sweetener now if you're using it. Stir until completely dissolved.
The practical target is 175 to 185°F. Water that is too hot can make the coffee taste harsh, while water that is too cool may leave a chalky, incomplete dissolve. Avoid shaking the coffee concentrate aggressively. Gentle stirring keeps the flavor cleaner and prevents a layer of stubborn bubbles from interfering with the pour.
Heat the milk separately
Pour 180 to 200 milliliters of milk into a saucepan over medium-low heat, or use the heating cycle on a milk frother. Aim for 140 to 150°F, stopping when the milk is hot and beginning to steam, but not boiling.
Milk that's overheated loses some of its natural sweetness and can taste flat or scalded. Heat the milk until it feels hot but remains comfortable to drink, then froth it immediately. Try to have the milk ready within 30 seconds of finishing the coffee base so the two components meet at a similar drinking temperature.
If you're preparing coffee away from home, the same concentrated approach works alongside a packable coffee maker for camping, although instant coffee itself remains the simpler option when you want to minimize equipment.
Frothing Techniques Without an Espresso Machine
Foam failure usually starts before the frother. Instant coffee doesn't naturally create the thick, stable foam associated with whipped coffee, and plain milk needs the correct temperature and air incorporation to hold a light cap. Sugar can make whipped coffee easier because it increases viscosity and helps the foam structure last, but it isn't required for a conventional latte.
Choose the method based on the texture you want.
Mason jar shake
Warm about half a cup of milk, leaving room in a clean jar. Seal it, vent the lid carefully if pressure builds, and shake vigorously for 30 seconds. This creates a light foam with larger bubbles. Pour the liquid milk first, then spoon the foam over the top.
This is the fastest low-equipment method, but the foam is less stable. Whole milk or a barista-style plant milk will hold it better than very low-fat milk.
Handheld frother
Place the frother head just below the milk surface, then run it for about 20 seconds while moving it gently through the upper layer. Keep the milk around 140 to 150°F and avoid holding the whisk in one spot, which creates large bubbles instead of a creamy texture.
A handheld frother produces a moderate foam cap and is usually the best balance of speed and control. Stop once the milk looks glossy. More air doesn't automatically mean a better latte.
French press plunge
Warm the milk to about 140°F, pour it into a French press, and pump the plunger around 10 times with quick, controlled strokes. The mesh distributes air through the milk, producing denser foam than a jar shake.
The trade-off is cleanup and foam volume. If you plunge too aggressively, the foam becomes thick and dry, pushing the drink toward cappuccino texture. The method works best when you pour mostly liquid milk first and reserve only a thin top layer.
Whisk and stretch
Heat milk in a saucepan, then whisk while keeping the whisk near the surface for a few seconds to introduce air. Move it deeper and use a circular motion to fold that air through the milk. This takes roughly 1 to 1.5 minutes and can produce the smoothest texture without a steam wand.
Foam should look like wet paint, not shaving cream. If it sits in a stiff mound, you've added too much air.
A no-sugar latte can still foam well. A small amount of powdered lecithin may help stabilize the texture without sweetening it, while a drop of vanilla can add aroma without turning the coffee sugary. For plant-based variations, the Cartograph guide to coffee with oat milk offers another way to think about milk texture and flavor pairing.
Iced, Flavored, and Functional Latte Variations
The hot recipe adapts easily, but the pouring order changes. Foam collapses when you pour cold milk or ice directly into active foam, so add ice first, then the coffee base, then chilled milk with foam already formed.
| Variation | Instant Coffee | Water | Milk | Add-In | Order of Operations |
|---|---|---|---|---|---|
| Iced latte | 2 g | 60 ml hot | 150 ml chilled | Ice | Dissolve coffee, pour over ice, add milk and foam |
| Flavored latte | 2 g | 60 ml hot | 180 to 200 ml | 15 ml syrup | Stir syrup into concentrate, then add frothed milk |
| Cocoa latte | 2 g | 60 ml hot | 180 to 200 ml | 1 tablespoon cocoa | Mix cocoa with dry coffee, dissolve, then add milk |
| Spiced latte | 2 g | 60 ml hot | 180 to 200 ml | ½ teaspoon cinnamon | Stir spice into the concentrate before milk |
| MCT latte | 2 g | 60 ml hot | 180 to 200 ml | 5 g MCT oil | Emulsify oil into warm coffee, then add milk |
| Protein latte | 2 g | 60 ml hot | 180 to 200 ml chilled or warm | Unflavored whey or collagen | Blend the additive into milk before frothing |
For an iced build, dissolve the coffee in hot water, pour it over ice in a large glass, and float the chilled, foam-topped milk on top. The layers remain clearer when the milk isn't stirred into the hot concentrate before the ice is added.
Syrup belongs in the coffee base because it dissolves evenly there. Cocoa and cinnamon can go into the dry instant coffee before water, which reduces floating powder and clumps. Functional additions need more care. Protein powders can thicken or separate, while MCT oil needs to be mixed into the warm concentrate before contact with ice. Add them gradually and froth the milk separately.
Instant coffee is also useful for cold drinks because the concentrate can be prepared without waiting for brewed coffee to chill. Broader coffee trend coverage points to ongoing interest in iced formats and protein-forward drinks, while also noting that functional ingredients can affect texture and separation, as discussed in Tasting Table's coffee trend coverage.
Troubleshooting Common Latte Problems
A disappointing latte usually comes from one adjustable variable. Change only one at a time, so you can tell whether the problem is the coffee base, milk, foam, or dilution.
Foam collapses quickly. Milk that is too cold, overheated, or low in protein produces fragile bubbles. Reheat it only if it has cooled, keeping it near 140 to 150°F, then try whole milk or a barista-style plant milk. Introduce air at the surface for a few seconds, then move the frother deeper to fold the foam into the liquid. Large bubbles indicate too much air or insufficient mixing.
Bitterness needs a cooler extraction. Ashy flavor often develops when freshly boiled water hits the granules. Let the kettle water cool briefly and use the target range from the base method. Stir until dissolved instead of shaking, which can create uneven foam and trap undissolved coffee.
A flat latte needs more coffee concentration. If the drink tastes like warm milk, adding sugar hides the imbalance rather than fixing it. Keep the coffee at 2 grams and reduce the milk toward the lower end of the range, bringing the balance closer to 1:3 or 1:4. A quality instant coffee, such as Cartograph's freeze-dried single-origin product, gives that smaller coffee base more flavor to work with.
Milk can split at the pour. Cold milk meeting very hot coffee encourages curdling, as does overheated milk. Warm both components, let the concentrate settle briefly, and pour slowly. Stir once or twice during the pour instead of dumping the milk in at once.
For iced lattes, watery flavor means melting ice has diluted the coffee. Freeze leftover prepared coffee into cubes and use them next time, so dilution adds coffee rather than plain water.
Putting It All Together for a Daily Ritual
For a stronger daily cup, measure 2 rounded teaspoons, about 4 grams, of instant coffee and dissolve them in 60 milliliters of 85°C water. Heat 180 to 200 milliliters of milk to 65°C, froth it with the tool that suits your morning, and pour the milk at a low angle so the liquid enters first and the foam stays on top.
The repeatable framework is simple: weigh the coffee, measure the water, control the milk temperature, and count the frothing time. A quality instant product matters because technique can't remove a thin or astringent flavor from the coffee itself. Cartograph's organic instant coffee uses freeze-dried single-origin beans, making it a relevant option when you want the convenience of soluble coffee with a more distinct flavor base.
Set the spoon, mug, and frother beside the kettle the night before. With the measurements fixed, the morning version can be ready in under three minutes.
Cartograph Coffee offers organic instant coffee made for convenient preparation at home, on the road, or outdoors. Use it as the concentrated base in this latte method, then visit Cartograph Coffee to explore its coffee options and build your own repeatable instant latte routine.