You're standing beside a French press before work, trying to make coffee while someone needs breakfast and your bag still isn't packed. A bottle of concentrate would let you pour, dilute, and get moving without starting another brew.
Learning how to make coffee concentrate is less about finding a secret ratio than controlling a few ordinary variables. Weigh the ingredients, manage the extraction, and separate brewing decisions from serving decisions. That's how you get a batch you can repeat instead of a strong coffee you can't explain.
What Coffee Concentrate Actually Is
Coffee concentrate is coffee brewed deliberately stronger than you intend to serve it, with dilution reserved for later. It isn't a particular appliance, bean, or overnight ritual. The useful distinction is intention: you're making a coffee base, then deciding how strong each finished drink should be.
That arrangement suits a shared office, a household with different milk preferences, or a solo drinker who doesn't want to brew every morning. You can keep the base separate and adjust each cup without changing the entire batch. Convenience comes from moving the work earlier, not eliminating the work.
Strength and Extraction Aren't the Same
Total dissolved solids, usually shortened to TDS, describes the concentration of dissolved coffee material in the liquid. Extraction yield describes how much of the original dry coffee dissolved during brewing. These measurements answer different questions: how concentrated is the beverage, and how much did you remove from the grounds?
The Specialty Coffee Association's summary of full-immersion research reports approximately 21% equilibrium extraction across water-to-coffee mass ratios from 3:1 to 25:1, illustrating that reducing water can increase strength without proportionally increasing extraction (SCA explanation of immersion strength and extraction).
Practical rule: Make the extraction repeatable first. Adjust the drinking strength after filtration.
That distinction prevents a common troubleshooting error. If a drink tastes weak, leaving the grounds submerged indefinitely isn't necessarily the right response. You may need less dilution, a different brewing ratio, or better wetting rather than more time.
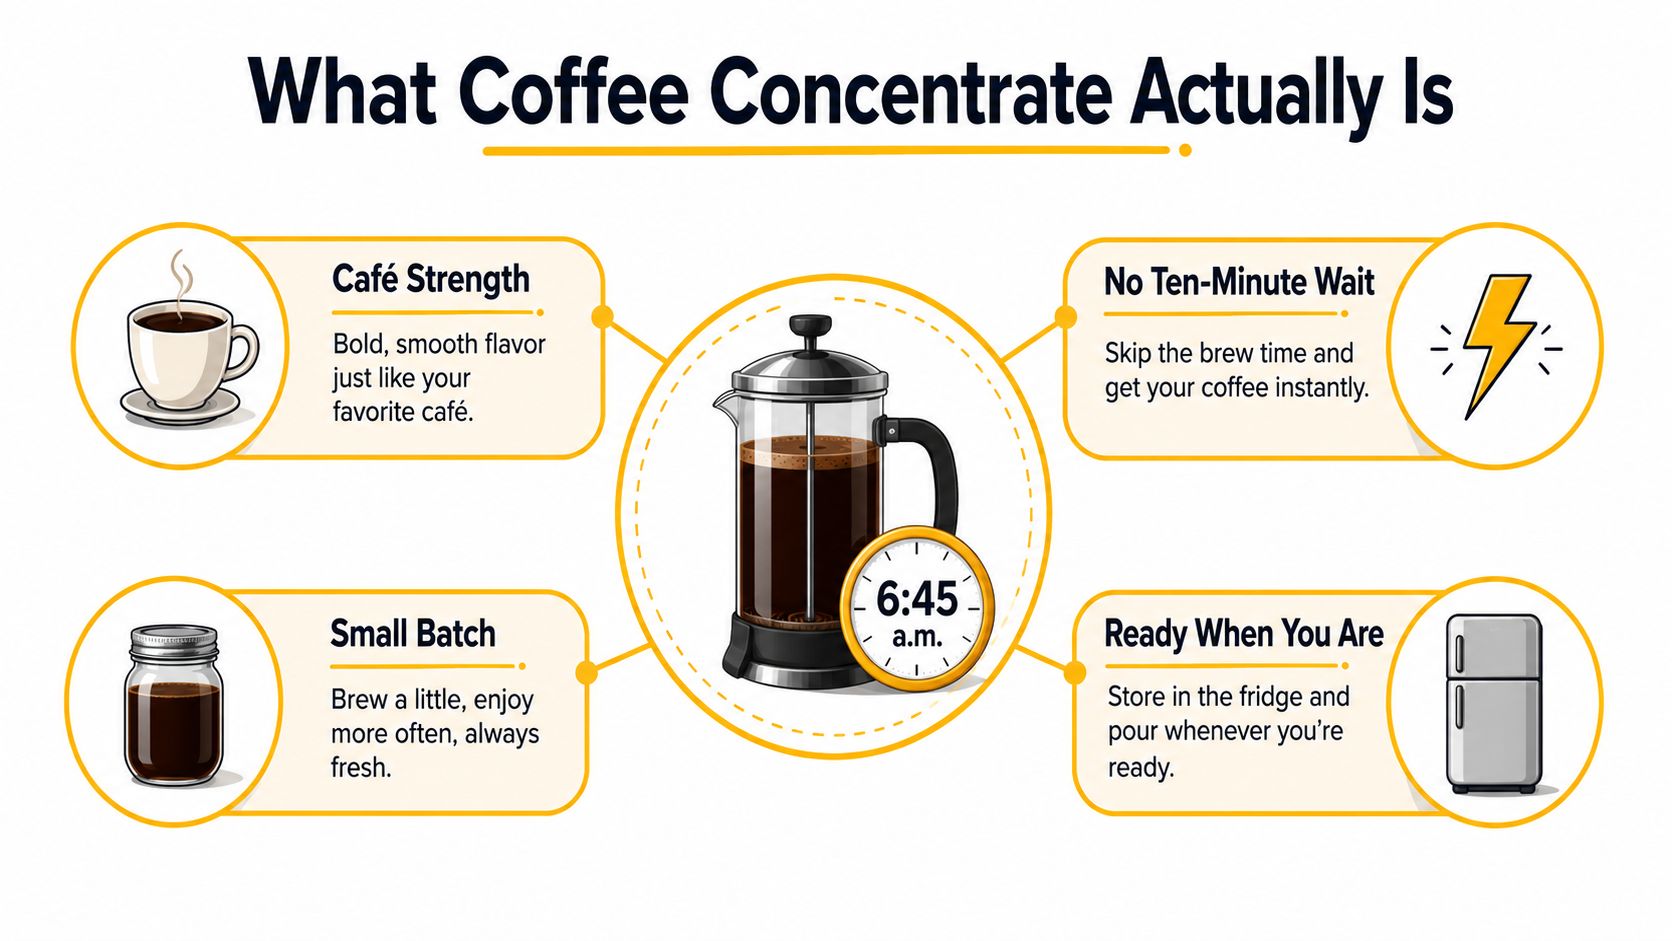
The practical benefits are easy to visualize.
Think in Separate Decisions
- Brewing: Establish a repeatable combination of coffee, water, grind, temperature, and time.
- Serving: Add water or milk according to the actual strength of the filtered batch.
- Handling: Keep preparation, storage, and serving practices consistent.
With those decisions separated, you can build a dependable method, sensible storage habits, and a tasting comparison that tells you what to change next.
Choosing Beans and Grind for Clean Concentrate
Start with coffee you enjoy drinking, not a bag chosen solely because it says cold brew. For a useful first comparison, keep the bean choice familiar. Changing coffee and technique together makes it harder to identify why the result tastes different.
Choose roast character according to the drink you want. If you prefer roast-forward flavors, start with that preference; if you enjoy a lighter-tasting cup, don't assume concentrate requires abandoning it. Treat roast choice as a flavor decision rather than a promise of caffeine content or automatic extraction success.
Buy for a Manageable Test
Buy an amount you can realistically use, keep the bag closed between brews, and record its identity with your recipe. There's little practical value in perfecting a method with an unidentified mix of leftover beans. A recognizable starting ingredient makes your tasting notes useful.
Ask a coffee shop or roaster for a coarse grind suitable for immersion brewing if you don't have a grinder. Pre-ground coffee isn't automatically unsuitable, but coffee ground for another brewing method may make your filtration workflow unnecessarily difficult.
Before committing the whole bag, inspect a small ground sample.
- Look for consistency: Aim for a reasonably even coarse texture rather than a mixture of large fragments and powder.
- Match the filter: Choose grounds your mesh can separate without immediately clogging the paper stage.
- Record the setting: A grinder setting is useful within your own setup, not as a universal instruction for someone else's grinder.
Spend for Control, Not Appearance
A more expensive grinder isn't a substitute for checking what it produces. Judge equipment by whether you can return to a setting and get grounds that behave predictably. At home, a scale and a workable filtration arrangement deserve attention before a complicated brewer.
If you're using a blade grinder, inspect the grounds rather than relying on elapsed grinding time alone. If you're buying ground coffee, ask the shop to keep the preparation consistent between purchases. Either approach is more useful than repeatedly guessing.
Choose a grind you can filter comfortably. A brewing method that turns every batch into a clogged-filter rescue isn't a convenient method.
Don't solve every disappointing cup by grinding finer. First establish whether you dislike the flavor, the strength, or the sediment. Those are different problems, and they don't call for the same adjustment.
The Short-Batch Method for Coffee Concentrate
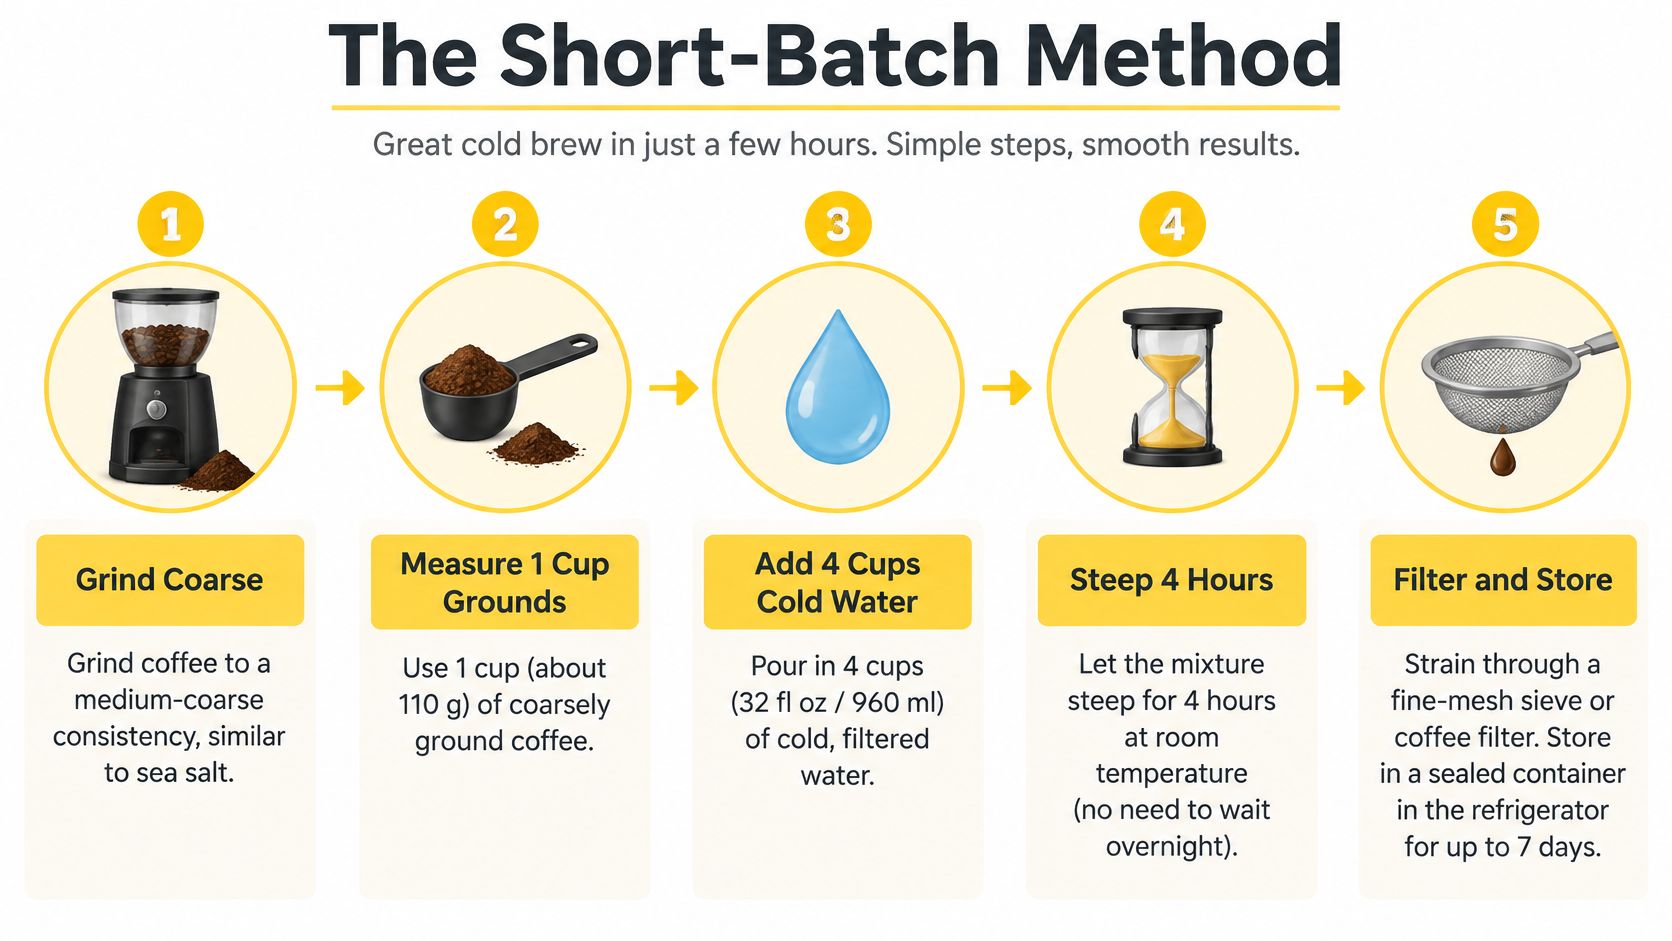
The short-batch approach gives you a same-day starting point without treating overnight steeping as mandatory. Its value is a defined process you can evaluate, not a guarantee that every coffee will taste ideal on the first attempt.
This visual outlines the workflow. For repeatability, follow the weighed recipe below, rather than treating cup measures as interchangeable with mass.
Weigh and Wet Thoroughly
Use 100 g coarse-ground coffee and 700 g water, a 1:7 coffee-to-water mass ratio, with water near 15–20 °C and an extraction target of approximately 4 hours, following the short-batch conditions summarized in the cold-brew extraction research.
Prepare a sanitized food-contact vessel, stirring utensil, coarse strainer, paper filter, and clean receiving container. A French press can serve as the immersion vessel, while a jar or pitcher works if you have a separate strainer. Make sure you can cover the container without crowding it.
Add the weighed grounds and water, then mix until no dry pockets remain. Scrape gently around the sides and bottom rather than stirring only the surface. Start the timer when coffee and water meet, not after you finish tidying the counter.
Hold Conditions Steady
Cover the vessel and keep it near the target temperature. Give the batch a gentle agitation early in extraction, then leave the process controlled rather than repeatedly stirring whenever you walk past.
Pay attention to the actual location. A sunny kitchen counter, office windowsill, or exposed campsite isn't a dependable temperature-control strategy. If you can't maintain the intended conditions, choose refrigerated brewing instead of assuming the same timing will transfer.
- Even wetting: Check for dry islands and compacted pockets before leaving the batch.
- Steady temperature: Keep the vessel away from changing heat sources.
- Prepared filtration: Set up the receiving container before the steep finishes.
For a visual demonstration alongside the written procedure, use the video below.
Filter Promptly and Record the Yield
Separate the bulk grounds through mesh, then pass the liquid through paper. This gives the paper filter a manageable job instead of asking it to hold the entire wet coffee bed.
Let the filter drain without forcing a slurry through it. If filtration becomes frustrating, note that problem for the next grind adjustment rather than improvising a different technique halfway through.
Record coffee mass, water mass, temperature, elapsed time, grinder setting, and final beverage mass. Don't assume the starting water mass equals the bottled yield. Chill and refrigerate the filtered batch promptly, then evaluate it at your intended serving dilution.
Hot-Brew and Cold-Brew Concentrate Compared
The useful comparison isn't just slow versus fast. Choose a method you can execute consistently with the equipment and temperature control available. A refrigerated batch, a controlled short batch, and a hot-brewed coffee base solve different scheduling problems.
Refrigerated Brewing for Planned Preparation
For a documented cold-brew starting formulation, research used 60 g coffee with 700 g water, approximately 1:11.7 by mass, and evaluated 14–22-hour extraction periods; grind and time materially affected the results (study of cold-brew preparation and sensory properties). That's a useful reference for controlled testing, not a promise that the result needs substantial dilution.
Refrigerated preparation makes sense when you can plan ahead and prefer to keep the batch cold during extraction. Label the vessel before putting it away. For scheduling questions, the guide to how long to brew cold brew provides further context.
Hot Brewing for Immediate Preparation
Hot-brewed concentrate is an alternative when you want a coffee base without a cold steep. Use a hot-brewing method you already understand, reduce brewing water cautiously, and judge the filtered result after dilution. Don't assume the cold-brew grind, steep duration, and serving recipe transfer unchanged.
There isn't a validated hot-concentrate recipe in the research cited here. Giving a precise extended hot steep would imply more certainty than the evidence supports. A familiar French press or other hot brewer is a better starting point than an untested prolonged hold.
Cold-Brew vs Hot-Brew Concentrate at a Glance
| Factor | Cold-Brew Method | Hot-Brew Method |
|---|---|---|
| Steep time | Planned extraction with a defined endpoint | Follow the established hot-brewer workflow |
| Temperature | Controlled cool or refrigerated conditions | Controlled hot-brewing conditions |
| Ratio | Weighed recipe, adjusted to the intended serving | Weighed recipe tested specifically for hot extraction |
| Typical flavor | Evaluate at the intended dilution; don't assume smoothness | Expect a different result; compare rather than presume |
| Best use case | Advance preparation and cold-service routines | Immediate preparation with familiar equipment |
Equipment alone doesn't establish a universal time requirement. A laboratory study achieved cold extraction in 45 minutes under tested conditions using controlled mechanical stirring, which isn't equivalent to leaving a household jar undisturbed (cold-extraction optimization study).
If you're comparing coffee bases with blended alternatives, Peak Performance's organic mushroom coffee tips offers a separate resource to consult. Keep any added ingredients outside your baseline concentrate test so you can judge the coffee itself.
Choose cold preparation when advance planning fits your routine. Choose hot preparation when immediate availability matters more than reproducing your cold-brew result.
Dilution, Storage, and How Long It Keeps
Brewing ratio and dilution ratio are different instructions. The first describes dry coffee against brewing water. The second describes finished concentrate against whatever you add at serving time.
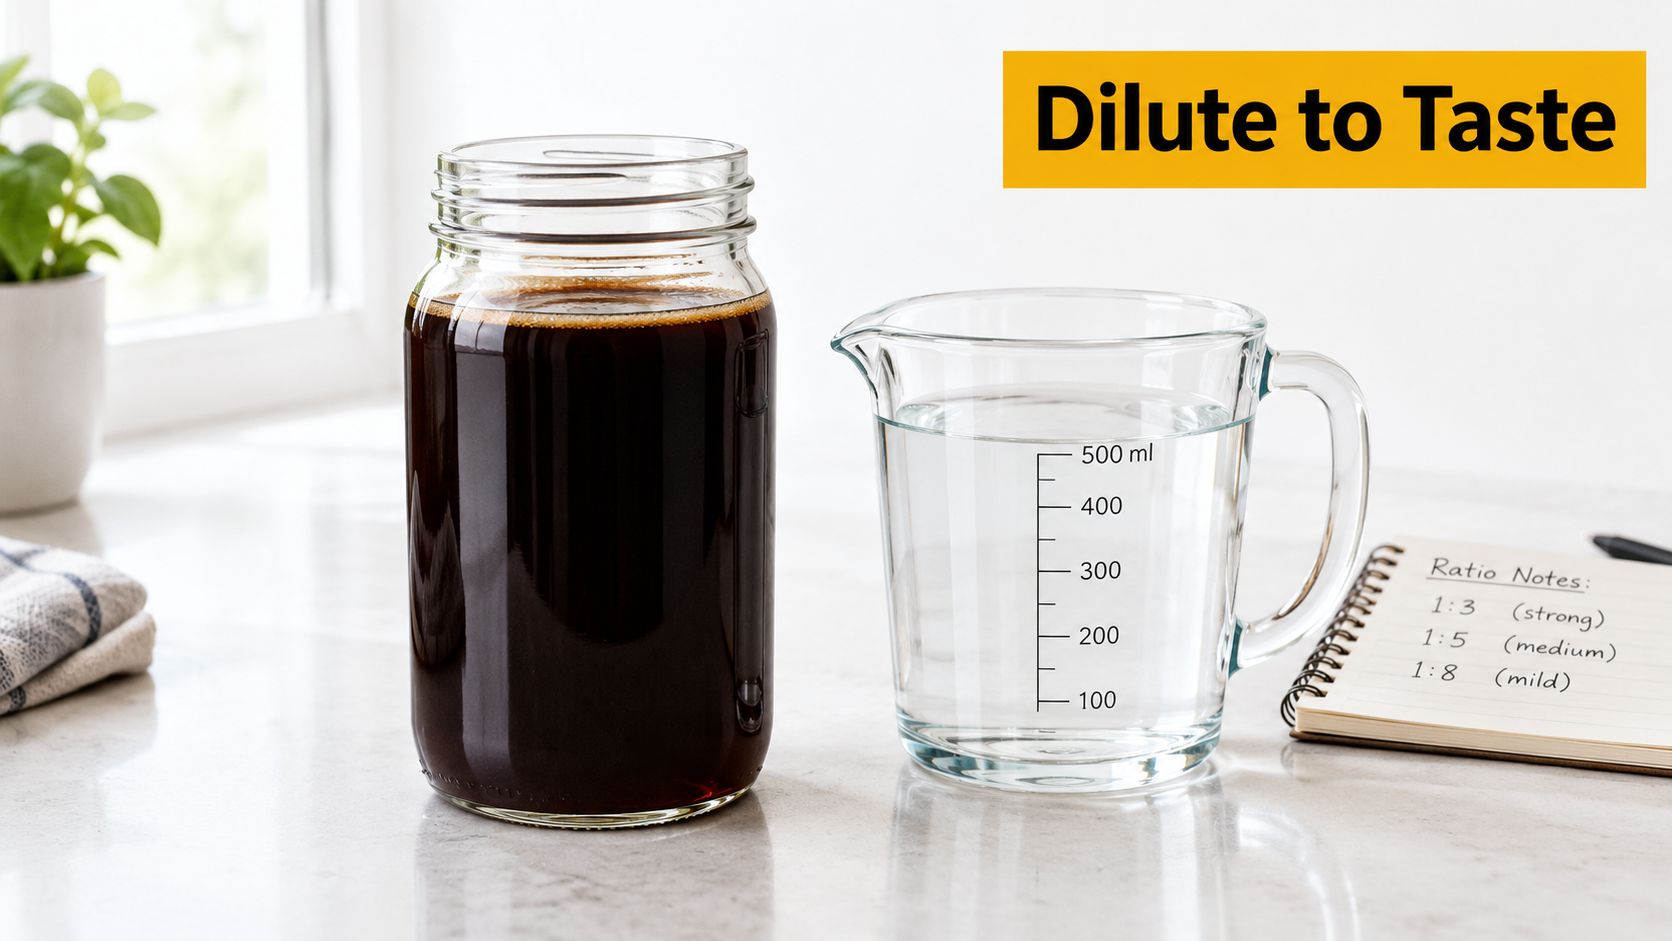
Start by tasting a small filtered sample with added water, then adjust gradually. A relatively modest-strength batch may need little dilution; a stronger batch may need more. Don't pour a standard amount of water into every concentrate just because another recipe recommends it.
The image below shows the useful habit: keep the coffee base, added liquid, and dilution notes separate.
Build Drinks From the Coffee Outward
For iced coffee, combine concentrate and water, taste, then add ice. For a milk drink, add milk or plant milk gradually until the balance works. If you start with a full glass of milk and keep adding coffee to rescue it, you lose track of both the recipe and the serving.
- Black coffee: Adjust with water before introducing other ingredients.
- Milk drinks: Record the milk as part of the dilution, not as an unmeasured extra.
- Baking: Treat concentrate as a liquid ingredient and account for it in the recipe.
- Cocktails: Test the coffee against the finished mixture rather than assuming it behaves exactly like espresso.
- Travel: Portion only what you can keep properly cold.
For adapting kitchen recipes, Recipe One's cups to grams conversion chart can be a useful reference. For coffee brewing itself, continue weighing directly rather than using a general conversion to estimate the mass of your grounds.
Store It as a Perishable Beverage
Transfer filtered coffee into clean, sealable food-contact bottles, chill promptly, and refrigerate. Glass bottles are a practical option when they're easy to clean and fit your refrigerator. Avoid returning used serving utensils to the stored batch.
A household batch doesn't have a universally guaranteed shelf life. The cold-brew safety research discussed earlier identifies pathogen survival during storage, so refrigeration, sanitation, packaging, and process conditions must be considered together. Taste and smell cannot validate safety.
Storage boundary: Refrigeration isn't a substitute for a validated shelf life, and filtration isn't sterilization.
Don't automatically apply a lengthy storage promise from a different recipe or commercial product. Make a manageable batch, label the preparation date, and discard coffee with mold, unusual appearance, or off odors without tasting it. Also discard it if you're uncertain how it was handled, even when it looks normal.
For broader storage questions, consult whether coffee goes bad. Keep milk and other additions separate until serving so the stored bottle remains a clearly identified coffee base.
Longer brewing isn't a storage strategy either. Research found caffeine and chlorogenic-acid extraction approached equilibrium at roughly 400 minutes, with prolonged steeping adding little of those compounds while potentially changing flavor and strength (cold-brew extraction kinetics research).
Calibrating Caffeine and Strength to Your Taste
Flavor strength isn't a caffeine measurement. A drink can taste more intense without giving you enough information to calculate its caffeine content. Household measurements help control portions, but they can't establish an exact caffeine dose without testing.
The extraction research discussed above also reports that Robusta cold brews generally contain more caffeine than Arabica under the conditions examined. Bean identity therefore belongs in your batch notes, alongside the brewing recipe. A roast label alone isn't enough to budget caffeine.
Run a Useful Tasting Comparison
Take equal portions from the same filtered batch and add different amounts of water. Keep the serving temperature and any milk additions consistent, then compare them side by side. This tests dilution without changing extraction at the same time.
Write down what you notice.
- Flavor preference: Record whether you prefer the more diluted or less diluted sample.
- Texture: Separate grittiness from concentrated flavor.
- Aftertaste: Note persistent harshness rather than calling everything strong.
- Serving amount: Record how much concentrate went into the glass, not merely the glass size.
Don't assume dilution will repair every defect. If all samples remain unpleasant, adjust a brewing variable in the next batch instead of continuing to add water.
Budget Concentrate Before Estimating Caffeine
A useful portion calculation is:
Concentrate used per drink ÷ total filtered concentrate = fraction of the batch consumed.
That fraction describes your share of the batch, not a laboratory caffeine result. If you eventually have a reliable measured caffeine concentration, serving caffeine can be calculated by multiplying that concentration by the concentrate volume used. Without that measurement, a precise milligram estimate would be guesswork.
For additional context on the variables involved, consult the guide to coffee caffeine content. Don't copy a laboratory concentration from a mechanically stirred experiment onto a home immersion recipe.
Label shared bottles with the batch date, bean identity, intended dilution, and concentrate portion. Adding more water to a fixed concentrate portion makes the drink less concentrated, but it doesn't remove caffeine already in that portion. Neither a darker roast nor a much longer steep should be treated as a reliable shortcut to dramatically more caffeine.
Common Mistakes and Your Next Batch
Most disappointing batches are easier to diagnose when you separate handling problems from flavor preferences. Powdery grounds and blocked filters are process problems. A clean cup that you prefer less diluted is a serving decision.
Don't change the beans, grind, ratio, and steep together after a disappointing result. Choose the most plausible cause, adjust it, and keep the rest stable.
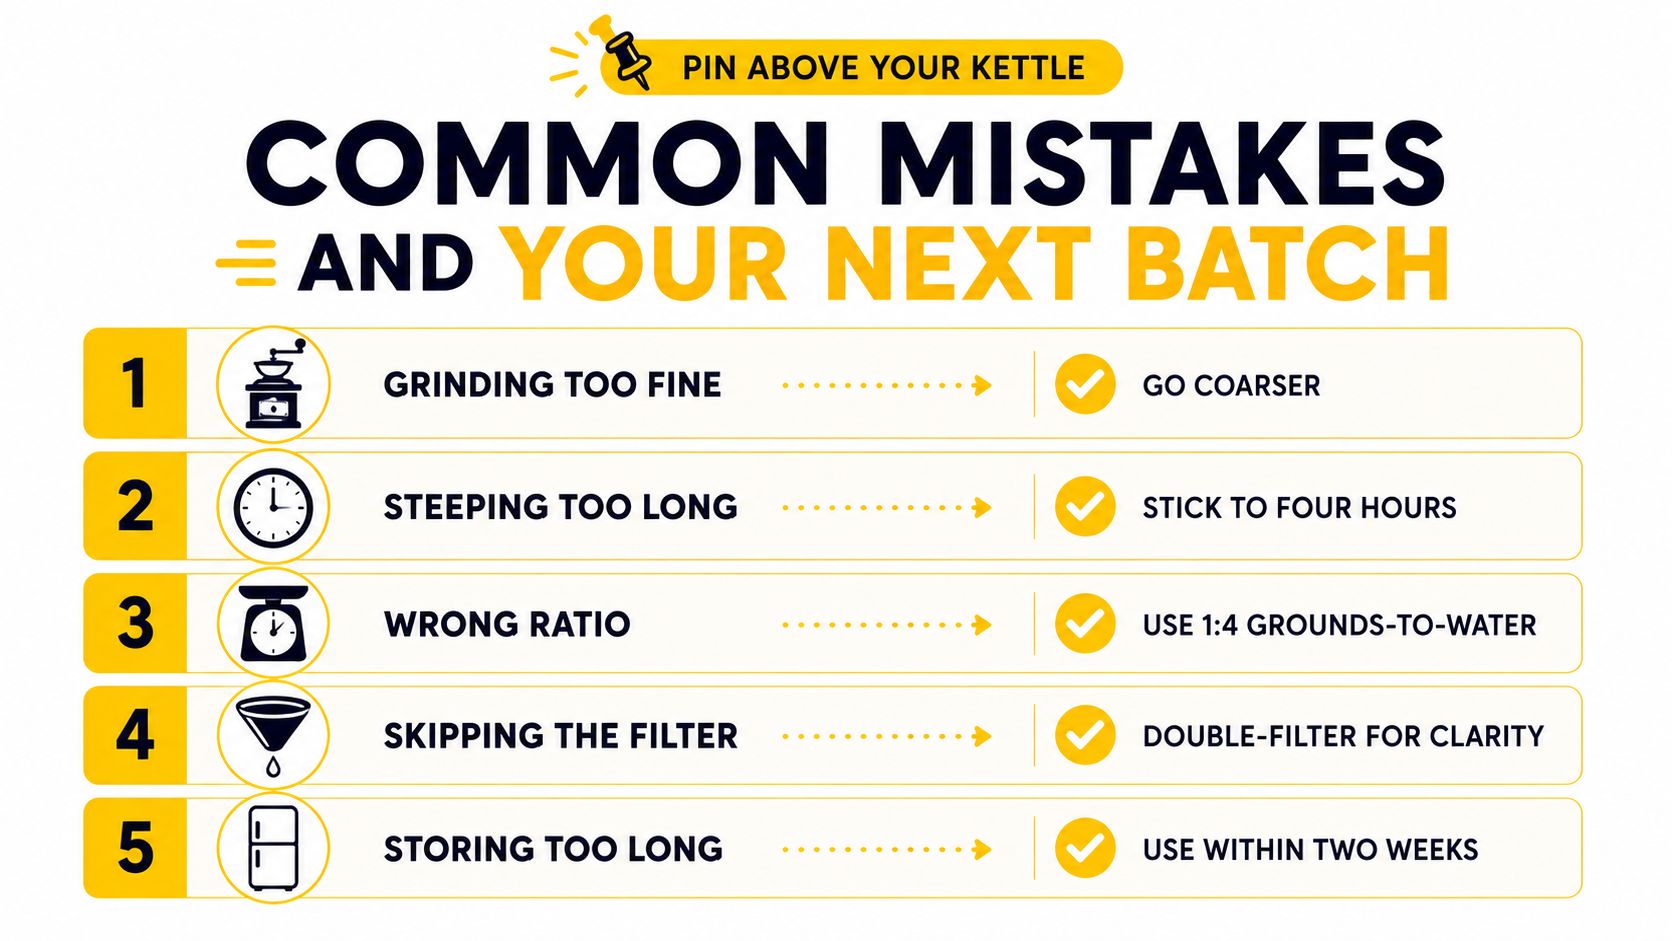
Keep This Checklist Beside the Brewer
- Grinding too fine: Move coarser when fines make filtration difficult and the drink muddy.
- Eyeballing the ingredients: Return to weighed coffee and water instead of container markings.
- Ignoring temperature: Distinguish a controlled extraction from leaving filtered coffee warm.
- Skipping paper filtration: Prepare the finishing filter before the batch is ready.
- Topping up old bottles: Empty and clean containers before filling them with a fresh batch.
The visual checklist is a reminder, not a replacement for your recorded recipe or a validated storage process. Use the weighed short-batch instructions above when applying this method.
Make the Next Change Deliberately
Keep a brief batch record where you'll use it, whether that's a notebook beside the grinder or a note on your phone. Include the filtered yield and preferred serving preparation, not just the ingredients.
The dependable routine is straightforward: weigh, grind coarse, wet evenly, control conditions, filter carefully, chill promptly, and label. Fancy equipment is optional. Knowing what you did, and repeating it on purpose, is what makes concentrate convenient.
Cartograph Coffee offers organic instant coffee for home, work, and camping, an alternative for days when brewing and filtering a batch doesn't fit your schedule. Visit Cartograph Coffee to explore that option alongside your homemade concentrate routine.