Ever find yourself craving a rich, frothy cappuccino but don't want to invest in a big, clunky espresso machine? You're not alone, and the good news is, you absolutely don't need one. The real secret is much simpler: nail the highly concentrated coffee base and master the art of frothing milk with a few basic kitchen tools.
The Secret to Cafe-Quality Cappuccino at Home
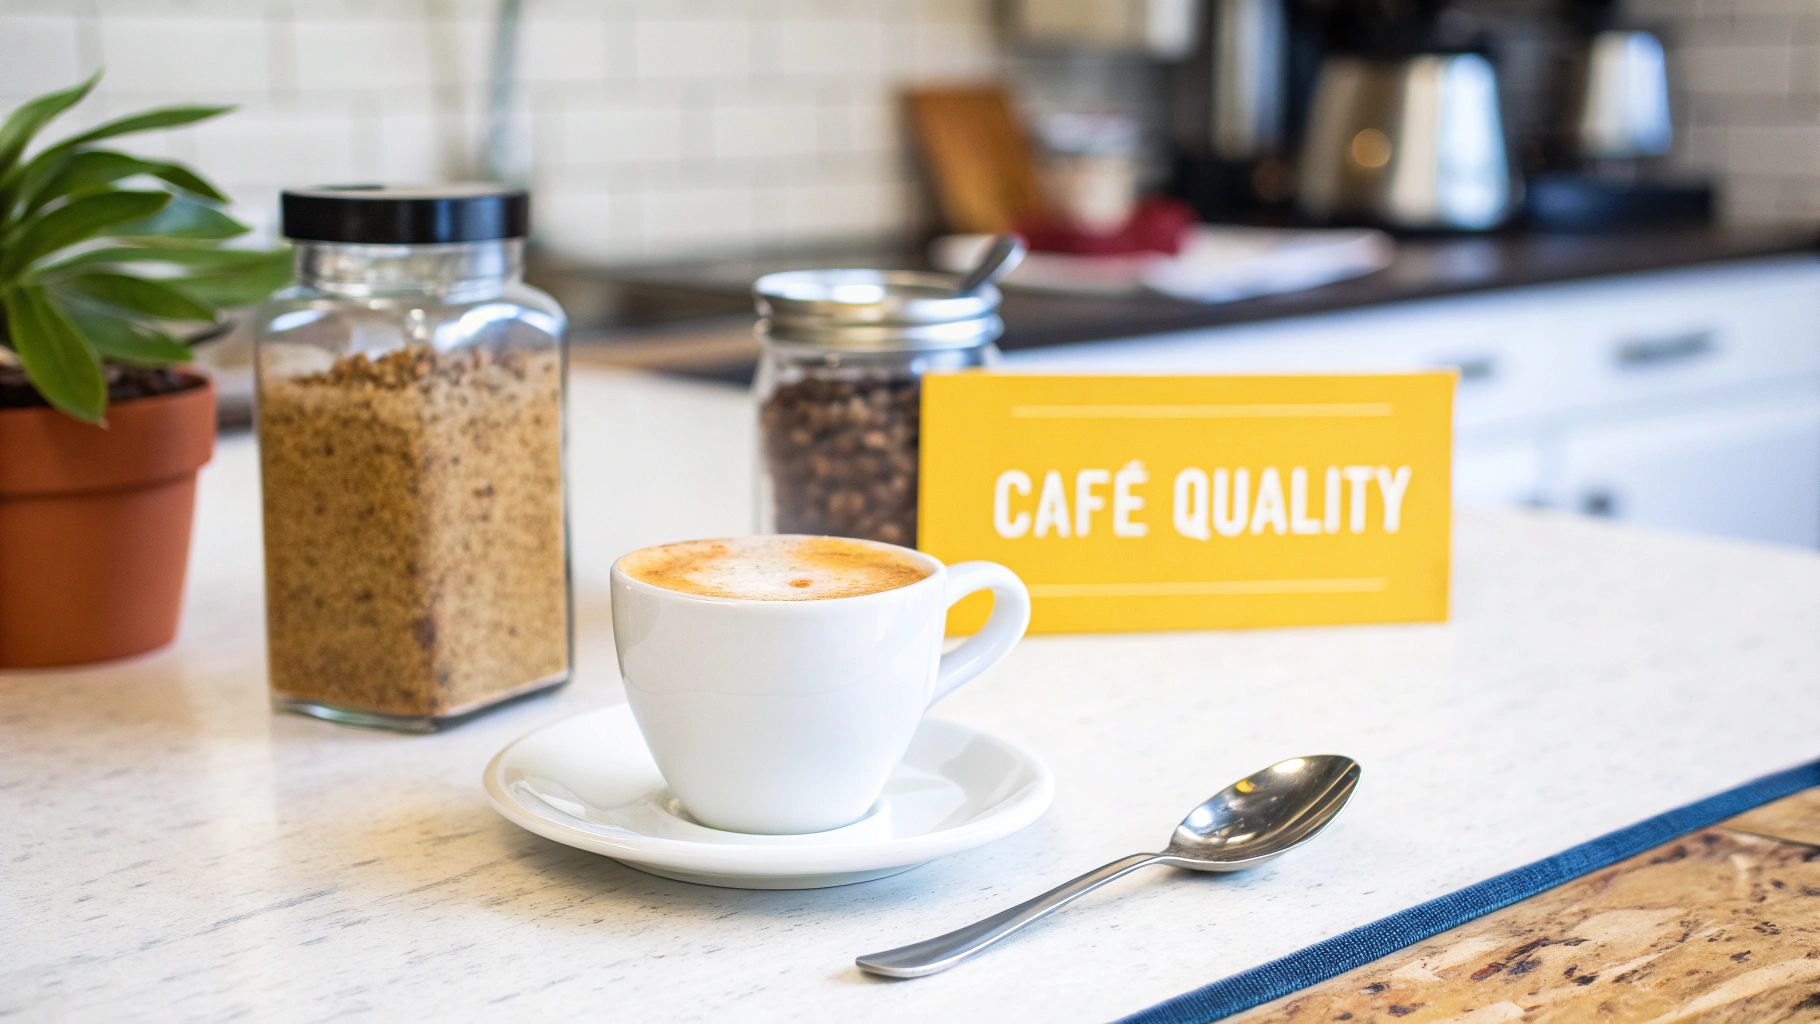
This guide is all about showing you how to strike that perfect harmony of strong coffee, steamed milk, and that signature velvety foam. At its core, a homemade cappuccino is about mimicking what an espresso machine does best—brewing an intense shot of coffee that can stand up to the milk without getting lost.
Your blueprint for success is the classic 1:1:1 ratio: one part coffee, one part steamed milk, and one part foam. Getting this balance right is what truly defines a cappuccino and sets it apart from its milkier relatives. If you're curious about the specifics, you can learn more about the key differences between a cappuccino and a latte.
The No-Machine Cappuccino Formula
To make things simple, here's a quick reference table breaking down the essential components for a perfect at-home cappuccino. Think of this as your go-to formula.
| Component | Ideal Ratio | Key Goal |
|---|---|---|
| Coffee Base | 1 Part | Create a concentrated, espresso-like shot. |
| Steamed Milk | 1 Part | Add sweetness and a creamy body. |
| Milk Foam | 1 Part | Achieve a thick, airy, and velvety top layer. |
Sticking to these proportions is the fastest way to get that authentic cappuccino texture and flavor every single time.
Why Your Coffee Base Matters
Let's be clear: a robust coffee base is completely non-negotiable. Weak, watery coffee just won't cut it. While classic methods like a Moka pot or AeroPress are fantastic, don't overlook a high-quality instant coffee. It can be a total game-changer for both flavor and speed.
A premium option, like Cartograph Coffee's organic blend, dissolves beautifully to create an intense, espresso-like shot that delivers the punch you need. This focus on quality ingredients is what elevates a simple morning coffee into a small, luxurious ritual.
The movement toward making cafe-style drinks at home is booming. The global cappuccino market, valued at $7.5 billion in 2023, is projected to hit $12.3 billion by 2032. A huge part of this growth comes from people like us, figuring out how to get that coffee shop experience using strong instant brews and simple tools.
Want to take your homemade cappuccino from good to truly exceptional? Honing some professional barista skills can make a world of difference. While this guide gives you a solid foundation, mastering the subtle art of milk texturing and pouring is what really creates that 'wow' factor.
Ready? Let’s turn your kitchen into your favorite new coffee bar.
Five Ways to Brew Strong Coffee Without a Machine
The soul of a great cappuccino isn't the milk—it’s the coffee. To stand up to that creamy foam and deliver the bold flavor we all crave, you need a coffee base that’s rich and intense. That might sound tricky without an espresso machine, but you’ve got some fantastic options right in your kitchen.
Each method gives the coffee a slightly different character, so you can play around and find what you like best. We're not just aiming for "strong" coffee; we're going for espresso-like concentration. This means using a lot more coffee and a lot less water than you would for a regular cup. Getting comfortable with how to brew strong coffee for bold flavor at home is the key to nailing your cappuccino base, no matter which technique you end up using.
The Classic Moka Pot Brew
A staple in Italian homes for a reason, the Moka pot is probably the closest you'll get to real espresso without a fancy machine. It uses steam pressure to push hot water through the coffee grounds, creating a potent, full-bodied brew.
Getting it right is all about a few key details:
- Use a fine grind. You're looking for something a bit coarser than espresso but finer than for a drip machine—think table salt. This helps build the right amount of pressure.
- Preheat your water. I know it's an extra step, but filling the bottom chamber with hot water stops the Moka pot itself from getting too hot on the stove, which can "cook" your grounds and give the coffee a nasty metallic taste.
- Keep an eye on the flow. Set the pot on medium-low heat. The coffee should flow out like warm, dark honey. If it’s sputtering and angry, your heat is too high.
The moment the pot starts to gurgle and the stream turns a pale yellow, take it off the heat. Immediately. This is the secret to avoiding that classic Moka pot bitterness from over-extraction. What you'll have is about 1.5-2 ounces of rich, syrupy coffee concentrate—the perfect starting point.
The Versatile AeroPress Shot
The AeroPress is a coffee geek's secret weapon. It’s incredibly versatile and makes a brew that’s clean, smooth, and surprisingly strong. Because you're using hand-applied pressure, it extracts flavor fast, cutting down on bitterness and dialing up the richness.
For an espresso-style concentrate, the "inverted" method is your best friend. It stops water from dripping through too early, giving you more control. Go with a fine grind, similar to what you’d use in a Moka pot.
I like to use a ratio of roughly 1 part coffee to 2 parts water. For one cappuccino, that works out to about 18 grams of coffee to 36-40 grams of hot water (just under 1.5 oz). Use water just off the boil, around 200°F or 93°C. Give it a quick 10-second stir, let it steep for another 45-60 seconds, then flip it and plunge. Push firmly but slowly. You'll get a clean, powerful shot that’s less oily than Moka pot coffee but every bit as intense.
Pro Tip: Don't plunge all the way to the bottom! Stop as soon as you hear a hiss. Pushing that last bit of air through the grounds forces out bitter compounds and will undo all your hard work.
Super-Concentrated Drip or Pour-Over
You can absolutely use your regular drip coffee maker or pour-over setup. The trick is to completely change your coffee-to-water ratio. Instead of the standard 1:16 or 1:17, you’re going to push it to something like 1:8 or even 1:6.
This just means using double the coffee for the same amount of water. So, if you usually use 20 grams of coffee for a 12-ounce mug, you'll use 40 grams of coffee but only pour 6 ounces of water over it.
The result is a very bold, clean-tasting coffee. It won't have the syrupy body you get from a Moka pot, but its flavor is more than strong enough to shine through the frothed milk. This is a great choice if you really love the bright, clean notes that a paper filter provides.
The Ultimate Convenience: Instant Coffee
Let's be real—sometimes you just need a cappuccino, and you need it now. For those moments, a high-quality instant coffee is your best friend. Forget the bland, dusty crystals you might be picturing. A premium instant, like Cartograph Coffee's organic blend, is crafted to taste rich and complex.
Making an espresso-like base is all about the ratio.
- Scoop about 2 heaping tablespoons of instant coffee granules into your mug.
- Add just 2 ounces (around 60 ml) of hot (not boiling) water.
- Stir like you mean it. Keep going until every last granule has dissolved.
You'll be left with a thick, concentrated liquid that’s shockingly close to a real shot of espresso. This is my go-to for busy mornings, travel, and especially camping. You get a consistently strong base in under a minute.
Simple Stovetop Brew
No gear? No problem. If you've got a small pot and a strainer, you can make a powerful coffee concentrate. This is as basic as it gets, but it really works in a pinch. If you're ever truly stuck without equipment, our guide on how to make coffee without a machine has even more survival tips.
Just combine coarsely ground coffee and water in a saucepan using a 1:4 ratio—for example, a quarter cup of coffee grounds to one cup of water. Bring it to a gentle simmer over medium heat, stirring now and then. Let it simmer for about two minutes. Any longer, and it'll get bitter.
Take the pot off the heat and let the grounds settle for a minute. Then, carefully pour the coffee through a fine-mesh sieve or even a coffee filter into your mug. This old-school method gives you a strong, unfiltered brew with a heavy body—perfect for a hearty, no-fuss cappuccino.
How To Create Velvety Milk Foam Without a Steamer
With your strong, espresso-like coffee base ready, it's time for the magic touch: the velvety milk foam. This is what truly elevates a strong coffee into a real cappuccino, and the best part is you don't need a fancy machine with a steam wand to get that luxurious, airy texture.
The goal here isn't just to make bubbles. We're aiming to create a stable, creamy microfoam that folds beautifully into the coffee while still holding its shape on top. With a little practice and some common kitchen tools, you can absolutely nail it. Let's walk through a few of my favorite methods.
The French Press Frothing Technique
Don't put that French press away just yet! It turns out this coffee maker is one of the best manual tools for creating thick, high-quality foam that comes surprisingly close to what a steam wand can produce. The secret is its fine mesh plunger, which is perfect for aerating milk.
First, gently heat your milk. You're aiming for the sweet spot around 150°F (65°C)—hot to the touch, but definitely not boiling. If you don't have a thermometer, just watch for tiny bubbles forming around the edge of the pan, then pull it off the heat. Overheating will scorch the milk's proteins and kill its frothing potential.
Pour the warm milk into the French press, but only fill it about one-third of the way up. The milk needs room to grow, and it will double in volume. Now for the fun part: plunge the filter up and down with quick, steady strokes for 30-45 seconds. You'll feel the resistance build as the foam gets thicker.
Once you’re done plunging, let it sit for a minute. This gives the foam a chance to stabilize and lets the bigger bubbles pop. Give the carafe a gentle swirl and a firm tap on the counter to smooth it all out before you pour.
Using a Handheld Electric Frother
A small, battery-powered milk frother is a game-changer. They’re cheap, super effective, and a breeze to clean. Honestly, this is my go-to method on busy mornings when I need a great cappuccino without the fuss.
Warm your milk to that same 150°F (65°C) and pour it into a tall mug, again keeping it about a third full. Dip the frother's whisk just below the surface and switch it on.
As the foam starts to form, slowly lower the frother deeper into the milk. This technique draws air in at the surface and then mixes it throughout, creating a much more consistent, velvety texture. Keep it going for 20-30 seconds, or until the volume has doubled.
A Quick Note on Milk Choice: The type of milk you use makes a huge difference. Whole milk is king for frothing, thanks to its higher fat and protein content. If you're going dairy-free, barista-style oat milk is the undisputed champion, creating a remarkably creamy and stable foam. Other plant-based milks can work, but they tend to produce lighter, more delicate bubbles.
The Surprisingly Effective Jar Method
This is the ultimate low-tech hack and a real lifesaver when you're camping or just don't have any gadgets on hand. All you need is a jar with a tight-fitting lid (like a Mason jar) and a little bit of muscle. This method is the perfect answer for how to make cappuccino without an espresso machine using literally nothing but a simple container.
Pour your warm milk into the jar, filling it no more than halfway. Screw the lid on tight—seriously, you don't want to be cleaning hot milk off your ceiling. Now, shake it like you mean it.
Shake vigorously for 45 to 60 seconds. You'll see the milk expand and get frothy right inside the jar. For an even more stable foam, take the lid off and pop the jar in the microwave for 30 seconds. The heat helps set the foam, making it thicker and longer-lasting.
This infographic breaks down a few coffee brewing methods that are perfect partners for these frothing techniques.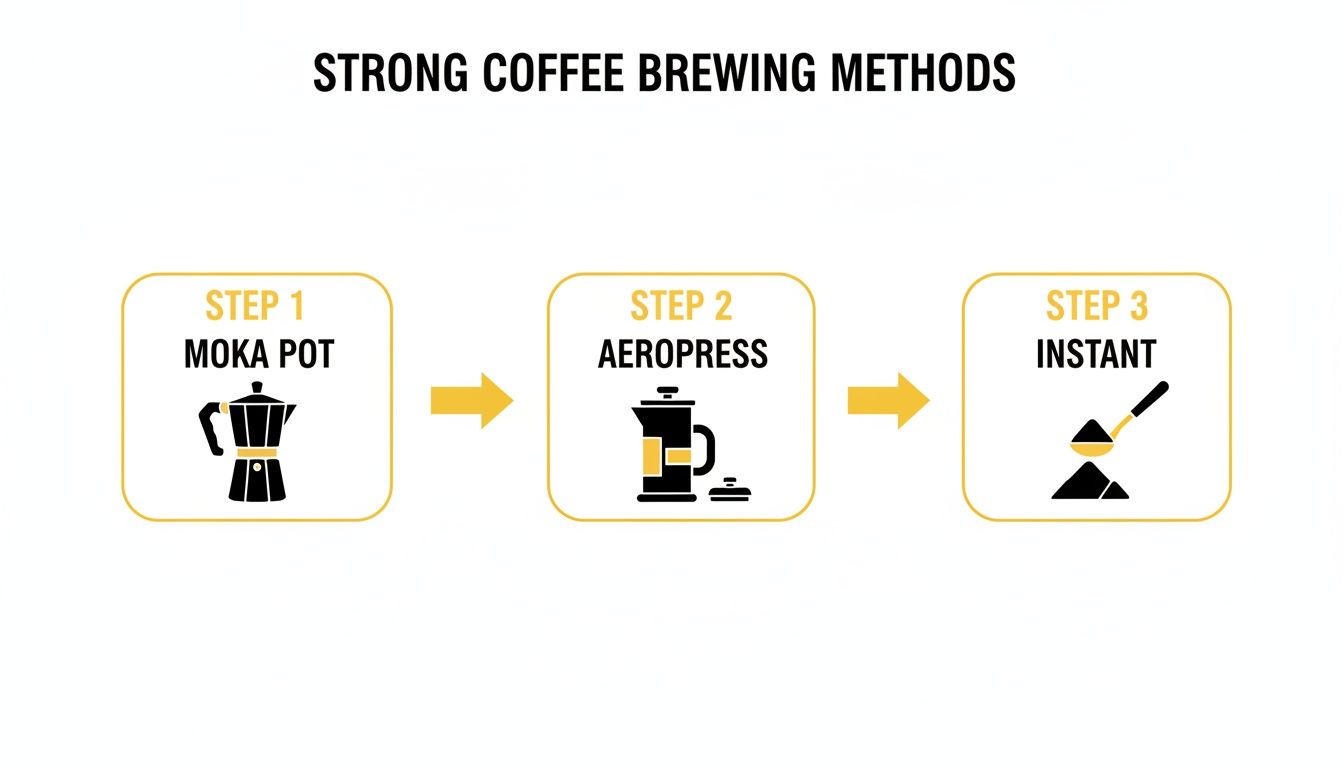
As you can see, whether you're using a Moka Pot, an AeroPress, or even high-quality instant coffee, you can easily craft a strong base before you even start on the milk.
The Manual Whisk Method
If you're really in a pinch and all you have is a simple whisk, you can still make it work. This method takes the most physical effort, but it's a classic for a reason. There’s something satisfying about whipping up foam completely by hand.
Gently warm your milk in a small pot over low heat. As it heats up, tilt the pan slightly and start whisking back and forth rapidly. The key is to break the surface of the milk to incorporate air.
Keep at it until the milk starts to thicken and a light foam builds on top. It won’t be as dense as the French press method, but you’ll get a lovely, airy foam that’s perfect for a rustic, homemade cappuccino. Just be sure to pull it from the heat before it boils.
The Simple Microwave Froth
Believe it or not, your microwave can help you create the foam, not just heat the milk. This is really just a slightly different take on the jar method that streamlines the process.
Start with cold milk this time. Pour it into a microwave-safe jar, fill it halfway, and seal the lid. Shake it hard for about 60 seconds, just until it's frothy and has doubled in size. Then, remove the lid and microwave the open jar for 30 seconds.
The blast of heat stabilizes the proteins in the foam you just created, making it thick and almost spoonable. It's a brilliantly simple two-step process that delivers great results with almost no cleanup.
Milk Frothing Method Comparison
Choosing the right frothing method often comes down to what tools you have on hand and what kind of foam you're after. Here’s a quick breakdown to help you decide.
| Method | Equipment Needed | Foam Quality | Best For |
|---|---|---|---|
| French Press | French Press | Excellent (Dense, stable) | Getting as close as possible to cafe-style microfoam. |
| Handheld Frother | Electric Hand Frother | Very Good (Velvety, consistent) | Quick, daily cappuccinos with minimal cleanup. |
| Jar Method | Jar with Lid | Good (Thick, can be airy) | Camping, travel, or when you have no other tools. |
| Whisk Method | Whisk, Saucepan | Fair (Light, airy) | When you're in a pinch and only have basic kitchenware. |
| Microwave Froth | Jar with Lid, Microwave | Good (Thick, stabilized) | A super fast and easy method with excellent results. |
Ultimately, any of these can get you a delicious homemade cappuccino. The French press and handheld frother will give you the most professional texture, but don't discount the simple jar—it works surprisingly well!
Figuring out the best non-dairy milk can be its own journey. If you're exploring options like soy, it helps to know how it behaves with heat and coffee; you can find more tips in our guide on using soy milk in coffee. The jar-shaking hack, for instance, is a fantastic partner for a strong instant coffee base. In fact, some surveys show that about 35% of home brewers have used this technique. You can dissolve a premium instant coffee like Cartograph's in hot water for a robust shot, then froth your milk in a jar for that signature foam.
Assembling Your Perfect Homemade Cappuccino
Alright, you've got your strong coffee base ready and a pitcher of beautifully frothed milk. Now for the magic moment—bringing them together. This is where your hard work pays off, and a bit of technique can turn a good coffee into a fantastic one.
First things first, let's prep that foam. Give the bottom of your frothing pitcher or jar a few firm taps on the counter. It might seem like a small thing, but this helps pop any big, ugly bubbles and settles the foam into a much smoother, more consistent texture.
Follow that with a gentle swirl of the pitcher. This polishes the foam, giving it a beautiful, wet-paint-like sheen. That's the texture you're looking for—it means the warm milk and the microfoam have integrated perfectly, making it much easier to pour.
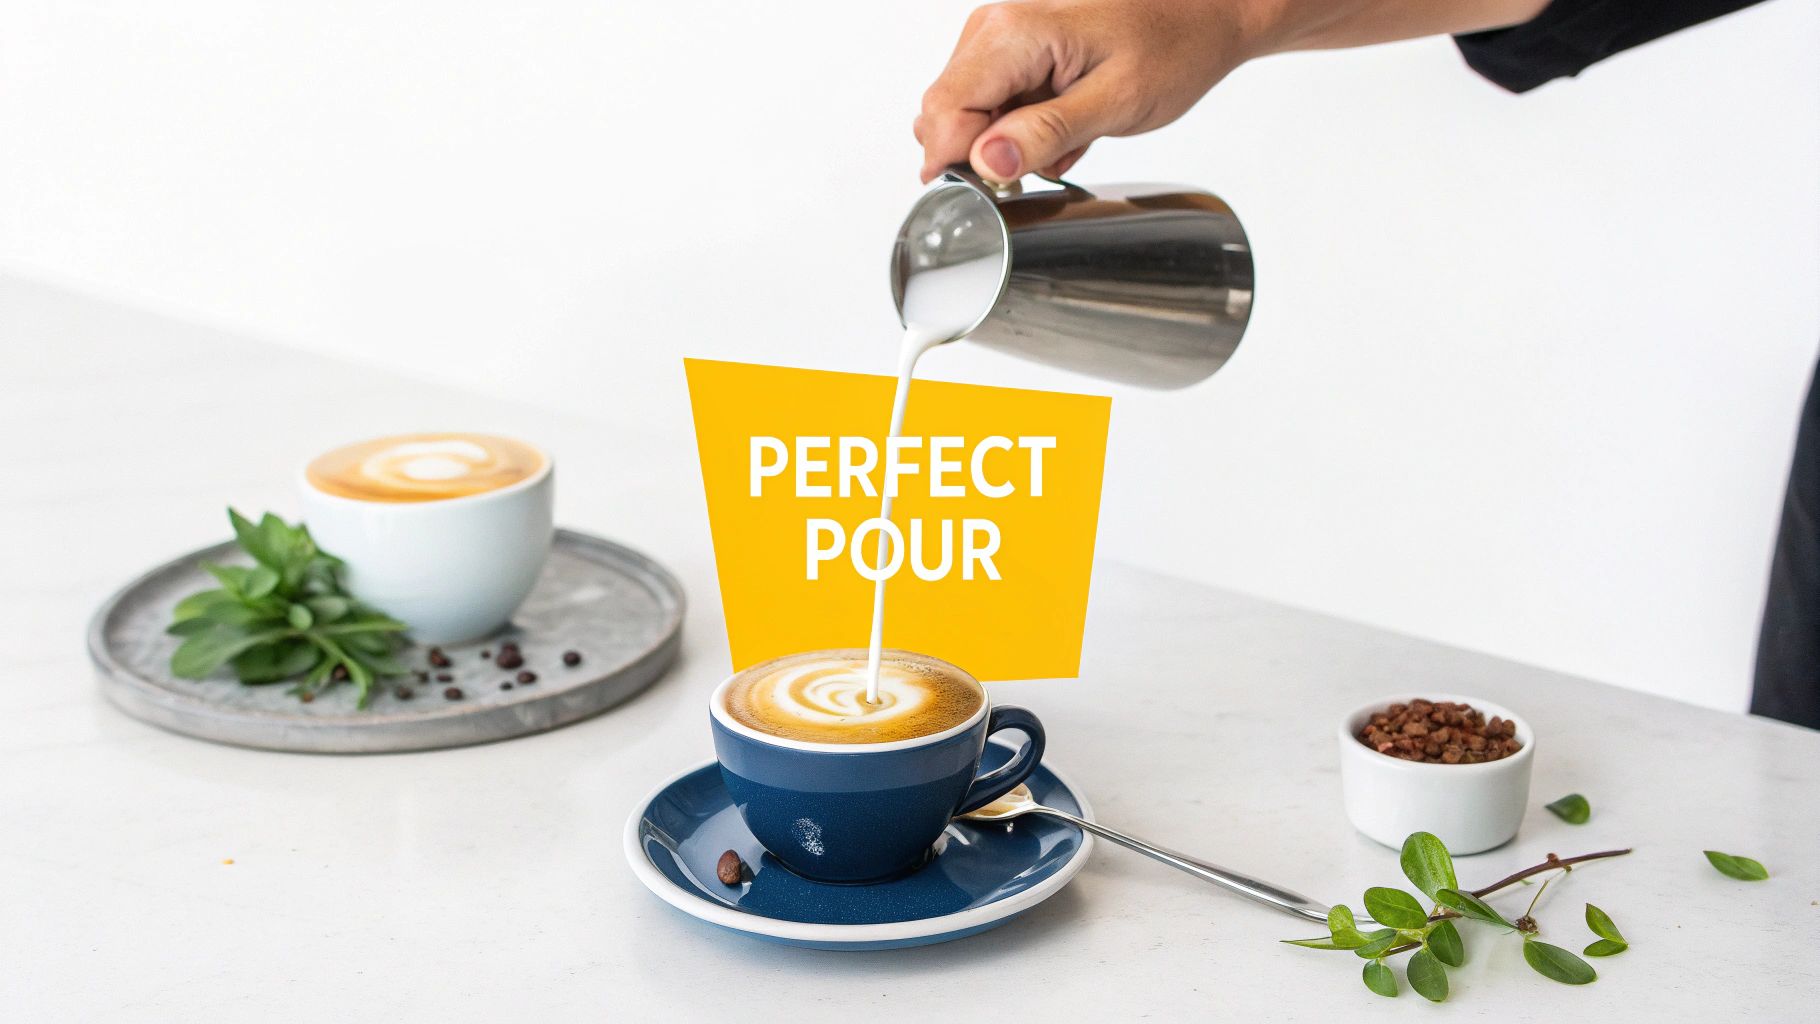
Nailing the Pour and Ratio
With your concentrated coffee already waiting in your favorite mug, it's time to pour. The way you combine the milk and coffee is what separates a frothy mess from a well-structured cappuccino.
Start pouring the steamed milk from a bit of a height, aiming for the center of the coffee. This initial steady stream will dive under the coffee's crema, laying the foundation. As the mug starts to fill up, bring the pitcher's spout closer to the surface and tilt it more aggressively. This encourages that thicker, richer foam to float on top.
The goal here is that iconic 1:1:1 ratio: one part coffee, one part steamed milk, and one part airy foam. Getting this right just takes a little practice. A good rule of thumb is to fill the first third of your mug with coffee, pour in the steamed milk until it’s about two-thirds full, and then finish it with that glorious cap of foam.
I like to use a spoon to hold back the stiffest foam at the very end. Once the liquid milk is in, I gently spoon the remaining foam right on top. This is the secret to getting that signature domed, pillowy cap that makes a cappuccino look so inviting.
Adding the Finishing Touches
A perfect cappuccino is a masterpiece on its own, but sometimes a little garnish is what makes it feel like a real treat. This is your chance to add a bit of personality to your creation.
Here are a few simple ways to finish your drink with style:
- Classic Dusting: You can't go wrong with a light sprinkle of unsweetened cocoa powder or ground cinnamon. I always use a small sieve to get that perfectly even, professional-looking layer.
- Sweet Drizzle: A delicate swirl of chocolate or caramel syrup can add a welcome touch of sweetness and looks fantastic.
- A Little Crunch: For something a bit different, try grating a little dark chocolate or a pinch of fresh nutmeg over the top. The texture is a great contrast to the soft foam.
These final details prove that you really can make a cafe-quality cappuccino without an espresso machine. It’s about transforming a simple morning coffee into a truly satisfying experience.
Common Problems and Pro Tips for Better Cappuccinos
Even with the best instructions, your first few attempts at making a cappuccino without an espresso machine might hit a snag. Don't worry, every home barista has been there. This section is all about troubleshooting the little things that can go wrong and sharing some insider tips to level up your skills.
The journey from a simple coffee to a perfectly balanced cappuccino is all about small adjustments. Whether your milk is flat or your coffee just tastes off, there’s usually a simple fix. Let’s get into it.
Fixing Your Milk Frothing Issues
Is your milk just refusing to cooperate? Flat, lifeless milk is probably the most common frustration when you're starting out. The problem almost always comes down to two things: the type of milk you're using and its temperature.
-
Milk Temperature: You need to hit the sweet spot, which is right around 150°F (65°C). If it's too cold, it just won't froth well. But if you get it too hot, the proteins break down and can't hold any foam. The goal is hot to the touch, but definitely not simmering or boiling.
-
Milk Choice: The protein and fat in milk are what create that stable, creamy foam. Whole milk is your best bet for a rich, classic texture. For a dairy-free alternative, barista-blend oat milk is the clear winner—it creates a foam that’s remarkably close to the real deal.
Still struggling? It might be your technique. If you're using the jar method, are you really shaking it vigorously? With a handheld frother, try starting just below the surface to create a nice layer of air before plunging it deeper to mix everything together. Those little details make a massive difference.
Dialing In Your Coffee Base
Is your coffee base tasting weak, watery, or maybe even a little bitter? The foundation of your drink has to be strong, and getting it right depends on how you're brewing it. A weak base is almost always a sign that your coffee-to-water ratio is off.
If you’re using a Moka pot or AeroPress, a bitter taste usually points to over-extraction. This can happen if your grind is too fine, your water is too hot, or you let it brew for too long. Try backing off with a slightly coarser grind, or pull your Moka pot off the heat the second it starts to gurgle.
Using instant coffee? The fix for weakness is simple: just add more coffee. For a truly espresso-like base, don’t be shy—use at least two heaping tablespoons for just two ounces of water. That's how you get the intense flavor needed to stand up to the milk.
Pro Tip: The easiest way to instantly improve your cappuccino is to pre-heat your mug. Just fill it with hot water while you prepare your coffee and milk, then dump it out right before you pour. A warm mug keeps your drink at the perfect temperature for so much longer, preserving that texture you worked so hard to create.
Popular Variations and Travel Tips
Once you've got the basics down, it's time to play. An iced cappuccino is surprisingly easy to make without an espresso machine. Just brew your strong coffee base, let it cool completely, and froth cold milk using the jar or a handheld frother. Pour the chilled coffee over ice, top it with your cold foam, and you’ve got a perfect summer drink.
This is where a high-quality instant coffee, like Cartograph Coffee's organic blend, really shines. It's the ultimate travel companion for coffee lovers. When you're camping or on the road, all you need is hot water and a jar to whip up a fantastic, cafe-quality cappuccino from anywhere. It gives you a consistently strong and flavorful base without any bulky equipment, making it a reliable solution for great coffee on the go.
Got Questions About Your No-Machine Cappuccino?
Even with the best instructions, a few questions always seem to come up when you're trying something new. Think of this as your personal troubleshooting guide—a place to clear up those final little details so you can perfect your homemade cappuccino.
I've heard these questions time and again from fellow coffee lovers, so let's dive into the answers.
Can I Really Get the Same Taste as a Cafe Cappuccino?
Let's be honest: a high-end espresso machine uses intense pressure to pull a shot with a unique crema and flavor profile. It's tough to replicate that exact process. But can you create a drink that’s just as delicious and satisfying? Absolutely.
The secret is focusing on a powerful, concentrated coffee base that gets close to the intensity of a real espresso shot. A Moka pot or an AeroPress is your best friend here, but even a really well-made, high-quality instant coffee can do the trick.
When you pair that strong base with properly frothed milk—you’re aiming for that velvety, wet-paint-like microfoam—the final drink is rich, balanced, and incredibly comforting. The biggest difference you'll notice is in the body and texture, but many people actually grow to prefer the unique character of their own home-brewed version.
The goal isn't a perfect replica; it's a fantastic drink. A well-made homemade cappuccino has its own charm and can easily stand up to your local cafe's version, especially since you get to make it exactly how you like it.
What's the Best Non-Dairy Milk for Frothing?
If you're going dairy-free, oat milk is the undisputed champion of frothing. It's just a fact. Its higher protein and fat content help it build a stable, creamy foam that behaves a lot like whole dairy milk. For the best, most reliable results, always grab a "barista blend." They're specifically formulated with a few extra ingredients to help them froth up beautifully and not separate in your hot coffee.
Almond milk is another decent option, but it usually creates a lighter, airier foam with bigger bubbles. It still makes a nice cappuccino, but you won't get that dense, silky texture you can achieve with oat milk.
No matter what you choose, be careful not to overheat it! Plant-based milks can be a bit sensitive. If they get too hot, they can curdle or taste a little "off." Stick to that 150°F (65°C) sweet spot for the best flavor and foam.
How Do I Make an Iced Cappuccino?
Making an iced cappuccino is one of my favorite warm-weather treats, and it's surprisingly easy.
First, make your strong coffee base and let it cool down completely. You can even brew it the night before and stash it in the fridge. Starting with chilled coffee is crucial—otherwise, you'll just end up with a watery, lukewarm drink.
Now for the best part: the cold foam. This is where the no-heat frothing methods really get to shine.
- Pour cold milk into a jar and shake it like crazy.
- Use a French press and plunge it up and down.
- Grab a handheld frother and whip it into a thick foam.
To assemble, just fill a glass with ice, pour in your chilled coffee, and spoon that beautiful, thick cold foam right on top. You get this amazing layered look and the same textural contrast as a hot cappuccino, but perfectly chilled for a sunny afternoon.
Ready to make all of this even simpler? The right coffee can make a huge difference, whether you're at home or out camping. Cartograph Coffee offers a premium organic instant blend that gives you a robust, delicious base every single time, with none of the fuss. Explore our coffee and taste the difference.