Ever found yourself craving a great cup of coffee, only to realize your machine is on the fritz? Or maybe you're camping, traveling, or just want to try something new. Good news: you can brew a fantastic cup of coffee with simple tools you probably already have in your kitchen, like a basic pot or even a glass jar.
It all comes down to a few core techniques—gently simmering grounds on the stove, rigging up a simple pour-over, or letting time work its magic with a cold brew steep.
Your Guide to Great Coffee Without a Machine
Let's get one thing straight: you don't need a pricey, counter-hogging machine to make a truly satisfying cup of coffee. Learning these manual methods isn't just a backup plan; it's a way to get more involved in the brewing process. For many coffee lovers, it's a deliberate choice, a daily ritual that offers more control over the final taste.
This hands-on approach is more than a niche hobby. The global market for manual drip coffee makers was valued at around $1.5 billion and is still climbing. It's a clear sign that people are rediscovering the joy of artisanal brewing at home. If you're curious, you can dig into the details of the manual brewing market's growth and see just how popular these methods have become.
Choosing Your Method
Before you start, think about what you have on hand and how much time you've got. Each method coaxes a different character out of the beans.
- Stovetop Brew: This is your go-to for a rich, full-bodied cup with a classic, almost percolator-like intensity.
- DIY Pour-Over: Go this route if you want a clean, bright, and nuanced flavor that lets the coffee's origin notes shine.
- Cold Brew Jar: The patient brewer’s choice. It yields an incredibly smooth, low-acid concentrate perfect for hot or iced coffee.
To help you decide, here’s a quick breakdown of what to expect from each approach.
Machine-Free Coffee Methods at a Glance
This table offers a quick comparison to help you pick the right method for the moment.
| Method | Best For | Grind Size | Brew Time |
|---|---|---|---|
| Stovetop | A quick, bold, and robust cup | Coarse | 5–10 minutes |
| DIY Pour-Over | A clean, bright, and nuanced flavor | Medium-Coarse | 3–5 minutes |
| Cold Brew | Smooth, low-acid, and versatile concentrate | Coarse | 12–24 hours |
| Instant | The ultimate convenience | N/A | ~1 minute |
As you can see, the time commitment varies wildly.
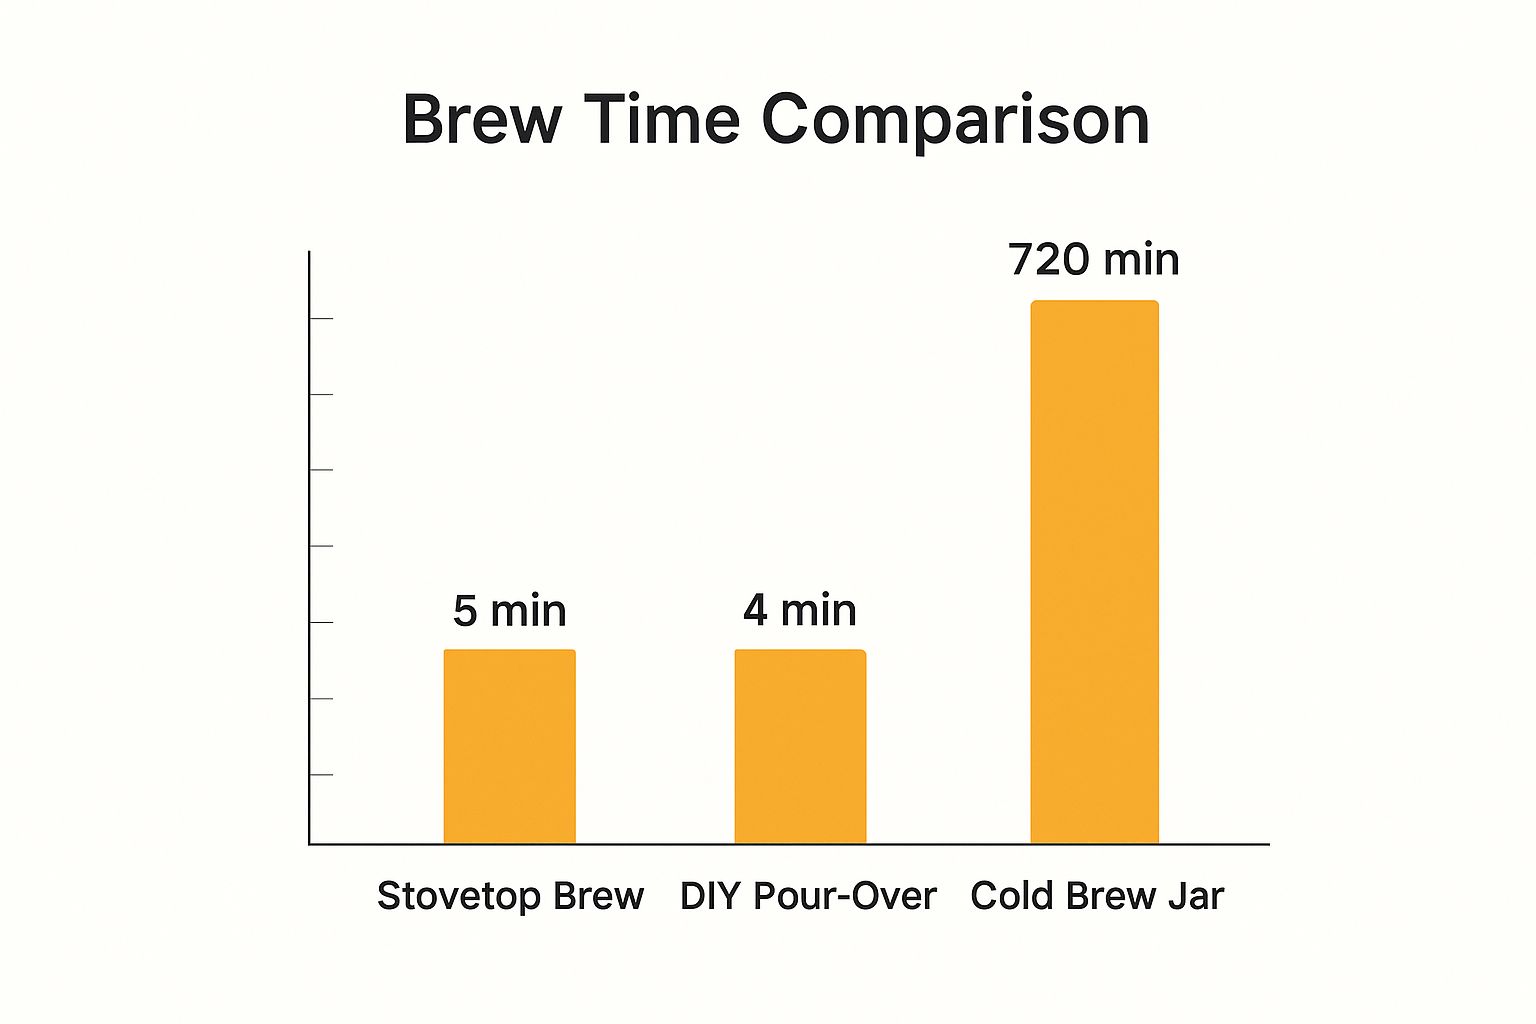
Cold brew is definitely a long game—a delicious investment in future you—while the stovetop and pour-over methods will get a great-tasting cup in your hands in just a few minutes.
Mastering the Classic Stovetop Brew
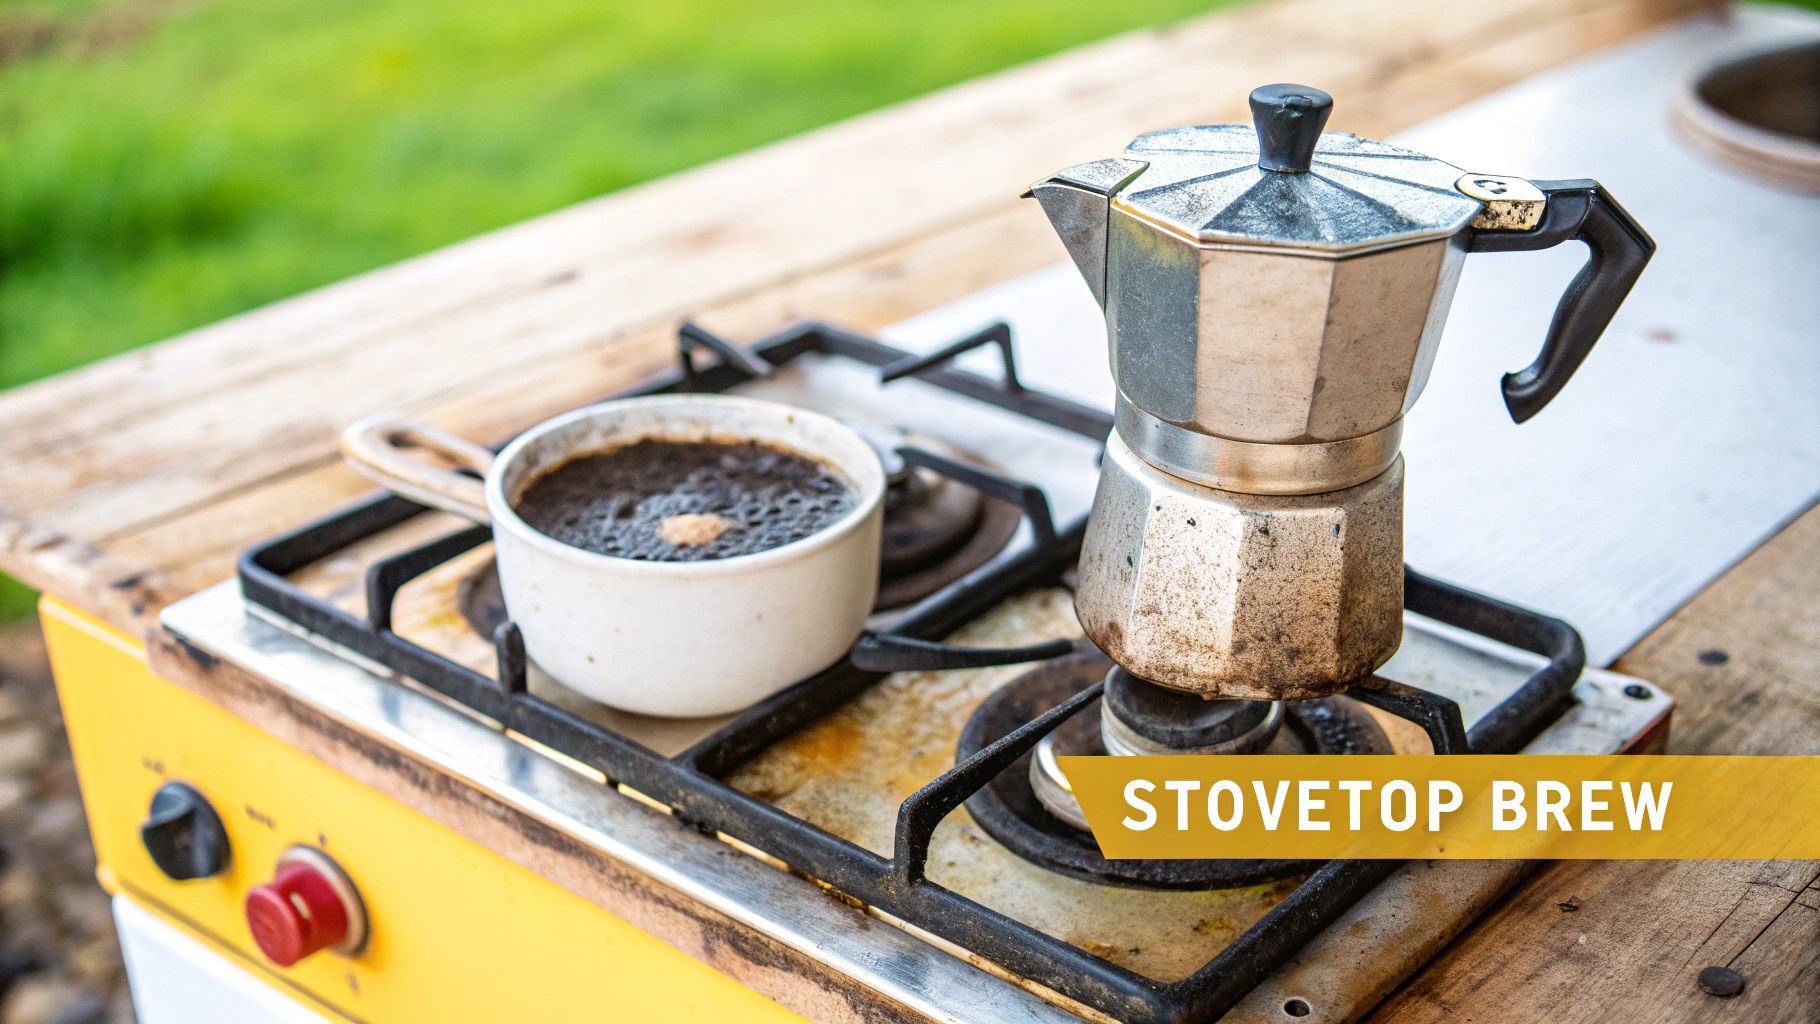
There’s something deeply satisfying about brewing coffee right on the stovetop. It’s a rustic, time-honored method that feels incredibly direct and is a lifesaver on camping trips or during a power outage. All you really need is a saucepan, water, and your favorite coarse-ground coffee.
The real art here is coaxing out a rich, full-bodied flavor without any of the bitterness. Success boils down to two things: temperature and time. The most common mistake? Boiling the coffee. That's a surefire way to scorch the grounds and end up with a harsh, unpleasant cup.
The sweet spot for your water temperature is between 195–205°F (90–96°C). If you don't have a thermometer, no problem. Just bring the water to a boil, then pull it off the heat for 30-60 seconds before you add the coffee grounds.
Getting the Ratio and Brew Right
For a solid starting point, I usually recommend one to two heaping tablespoons of coarse grounds for every six ounces of water. Don't be afraid to tweak this a bit to match your personal taste.
Once your water has cooled slightly, stir in your coffee grounds. Keep the pot over low heat and let it gently simmer for about two to four minutes. The key word here is simmer—never let it hit a rolling boil. You’ll know it’s ready when the kitchen starts to smell amazing and you see the grounds begin to settle.
If you want to dive deeper into how heat affects your brew, this guide on the correct temperature for coffee is a fantastic resource.
After it's done simmering, take the pot off the stove and just let it be for a minute or two. This little pause is crucial because it gives the grounds a chance to sink to the bottom of the pot.
- The Settling Trick: Here's an old camper’s trick I love: sprinkle just a few drops of cold water on top. This temperature shock helps the grounds fall to the bottom much faster.
- The Perfect Pour: When you pour, do it slowly and steadily. Try to leave that last inch of coffee in the pot—that's where all the gritty sediment is hiding. This one small step makes a world of difference for a cleaner cup.
How to Improvise a Pour-Over Coffee
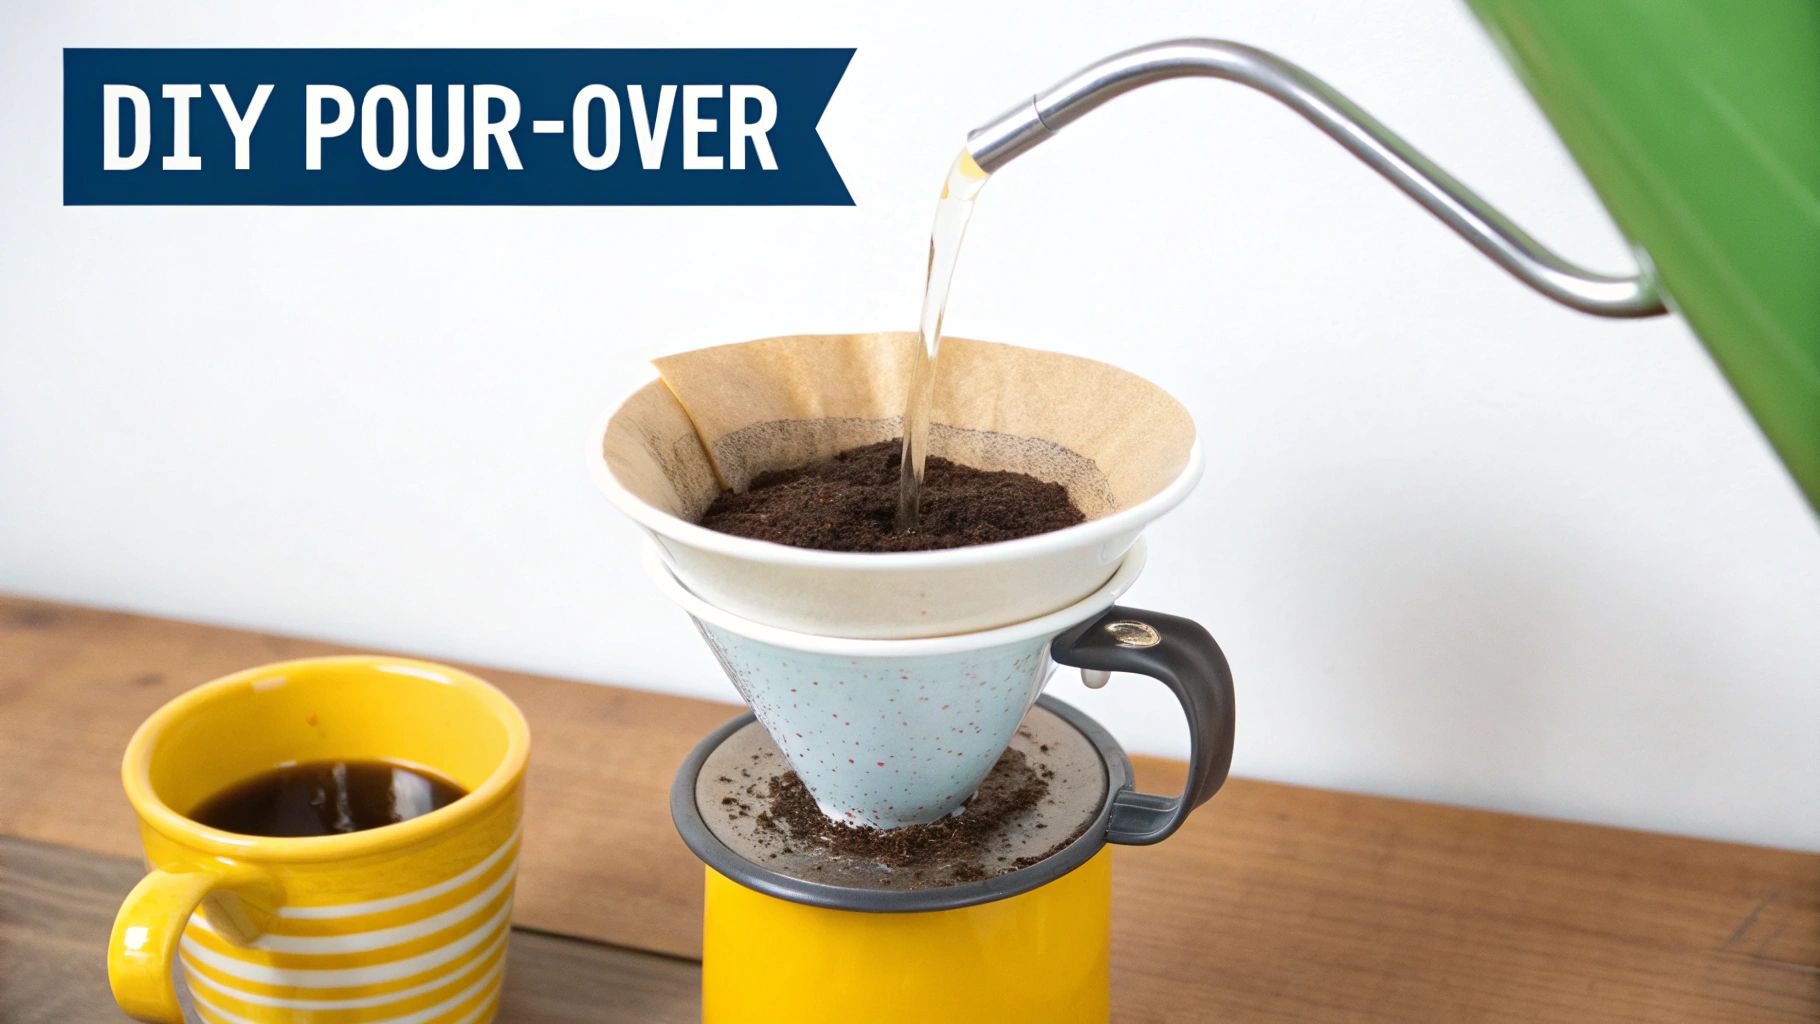
You don't need a fancy cone or a special gooseneck kettle to get the clean, bright flavors of a great pour-over. This method is all about creative problem-solving and can be one of the most rewarding ways to make coffee without a machine. With just a few things you probably already have, you can rig up a surprisingly effective brewing station.
This hands-on approach is perfect for anyone who loves having control over their brew. It's part of a bigger shift toward mindful consumption, where the process itself is half the fun. It’s no surprise that the manual drip coffee maker market is booming, which you can read more about these consumer coffee preferences if you're curious. People are clearly rediscovering the joy of brewing by hand.
Setting Up Your DIY Pour-Over Station
First, you need a filter. A standard basket-style coffee filter is ideal, but if you're fresh out, a sturdy paper towel can work in a pinch. Just make sure it's a good quality, unscented one—you don't want it to tear or add any papery taste to your coffee.
Next, you've got to find a way to suspend the filter over your mug. You have a few clever options here:
- The Chopstick Method: Just lay two chopsticks parallel across the top of your mug. They make a perfect, stable little platform for the filter.
- The Rubber Band Method: Tuck the filter down into the mug, fold its edges over the rim, and then snap a rubber band around it to hold it in place.
- The Binder Clip Hack: Clip the filter directly to the rim of your mug using three or four binder clips. Easy and surprisingly secure.
Mastering Your Pouring Technique
Once your setup is stable, add your coffee—a medium grind works best. The real secret to a good pour-over is controlling the water flow to get an even extraction. Bring your water to a boil and then let it sit for about a minute to cool just slightly.
Start by pouring in just enough hot water to saturate the grounds. This is called the "bloom." Let it bubble and release its gasses for about 30 seconds.
After the bloom, continue pouring slowly and steadily in a circular motion, starting from the center and spiraling your way out. Try to avoid pouring water directly down the sides of the filter; you want it to pass through the coffee grounds.
Pro Tip: If your coffee tastes weak, your grind is probably too coarse or you poured too fast. If it’s bitter, the grind is likely too fine or your pour was too slow. Small adjustments make a huge difference in the final cup.
This improvised method proves that a little ingenuity is all you need for a fantastic, sediment-free brew that really lets the unique notes of your coffee beans shine.
3. The Patient Brewer: Making Smooth Cold Brew in a Jar
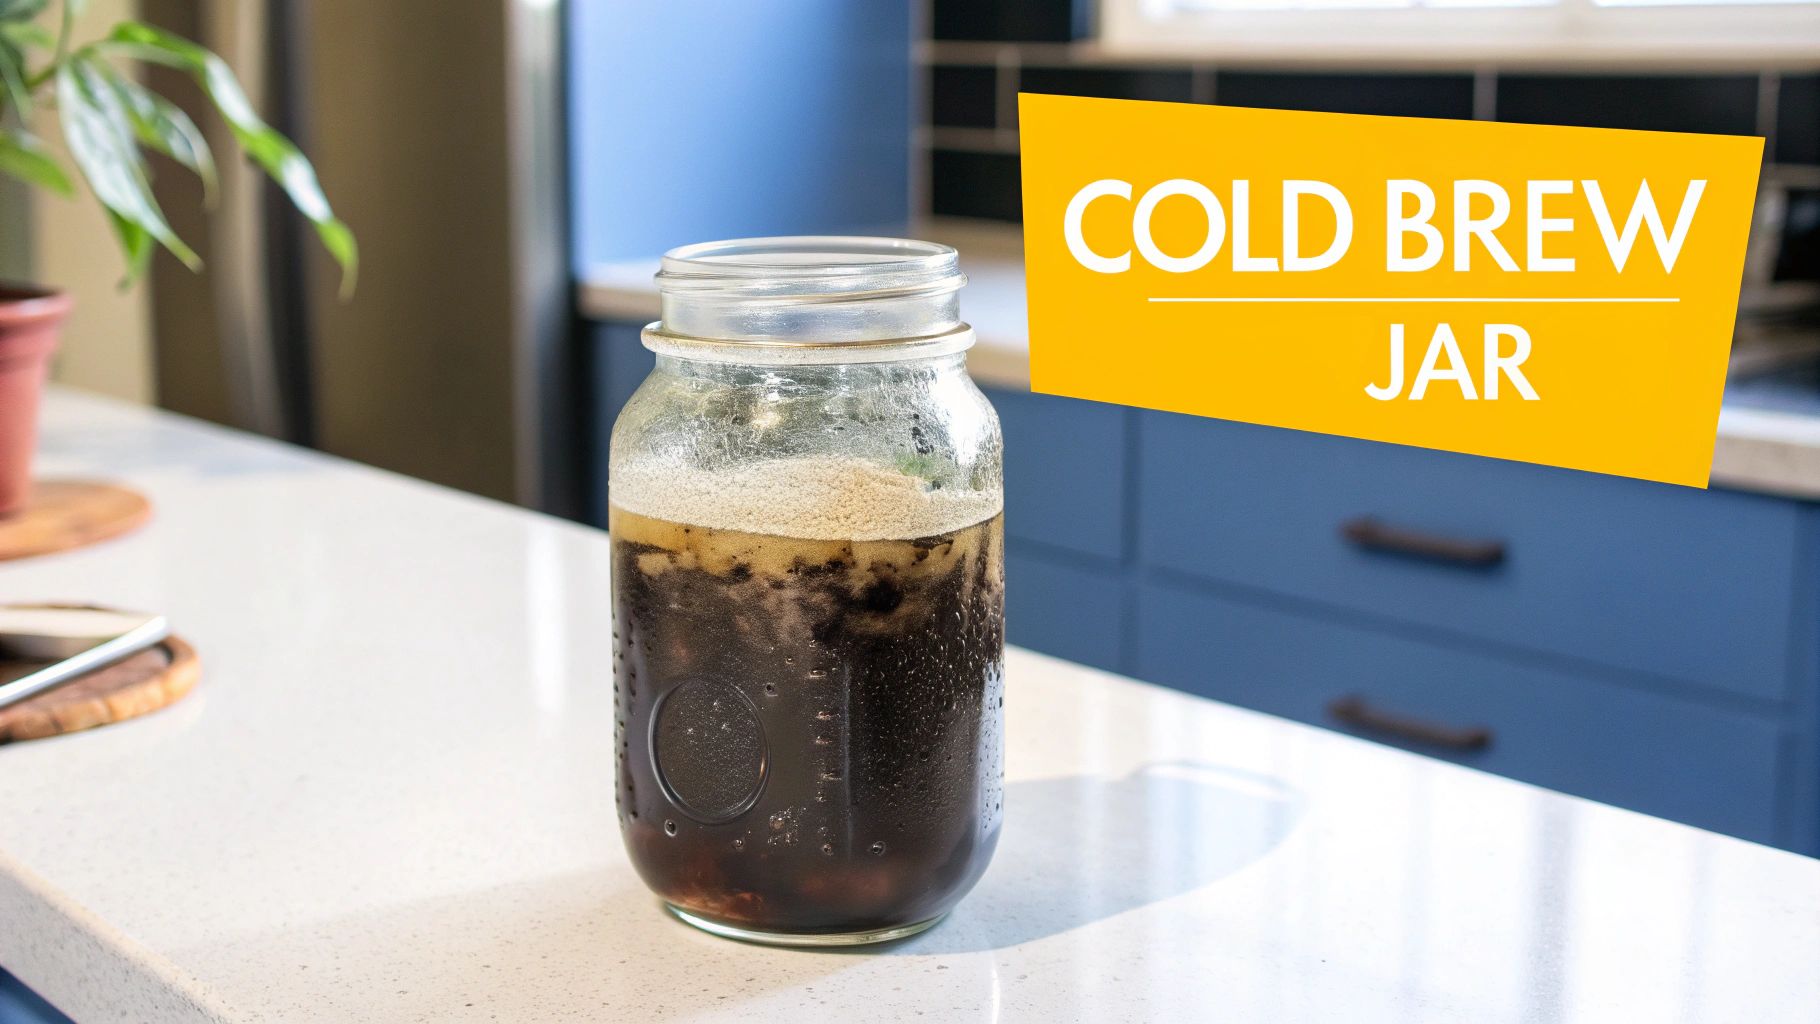
If you're after a coffee that's incredibly smooth, naturally sweet, and easy on the stomach, cold brew is calling your name. This method is the definition of "set it and forget it" when you're making coffee without a machine—all it asks for is a bit of patience. Your only tools are a large jar, some coarsely ground coffee, and cold water.
The magic of cold brew is in its gentle, slow extraction. By letting the grounds hang out in cold water for a long time, you coax out all the rich, deep, chocolatey flavors without the bitter compounds that hot water tends to release. It’s a completely different (and incredibly forgiving) way to brew.
This simple, hands-off approach is a big part of why people are exploring brewing beyond the push of a button. While the global coffee machine market is expected to grow to $15.1 billion, that number also points to a craving for diverse coffee experiences. Methods like cold brew nail that desire for simplicity and quality.
How to Make Cold Brew Concentrate
Your starting point is a good ratio. A great one to remember is 1 part coarse coffee grounds to 4 parts cold, filtered water. Just dump them both into a jar, give it a stir to make sure all the grounds get wet, and screw on the lid.
Now comes the easiest part: waiting. Just let the jar sit on your counter or in the fridge for anywhere from 12 to 24 hours.
- 12-16 hours: A lighter, brighter brew.
- 18-24 hours: A potent, robust concentrate.
Pushing it to a full 24 hours will give you a strong coffee concentrate. If you want to dive deeper, check out our guide on what coffee concentrate is and how to use it.
The single most important part of this whole process? The grind. You absolutely need a coarse grind. Anything finer will over-extract, leaving you with a cloudy, silty coffee that’s impossible to filter cleanly. You're looking for a texture like coarse sea salt.
When the time is up, you just need to strain it. Pour the mixture slowly through a fine-mesh sieve, some cheesecloth, or in a pinch, even a clean t-shirt stretched over a bowl. Don't rush this step—patience here pays off with a clean, grit-free brew.
What you're left with is a fantastic cold brew concentrate that you can keep in the fridge for up to two weeks. To make a drink, just mix it with cold water, hot water, or your favorite milk until it tastes just right.
Making the Most of Instant Coffee
Let's be honest, instant coffee doesn't always have the best reputation. But when you need a caffeine fix without any equipment, its speed is a lifesaver. Forget those sad, watery cups you might be picturing. With a couple of smart moves, you can turn a simple powder into a surprisingly rich and satisfying brew.
The real secret lies in how you mix it. Instead of just dumping the coffee crystals into a mug of hot water, try making a slurry first. Just add a tablespoon of cold or room-temp water to your instant coffee and stir it into a thick, smooth paste. This one little step ensures every granule dissolves perfectly, getting rid of those nasty clumps and creating a much silkier texture in your final cup.
Mind Your Water Temperature
Here’s another mistake I see all the time: using water that’s boiling hot. Pouring scorching water straight onto instant coffee can actually burn it, leaving you with a harsh, bitter taste. No one wants that.
For a smoother, less acidic brew, bring your water to a boil and then let it sit for 30 to 60 seconds before you pour. This slight drop in temperature makes a huge difference, protecting the delicate flavors of the coffee.
Of course, the quality of the coffee itself is a big piece of the puzzle. Not all instant coffees are the same. Brands like Cartograph Coffee have really changed the game by using high-quality, organic beans that deliver a flavor that's miles ahead of the old stuff. When you combine a great product with these simple techniques, you start to close the gap between convenience and a genuinely fantastic cup of coffee.
Looking for even more ways to level up your instant brew? Check out our complete guide on how to make instant coffee taste better for more tips and tricks.
4 Essential Tips for Better Manual Brewing
Whichever method you land on for your machine-free coffee, a few simple habits can elevate your brew from just "okay" to something truly special. It’s these little details that make all the difference, giving you a consistently delicious cup every time.
Let's start with the most overlooked ingredient: water. Your finished coffee is over 98% water, so if you start with bad-tasting water, you’re going to get bad-tasting coffee. Using filtered water is a game-changer. It gets rid of chlorine and other minerals that can make your brew taste flat or funky, allowing the coffee's real flavors to shine through.
Always Start with Whole Beans
If you want to make one single change that will dramatically improve your coffee, this is it: grind your beans fresh. The moment coffee is ground, it starts to go stale, losing the delicate aromas and oils that make it so delicious.
Pre-ground coffee is convenient, but you're missing out on so much flavor. Grinding right before you brew unlocks a powerful, vibrant taste that you just can't get from a bag of pre-ground stuff. It's a small step with a massive payoff.
Nail Your Coffee-to-Water Ratio
You also have complete control over the strength of your brew. A great starting point for most methods is to use one to two tablespoons of ground coffee for every six ounces of water.
Think of this as your baseline, not a rigid rule. Is your coffee a bit weak? Add more grounds next time. A little too strong? Dial it back. The beauty of manual brewing is tweaking the process until you find what’s perfect for you.
Getting these three things right—good water, fresh grounds, and a ratio you love—puts you in the driver's seat. You’ll be well on your way to brewing an exceptional cup of coffee, no machine needed.
Common Questions About Making Coffee Without a Machine
Diving into manual brewing for the first time? It's normal to have a few questions. Once you get the hang of a few key details, you'll be making fantastic coffee without a machine, every single time.
Let's walk through some of the things people often ask.
What's the Right Coffee Grind Size to Use?
This is a big one, and it really depends on your method. For brewing on the stovetop or making cold brew, you’ll get the best results with a coarse grind—think of the texture of chunky sea salt. This helps keep sludgy sediment out of your cup and prevents the bitter taste that comes from over-extraction.
If you're trying the improvised pour-over, aim for a medium to medium-fine grind, something closer to regular table salt. This strikes the perfect balance, letting the water flow through at just the right pace for a full-flavored, well-rounded brew.
Is It Okay to Use Pre-Ground Coffee?
Of course. While nothing beats the aroma and taste of freshly ground beans, pre-ground coffee is a perfectly good, convenient choice. The standard "drip" grind you find in most bags will do the trick for both the stovetop and pour-over methods.
Just a heads-up: that same grind is often too fine for cold brew. You might end up with a cloudy concentrate that's a bit gritty. But hey, it’s all about making do with what you’ve got on hand.
Here's a pro-tip that's easy to overlook: water makes up over 98% of what's in your cup. Always use filtered water if you can. It gets rid of chlorine and other stuff in tap water that can really mess with the flavor of your coffee.
How Much Does Water Temperature Matter?
For any hot brewing method, it matters a lot. You're aiming for that sweet spot between 195-205°F (90-96°C). If you pour boiling water (212°F or 100°C) directly onto your grounds, you'll scorch them, and your coffee will taste burnt and bitter.
Here’s an easy way to get it right without a thermometer: bring your water to a rolling boil, then just take it off the heat. Let it sit for about 30 to 60 seconds before you start brewing. That's all it takes to bring it down to the perfect temperature.
For a consistently great-tasting cup without any guesswork, try Cartograph Coffee. Our organic instant coffee dissolves smoothly, delivering rich flavor in seconds, making it the perfect companion for your busy mornings or outdoor adventures. Explore our blends today.