You're standing beside a camp stove with one hand on a chipped mug and the other tipping hot water from a blackened kettle. Steam catches the early light. The coffee smells decent, but the first sip is thin and oddly bitter. Back home, you use the same beans with a gooseneck kettle and a filtered pitcher, and the cup tastes sweeter, clearer, and more fragrant.
The difference may not be the coffee. Water is the main ingredient in the finished drink, so its minerals, chlorine, hardness, alkalinity, and temperature can change both extraction and flavor. Coffee also carries a surprisingly large hidden water footprint. A widely cited benchmark estimates that one standard 125 to 140 millilitre cup requires about 130 to 140 litres of water, most of it used during cultivation, as described in the Water Footprint Network report.
The useful approach isn't to chase laboratory perfection. It's to treat coffee and water as a practical pairing, then choose the least complicated setup that gives you a clean, balanced cup at home, in an office, or beside a campfire.
Why Water Quietly Decides Your Coffee
Coffee can hide a lot of mistakes. Fresh beans and a good grinder help, but water still determines which soluble compounds leave the grounds and how they taste together. Dissolved minerals interact with coffee compounds during brewing, changing both the rate of extraction and the composition of the finished cup. A peer-reviewed discussion of this chemistry explains how cations such as sodium, magnesium, and calcium coordinate with coffee compounds and influence what reaches the mug.
That's why the campsite version can disappoint even when the beans are the same. Creek water may carry a mineral profile you can taste, bottled water may be unusually soft or alkaline, and a metal kettle can add a stale or metallic note if it hasn't been cleaned. At home, a carbon filter often removes chlorine and odor, while a more controlled mineral profile lets the coffee show more of its acidity and sweetness.
Practical rule: If the water tastes unpleasant on its own, it probably won't make pleasant coffee.
Three sensory checkpoints
You don't need a laboratory to identify a water problem. Taste the coffee slowly and check three things:
- Aroma lift: Does the cup smell open and lively, or does chlorine flatten the fragrance before you drink it?
- Body: Does it feel rounded and substantial, or thin and hollow? Very low-mineral water can leave coffee lacking structure.
- Clean finish: Does sweetness remain after the sip, or does a hard, chalky, or medicinal note take over?
Very hard water can mute sweetness and clarity. Water with too little mineral content can produce a cup that feels empty, while excessive or poorly balanced minerals may increase harshness and create scale inside brewing equipment. The important point is that more minerals aren't automatically better. Balance matters more than intensity.
This also explains why filtered water advice can sound contradictory. One brewer may need filtration to remove chlorine and excess hardness. Another may need to add minerals back after using reverse osmosis. A third person making instant coffee at a campsite may only need clean, odor-free water and a reliable temperature.
The rest of the decisions become easier once you stop treating water as a neutral background. Tap, filtered, bottled, and remineralized water each involve a trade-off between flavor control, convenience, cost, and machine health.
Choosing the Right Water for Brewing
Start with the water already in your kitchen. Tap water is often the most convenient option, but its quality varies by location and building. Chlorine or chloramine can suppress aroma and add medicinal notes, while high hardness can leave scale in kettles and espresso machines. Before buying equipment, taste a glass of cold tap water and inspect your kettle for visible buildup.
Move through the options in order
Straight tap water works when it tastes clean and doesn't leave heavy scale. It's the sensible baseline for many drip brewers, French presses, and instant coffee users.
Charcoal filtration is the next step when chlorine, odors, or mild off-flavors are the problem. A simple activated-carbon filter can improve the cup without requiring mineral chemistry, though it won't solve every hardness or alkalinity issue.
A filter pitcher adds convenience and makes side-by-side testing easy. Replace its cartridge according to the manufacturer's instructions. An exhausted filter can become another source of unpleasant taste rather than a solution.
Reverse osmosis or distilled water gives you a controlled starting point, but pure water usually lacks the minerals that help coffee extract with body and balance. Use it as a base for remineralization rather than assuming the purest water will brew the best coffee. The Oxy Plus Water Lander can be useful background reading if you're comparing water-treatment approaches for brewing and household use.
Specialty-coffee guidance commonly frames brewing water around 50 to 175 ppm TDS, with a common target near 150 ppm, hardness around 17 to 85 ppm as CaCO₃, and alkalinity near 40 ppm as CaCO₃, according to Coffee Review's water-quality reference. Espresso users often work within a narrower practical range of roughly 80 to 150 ppm TDS, because mineral deposits can damage machines and pressure can make flavor problems more obvious.
The broader trade-off is simple. Filter coffee can tolerate a wider range than espresso equipment, while instant coffee usually benefits most from clean, neutral-tasting water rather than painstaking mineral adjustment. Another practical guide frames general targets around 75 to 250 ppm TDS, calcium hardness of 50 to 175 ppm, alkalinity around 40 ppm, and pH between 6.5 and 7.5, while also distinguishing filter brewing from espresso. You can use that water chemistry guide for coffee as a decision aid, not a commandment.
| Water Source | Typical Hardness (ppm CaCO₃) | Impact on Coffee | Recommended Use |
|---|---|---|---|
| Tap water | Varies by location | May add chlorine, scale, or mineral heaviness | Use when it tastes clean |
| Charcoal-filtered water | Lower contaminant taste, variable minerals | Cleaner aroma and fewer off-flavors | Good first upgrade |
| Bottled spring water | Varies by brand | Can improve flavor, but may be too hard or soft | Test by taste and label |
| RO or distilled water | Very low mineral content | Often thin unless remineralized | Controlled base for recipes |
For a quick home test, brew the same coffee with tap, bottled spring, and filtered water. Keep the coffee, grind, dose, temperature, and brewing method unchanged. If you want a visual clue, add a small amount of cold-brewed coffee to separate glasses of tap and filtered water. Cloudiness or a visible difference doesn't provide a full water analysis, but it can prompt a more useful taste comparison.
Ratios, Temperature, and Grind Working Together
A coffee recipe is a system, not a pile of independent rules. Ratio controls strength, temperature affects extraction speed, and grind controls how easily water reaches the coffee. Change all three at once and you won't know which adjustment helped.
For drip coffee, a useful starting point is a 1:16 coffee-to-water ratio by weight. Immersion brewing often works well around 1:15, while pour-over or instant coffee may suit a slightly longer ratio around 1:17, depending on the coffee and the strength you prefer. These are starting points, not guarantees. A dark roast may taste better with more water, while a delicate light roast may need enough concentration to avoid tasting weak.
Temperature follows roast and method
Brewing water between 195 and 205°F is a practical range for hot coffee, as summarized in this guide to water temperature for brewing coffee. Light roasts often respond well near the hotter end because their dense structure can resist extraction. Darker beans generally need less heat to avoid pulling excessive bitterness and roast character.
Boiling water can extract too aggressively, especially when the grind is fine or the contact time is long. Water that's too cool may leave the cup sour, thin, or underdeveloped. If you don't have a thermometer, let freshly boiled water sit briefly before pouring, then adjust based on taste rather than chasing an exact display reading.
Grind must match contact time
Espresso needs a fine grind because water moves quickly through a compressed puck. Pour-over uses a medium grind, which gives water enough resistance during a controlled flow. French press needs a coarse grind to reduce sediment and slow extraction during immersion.
Instant coffee skips grinding and brewing extraction altogether. The coffee was extracted before drying, so your main controls are water quality, temperature, and how much water you add. That makes instant particularly useful when you're traveling without a grinder or scale.
| Method | Coffee (g) | Water (g) | Temperature | Grind | Time |
|---|---|---|---|---|---|
| French press | 20 | 300 | 195 to 205°F | Coarse | Several minutes |
| Pour-over | 18 | 288 | 195 to 205°F | Medium | A few minutes |
| Instant | Follow packet or taste preference | Adjust to taste | Hot, not necessarily boiling | None | Stir until dissolved |
Use the table as a framework, then make one change at a time. If the pour-over tastes sour, try a finer grind or slightly hotter water. If it tastes harsh, go coarser, reduce temperature, or shorten contact. If instant tastes intense, add water. Don't grind more finely, raise the temperature, and extend the brew all at once.
Brewing Scenarios for Home, Office, and the Trail
The same single-origin coffee can behave like three different drinks depending on the setting. At home, you can control water, temperature, grind, and pouring. At work, speed and cleanup matter more. On a trail, the winning recipe is usually the one you can execute with cold fingers, uneven ground, and limited equipment.
Home pour-over
Use filtered water if your tap water carries chlorine, odor, or heavy scale. A 1:16 ratio, medium grind, and water around 94°C provide a dependable starting point. A 30-second bloom lets the grounds wet evenly before the main pour, which helps prevent dry pockets and uneven extraction.
A gooseneck kettle and scale make repeatability easier, but they don't rescue stale beans. Great water can reveal sweetness and clarity, yet it can't restore aroma that the coffee has already lost. If the cup tastes sharp, change grind or temperature before blaming the water.
Office quick brew
An AeroPress offers more control than a communal machine and is easier to clean than many manual brewers. Quality instant coffee is even simpler when the office kettle is slow, mineral-scaled, or shared by everyone. Bottled water can avoid kettle-related scale and chlorine problems, but check that it doesn't taste strongly mineralized.
For instant, add the coffee to hot water and stir thoroughly. If the result tastes flat, try cleaner water before buying another gadget. Convenience brewing doesn't need to imitate a café workflow. It needs to produce a cup you'll drink.
Camp stove
Outdoor water deserves caution. If you collect water from a creek, follow appropriate local treatment guidance rather than assuming a boil makes every water issue disappear. Bottled water is simpler when available. For a camp-stove method, boil the water, let it cool toward 92°C, and use coarse-ground coffee or instant at approximately 1:15.
The practical details in this camping guide to heating water for coffee matter because overheating, wind, and unstable cookware can affect the result. A lidded pot retains heat. A mug with a narrow opening helps preserve aroma. A spoon is enough for instant, and a small mesh filter can replace a full pour-over setup.
| Method | Water Source | Ratio | Temperature | Time | Flavor Ceiling |
|---|---|---|---|---|---|
| Home pour-over | Filtered water | 1:16 | 94°C | Bloom, then controlled brew | Highest control and clarity |
| Office AeroPress or instant | Clean bottled or filtered water | Adjust to taste | 85 to 90°C for quick brewing | Short | High convenience, moderate control |
| Camp stove | Treated creek or bottled water | 1:15 | Cool boiled water toward 92°C | Short immersion or stir | Strong result with limited gear |
When the kettle has no temperature setting, wait after boiling. When the scale is missing, use the same mug and fill level each time. When the grinder is unavailable, choose instant rather than carrying equipment that makes the trip harder. The best method is the one that fits the morning in front of you.
Troubleshooting Off Flavors and Common Brewing Mistakes
Off-flavors usually point to a small group of causes. Start with water, then check temperature, grind, ratio, and contact time. Don't replace every variable at once.
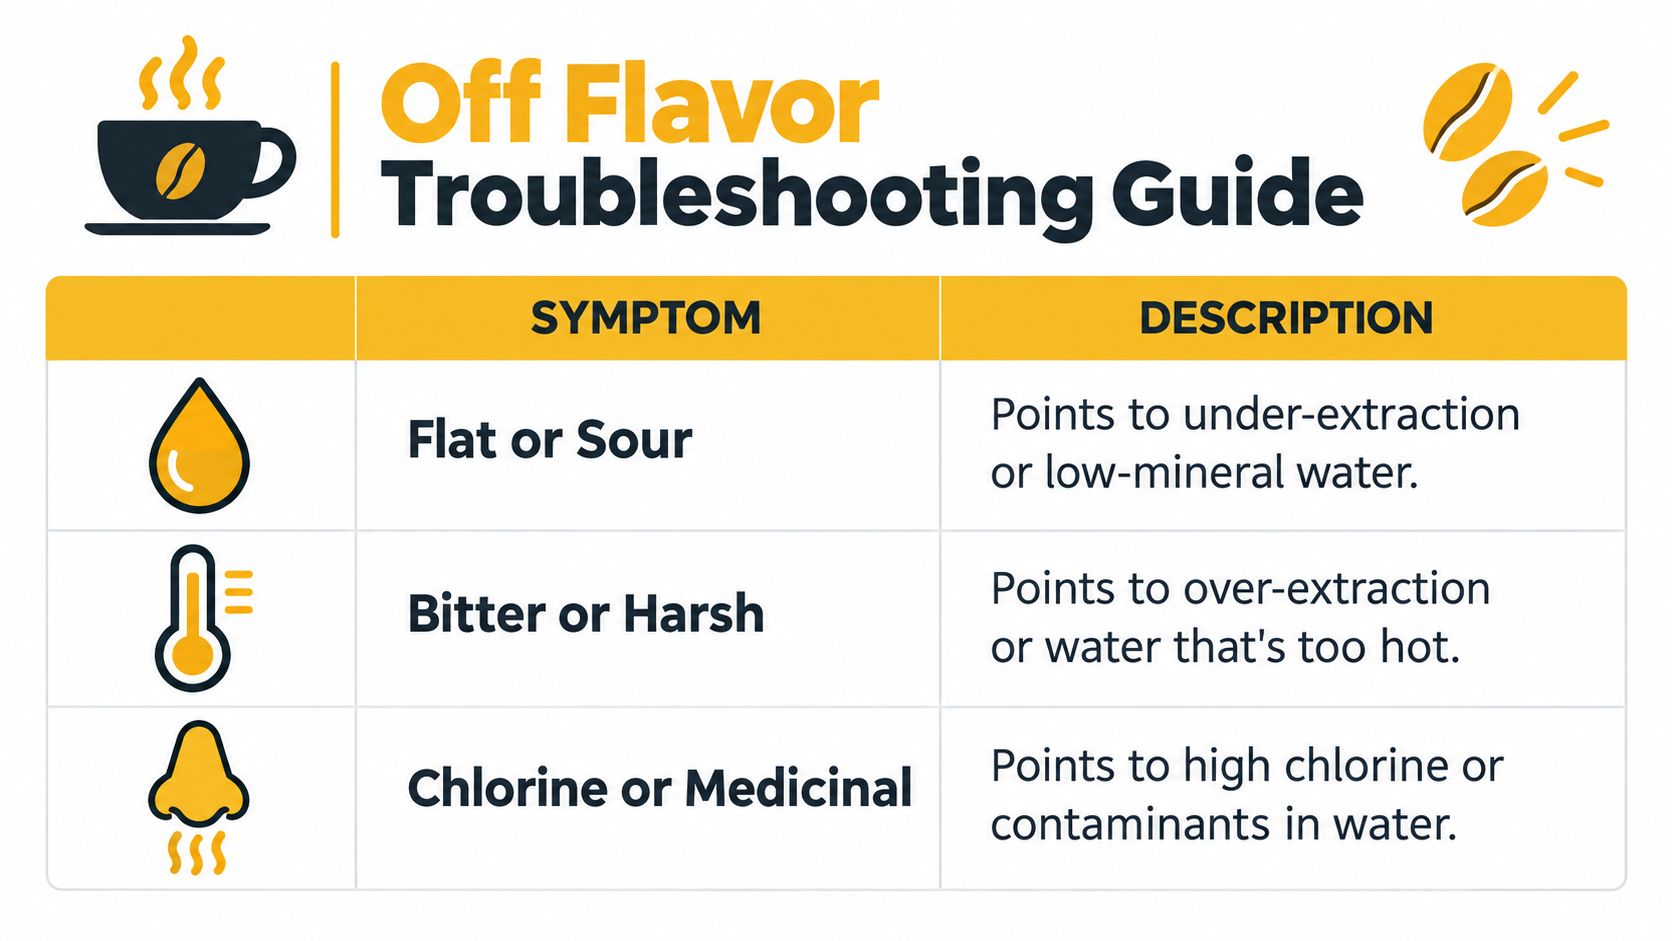
| Symptom | Likely culprit | First adjustment |
|---|---|---|
| Flat or sour | Under-extraction or very low-mineral water | Grind slightly finer or use balanced filtered water |
| Bitter or harsh | Excessive extraction, water too hot, heavy minerals, or long steeping | Reduce heat, shorten contact, or grind coarser |
| Chalky or metallic | High TDS, scale, or a corroded kettle | Test water and clean or replace the kettle |
| Weak and watery | Too little coffee or grind too coarse | Check the ratio and grind finer |
| Cardboard-like | Coffee sitting on grounds too long or stale beans | Shorten contact and use fresher coffee |
| Chlorine or medicinal | Chlorinated water or contamination | Use fresh carbon-filtered water |
Start with the cup's main signal
Flat or sour coffee often means the water hasn't extracted enough. A very low-mineral water can contribute to a hollow cup, but a coarse grind, low temperature, or short brew is just as likely. Increase temperature in small steps, around 2°C at a time, or make the grind slightly finer.
Sharp bitterness points toward excessive extraction. Let boiled water rest for about 45 seconds before pouring if you don't have a thermometer. You can also shorten the steep, use a coarser grind, or switch to cleaner water if your TDS reading is above 150 ppm, a practical threshold drawn from specialty brewing guidance.
Chalky, metallic, or medicinal flavors deserve a water and equipment check. Test the water rather than guessing, especially if you use a private well. These practical well-water testing steps can help you organize that check. For a separate discussion of bitterness and extraction, use this guide to what makes coffee taste bitter.
Clean the brewer and kettle before changing the recipe. Oils can turn stale, mineral scale can affect heat transfer and taste, and old water can pick up odors from the refrigerator or storage container.
Before brewing, run this short checklist:
- Water age: Use fresh water that hasn't sat in an open kettle absorbing household odors.
- Equipment cleanliness: Rinse away coffee oils and descale when mineral buildup appears.
- Grind freshness: Grind immediately before brewing when possible, and avoid changing grind, temperature, and ratio simultaneously.
Hydration, Health, and Your Daily Coffee Habit
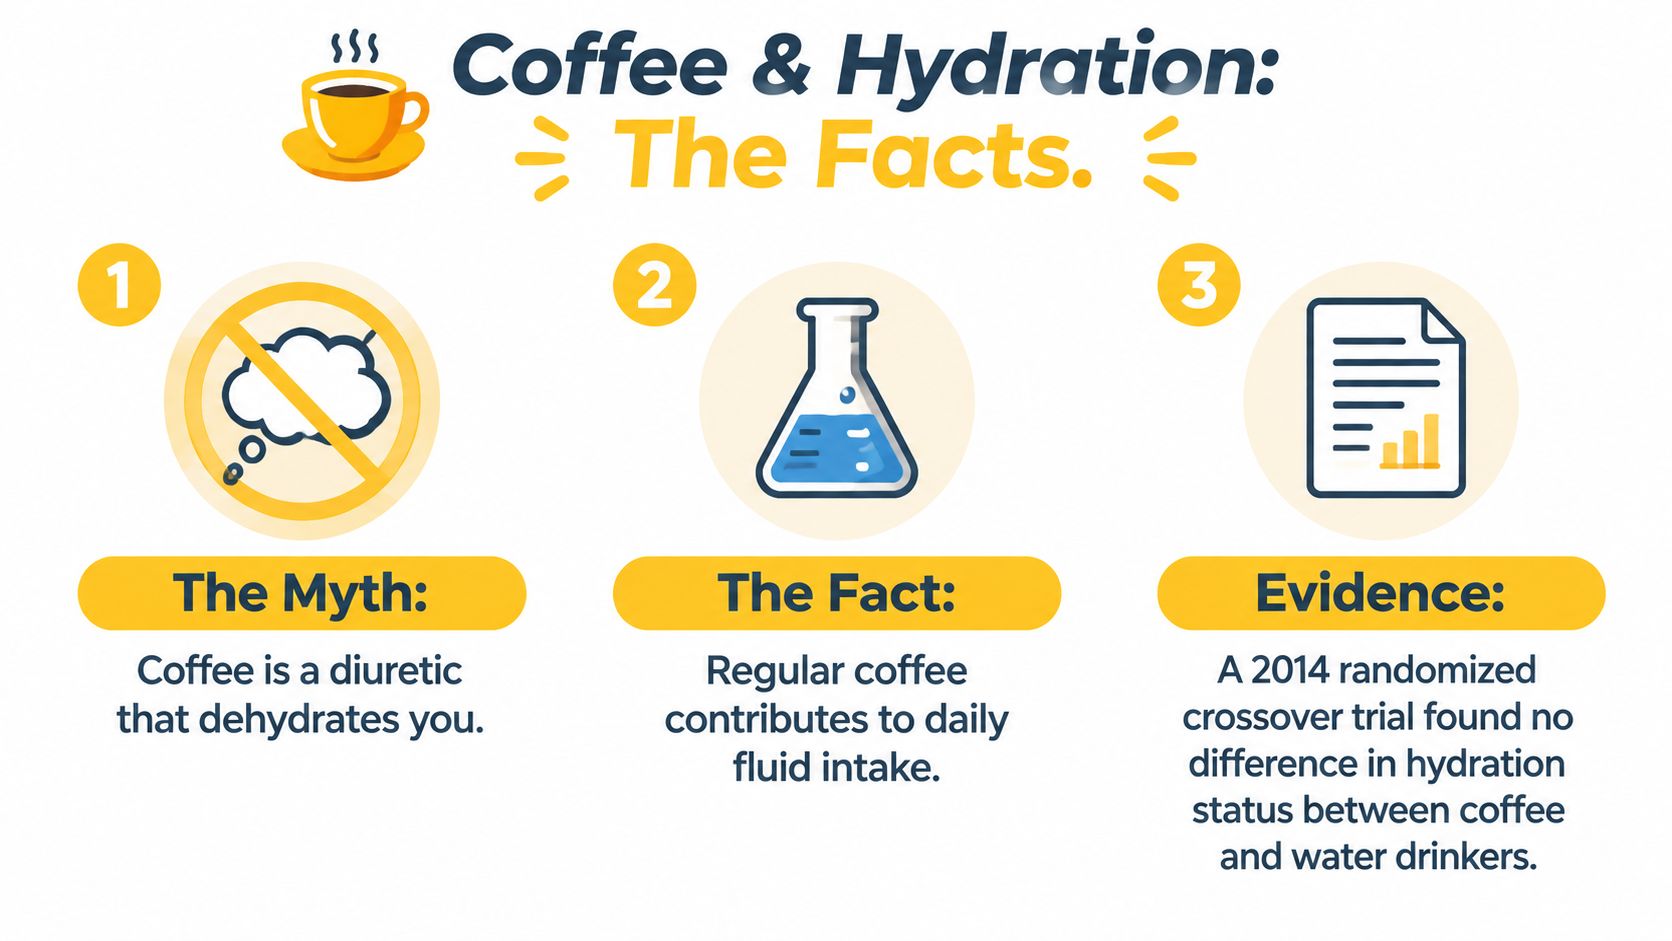
Coffee doesn't fit neatly into a simple “hydrates” or “dehydrates” label. It's mostly water, and everyday fluid balance depends on what you drink across the day, not on one mug viewed in isolation. The practical concern begins when coffee replaces water entirely, especially during heat, travel, exercise, or outdoor work.
A 2014 randomized crossover trial found no difference in hydration status between regular coffee drinkers consuming coffee and those consuming water, as summarized in the provided hydration discussion. That finding fits ordinary experience for habitual drinkers, but it doesn't mean every caffeine dose affects every person identically. People who aren't used to caffeine may notice more bathroom urgency, and high caffeine intake can feel uncomfortable even when total fluid intake remains adequate.
Make water the companion, not the competitor
Drink water before coffee if you wake up thirsty. Sip water alongside the cup instead of waiting until you feel depleted. On hot days or long outdoor trips, adding a water bottle to your daily carry makes the habit easier. A water bottle holder tote is one practical way to keep water accessible while carrying coffee gear or personal items.
Coffee can also interact with how you feel. Strong drinks may worsen anxiety for some people, and late caffeine can interfere with sleep. Tannins and acidity may irritate an empty stomach, so eating something first can help if morning coffee causes discomfort. Outdoor brewers should pay attention to overall fluid and electrolyte needs rather than treating coffee as a replacement for water or food.
Use this small checklist on your fridge or camp-kettle lid:
- Drink water first: Start the day with a glass of plain water.
- Pair each cup: Keep water beside your coffee and sip both.
- Protect sleep: Set your final coffee early enough that it doesn't affect your bedtime.
- Adjust to conditions: Drink more water when heat, altitude, exertion, or travel changes your routine.
- Watch your response: Reduce strength or timing if coffee triggers anxiety, stomach irritation, or poor sleep.
Coffee and water work well together when you judge the whole routine instead of repeating a hydration myth. Clean water improves the cup, and plain water keeps your daily intake easier to manage.
Cartograph Coffee makes organic instant coffee for home, work, camping, and other moments when a grinder and brewer aren't practical. Visit Cartograph Coffee to explore a convenient option built around better-tasting coffee and straightforward preparation.