Stop buying the creamer that photographs best. A tall cap of foam in the first thirty seconds tells you almost nothing about how that product behaves ten minutes later in hot, acidic coffee, and it tells you nothing about oil rings, grit, or thinning in a mug you drink from every day. The best oatmilk creamer for your routine is the one that stays smooth over time, at your water temperature, in your coffee, not the one with the boldest barista claim on the carton.
Quick Picks by Creamer Format
There's no single winner across kitchens, offices, and campsites. Format decides more than brand because format sets your limits on storage, dosing, foam, and waste before you ever taste a product. A chilled carton that shines in a home latte is a liability in a desk drawer. A powder that survives a backpack won't give you café foam, and judging it by foam misses its job.
Start by matching the container to the place where you'll make coffee most often. Then judge products inside that format on the label and in the cup.
| Format | Best setting | Foam and texture | Shelf life pattern | Main watch-out |
|---|---|---|---|---|
| Chilled barista-style liquid | Café-style drinks at home | Strongest foam when protein and oil are formulated for it | Refrigerate after opening; use the label's days-after-opening figure | Spoils fastest and needs cold storage |
| Shelf-stable liquid (UHT or aseptic) | Offices, travel, camping | Usually milder foam; test before buying | Months unopened; short window once opened | Foam may be thinner than chilled versions |
| Concentrated liquid | Portion control and less packaging | Richer body when dosed correctly | Long-lasting; check the label after dilution | Dosing errors change sweetness and body |
| Powdered oat creamer | Instant coffee in a backpack or desk drawer | Little foam; judged on dispersibility | Long dry shelf life | Clumps in humidity; check oil and anti-caking agents |
How to Use the Table Without Overbuying
Pick one row that matches your setting and ignore the other three for your first purchase. If you froth at home with a fridge nearby, start chilled. If you make instant coffee at work or outdoors, start shelf-stable or powdered, even if a chilled product tastes richer cold from a spoon.
Check cost per serving the same way for every format. Divide the pack price by the label's serving count, using the serving size you'll really pour. A cheap carton that needs double your normal dose, or a concentrate you routinely over-pour, isn't cheap per cup. Write that figure down before you compare brands, because carton price hides serving size, dilution, and waste.
Choose the format for the setting first. Brand comparisons only make sense inside that format.
Shelf life deserves the same plain treatment. Chilled and opened shelf-stable liquids live or die by the days-after-opening figure on the label, so a large carton is a poor buy if you drink two cups a week. Powders and unopened UHT packs tolerate gaps in use, but powders pick up moisture fast once the seal breaks. Concentrates stretch further per pack, yet small measuring errors swing sweetness and body more than they do with ready-to-pour liquids.
I would shortlist two products in your chosen format, no more. More than that turns a practical test into a tasting project, and you still won't know which one holds up in hot coffee until you run the checks that follow.
Label Checks That Predict Quality
The word oat on the front tells you very little. Many oat creamers are built mostly from water, oats, oil, and stabilisers, and the amount of oat fibre you end up with can differ sharply from one carton to the next. The review of the FDA oat health claim sets the regulatory threshold at at least 0.75 grams of beta-glucan per serving, with a total daily intake of 3 grams associated with reduced heart-disease risk when consumed as part of an appropriate diet.
That threshold is a measuring stick, not a promise that every oat creamer clears it. The FDA authorised the heart-health claim in 1997 for oat products containing soluble beta-glucan that meet specified requirements. If a creamer doesn't state its beta-glucan per serving, you can't credit it with that evidence, however natural the packaging looks.
Don't copy plain oat milk nutrition across to a creamer either. Creamers are used in smaller portions and may carry added oils or sugars, so a per-cup figure for a full glass of oat milk won't describe two tablespoons in coffee. Read the per-serving panel for the dose you'll use.
| Label item | What it tells you | Stronger label | Weaker label |
|---|---|---|---|
| Oat content and ingredient order | Share of the base that is actually oat | Water and oats listed first, oat named clearly | Oil or sugar listed ahead of oats |
| Beta-glucan per serving | Whether the oat fibre claim is measurable | Stated amount at or above 0.75 g per serving | Not stated; oat appears only in the name |
| Added oil | Creaminess and foam structure | Named oil with a stated role, moderate amount | Unspecified vegetable oil blend in high amounts |
| Added sugar | Sweetness and how much dosing shifts the cup | Unsweetened or low single-digit grams per serving | Sugar in the top three ingredients |
| Stabilisers | Resistance to separation in hot coffee | Named hydrocolloids in modest amounts | Undisclosed additives with no function given |
| Protein | Foam potential | Added protein listed on the panel | Protein not stated; plain oat base |
Reading the Six Items in Order
Start with ingredient order. If sugar or oil sits ahead of oats, you're buying a sweetened oil emulsion with oat flavouring, which may still taste fine but shouldn't be sold to yourself as a high-oat product. Next, look for a stated beta-glucan figure. Its absence doesn't prove the creamer tastes bad, it proves the health claim is unmeasurable.
Oil needs a name and a job. A named oil in a moderate amount supports body and helps foam structure. An unspecified blend listed high suggests richness is coming from fat rather than formulation, and that's the profile most likely to leave a slick surface once the emulsion weakens. Sugar works the same way. Low single-digit grams per serving or an unsweetened panel gives you control. Sugar in the top three ingredients means every extra splash sweetens and thins your ability to judge the coffee itself.
Stabilisers aren't a red flag on their own. Named hydrocolloids in modest amounts signal that the maker designed the product to resist separation in heat and acidity. A vague additives list with no function gives you nothing to connect to performance. Protein is the last check and the one most shoppers skip. Added protein on the panel points to deliberate foam design, while an unstated, plain oat base asks the oats alone to do work they usually can't sustain.
Practical rule: If the front makes a claim the back can't quantify, treat the claim as marketing and judge the product only by taste and stability.
I would reject a first pick that fails two or more rows badly, especially unstated beta-glucan paired with sugar near the top. You can forgive one weakness if the format suits you perfectly and the cup test passes. You can't fix a weak base by pouring more of it.
Testing Foam and Stability in Hot Coffee
Watch how a heated pour behaves before you trust any foam claim.
A creamy body isn't the same as stable foam, and oats start with a protein gap. A comparative review in Beverages reports typical oat-milk values of approximately 52.7 kcal, 7.82 g carbohydrate, 2.16 g protein, and 1.9–3.0 g fat per 100 mL, versus about 66.7 kcal, 4.6 g carbohydrate, 3.3 g protein, and 3.0 g fat for cow's milk. The review identifies protein level and the protein-to-fat ratio as major drivers of foam height and stability, which is why the word barista alone doesn't guarantee froth.
| Nutrient per 100 mL | Typical oat milk | Cow's milk |
|---|---|---|
| Energy | 52.7 kcal | 66.7 kcal |
| Carbohydrate | 7.82 g | 4.6 g |
| Protein | 2.16 g | 3.3 g |
| Fat | 1.9 to 3.0 g | 3.0 g |
Formulation can close part of that gap, but initial volume still misleads. An independent comparative framework from Ghent University found that barista oat drink could achieve foam capacity comparable to soy, coconut, and cow's milk despite having roughly four times less protein, but its foam quality after 10 minutes was poor because of notable serum drainage. Its reported foam-performance score over 0–10 minutes was 6.8, while the 10-minute foam-quality score was 4.5.
That drop is exactly what your home test needs to catch. If your format is powder, you can also find oat milk in powder form and judge that format on dispersal rather than foam height. For broader pairing notes before you test, the guide to coffee with oat milk is a useful starting point.
A Six Step Hot Coffee Test
- Brew your standard cup: Make instant coffee at 85 to 90 °C in a 200 ml mug, then repeat at about 70 °C to mimic a dispenser or camp kettle. Two temperatures expose products that only work near boiling.
- Warm and aerate: Heat 60 ml of creamer to 60 to 65 °C, aerate for 20 seconds with a steam wand or handheld frother, and record foam height immediately and again at 10 minutes. Don't over-froth, since aggressive aeration exaggerates early foam that drains fast.
- Time the dispersal: Add 30 ml, or 2 tablespoons, to the coffee and stir with a spoon. Note how many seconds pass before streaks disappear.
- Inspect over time: Check at 5, 15, and 30 minutes for oil rings, sediment, grittiness, or curdling. Photograph the surface if you're comparing two brands.
- Stress it with acidity: Repeat with a darker, more acidic brew at your normal strength. A structure that holds in a mild cup may break here.
- Score four things: Rate dispersal, foam retention, separation, and mouthfeel for each product, then compare totals. Keep dose and temperature identical or the scores mean nothing.
Seeing the aeration and pour in motion helps you keep your own technique consistent between brands.
Buy the smallest pack that lets you run this test twice. A product that passes at both temperatures, disperses without prolonged stirring, and shows no oiling-off by 15 minutes has earned a larger purchase. One that only looks good in the jug hasn't.
Troubleshooting Creamer Failures in the Cup
Every failure in the test points somewhere. Match the symptom to its likely cause, make one corrective move, and resist the instinct to pour more creamer over a structural problem. A larger dose usually amplifies the fault, whether that's oil, sweetness, or grit.
- Oil rings at 5 to 15 minutes: The emulsion is weak and the fat phase is escaping. Drop the product rather than adding more, because extra creamer adds extra oil to a system that already can't hold it.
- Grit or sediment after stirring: Dispersibility is poor or oat particles are settling out. Check whether the label states a stabilised or processed base, then retest at about 70 °C to see if near-boiling water is worsening the texture.
- Curdling or thinning in a darker brew: Protein or stabilisers aren't holding under acidity. Retest once with a weaker brew to confirm acidity is the trigger, then switch to a formulation with named hydrocolloids instead of diluting your coffee to suit the creamer.
- Foam gone by 10 minutes: You're seeing serum drainage, where liquid leaks from the foam and the structure collapses. Froth immediately before serving, shorten the gap between jug and cup, or accept a milder format that doesn't promise foam it can't keep.
- Clumping in a powder: Humidity has reached the pack. Store it sealed with a desiccant, keep the scoop dry, and buy smaller packs if you use it slowly outdoors or at a desk.
- Sweetness or body shifts between cups: That's a dosing error until proven otherwise. Measure to the label serving with a spoon or scale for three cups before you judge the product.
Separating Product Faults From Brewing Faults
Record each symptom against temperature and time. Grit that appears at 90 °C but not at 70 °C is partly a brewing problem you can manage. Oil that appears at both temperatures, in mild and acidic brews, at the measured dose, belongs to the product.
Keep that log to one line per cup. Note the dose, the water temperature, and what you saw at 15 minutes. Three logged cups tell you more than a week of impressions, and they stop you blaming a kettle for a weak emulsion or blaming a creamer for inconsistent pouring. If you're weighing oat against another base after repeated failures, the comparison of soy milk in coffee shows how a different protein profile changes the same problems.
Each symptom gets one fix, and that fix is a different product or format, not a larger dose.
I would change format after the same fault appears in two brands of the same type. Two gritty powders suggest your setting needs a liquid. Two shelf-stable liquids that thin in acidic coffee suggest moving to a chilled barista style at home, or accepting a powder judged on dispersal when you're away from a fridge.
Matching Creamer to Your Coffee and Setting
A creamer that stays smooth in a home kettle may streak or settle in an office mug. Water temperature, coffee acidity, stirring, and time in the cup all affect how an oat emulsion behaves. Choose by the conditions where you drink the coffee, not by a foam photo or a single sip.

Instant coffee varies in acidity, while kettles, dispensers, and camp stoves deliver different temperatures. A 2024 study on oat beverage processing found optimized protease treatment increased soluble protein to 1.56 g/100 mL and beta-glucan to 0.52 g/100 mL, while improving storage stability and reducing separation. The findings illustrate how processing and formulation can affect stability. A creamer that tastes rich cold or on a spoon may still struggle in hot coffee.
| Setting | Typical water temperature | Priority property | Order to test |
|---|---|---|---|
| Home kettle with instant coffee | 85 to 90 °C | Fast dispersal and no oil separation | Coffee first, then creamer; compare with the reverse |
| Office hot-water dispenser | About 70 °C | Stability at lower temperature | Creamer in the mug, then coffee; log separation at 15 minutes |
| Camp kettle or stove | 70 to 90 °C | Shelf-stable and pre-measured dosing | Pre-measured creamer, then coffee; stir well and check for grit |
| Cold or iced instant coffee | Chilled | Smooth texture without frothing | Shake or blend first; check for sediment at the bottom |
Pairing the Creamer With the Brew You Drink
Cartograph Coffee's organic instant coffee is designed for use at home, at work, and while camping, so test a candidate creamer in that brew at the temperature you drink it rather than in an espresso drink you'll rarely make. Start with the hot-coffee check, then make a confirmation cup in your usual setting. One relevant cup is more useful than several tests under conditions you do not encounter.
Order of addition can change how the creamer meets the coffee. Adding creamer to brewed coffee exposes it to the heat and acidity at once. Pouring coffee water over creamer already in the mug introduces the water more gradually and can help powders disperse with fewer clumps. Neither order suits every product. Compare both, then use the one that gives the smoother cup.
Repeat the confirmation at a lower temperature than your usual target. Dispensers can run cool, camp water loses heat while you stir, and a kettle cools while it stands. A creamer that remains smooth through that drop gives you more room for ordinary variation. If it only works at a precise temperature, it may disappoint in everyday use.
Cold coffee calls for a separate check. Skip foam scoring, shake or blend the creamer in, and inspect the bottom of the glass after it sits. Sediment can leave the last part of the drink gritty even when the first sip feels smooth. If you are comparing oat with other options, this guide to a substitute for milk in coffee can help frame the choice around your brewing setting.
Keep separate formats only when your routines call for them, such as a chilled carton at home and powder for travel. Several partly used formats make it harder to compare cups and can leave product unused. One format for each distinct setting is usually enough.
Sustainability Trade-Offs Beyond the Oat Base
Oat isn't automatically the greenest choice in your cup. The crop is only one part of a system that includes where the oats were grown, how far they travelled, how the creamer was processed and packed, and how much of the pack you throw away. A lifecycle review in Sustainability reports that plant-based beverage emissions range from 21% to 67% of dairy's emissions, depending on the study and production system. That wide range is the point. Category averages can't certify the carton in your hand.
Distance can dominate the result. An Ecuadorian oat-milk assessment in that review found imported oats accounted for approximately 49.5% of modeled greenhouse-gas emissions in that system, with transport and packaging as important contributors. Cultivation type, harvest success, transportation distance, and processing also change outcomes, and oat beverages can have relatively high land use despite generally favorable impacts. A locally packed product with a plain label may outperform an imported one with greener language.
Four Choices You Control
- Concentrated versus ready-to-pour: Concentrates carry less packaging and less shipped water per serving. Ready-to-pour packs carry a larger share of their weight as water, so you're transporting water you could add from a tap.
- Single-serve versus larger cartons: Single serves prevent spoilage for occasional users but multiply packaging per cup. Larger cartons reverse that trade, and only win if you finish them.
- Organic versus conventional sourcing: Organic sourcing changes how the oats are grown, but it doesn't erase transport or packaging. Weigh it as one factor, not a total footprint answer.
- Waste from opened refrigerated product: A half carton poured away carries the full footprint of growing, processing, packing, and chilling with half the cups to show for it. For slow users, waste can outweigh every other variable here.
Judge these against your own pattern, not an ideal consumer. If you drink oat creamer daily and finish every carton, a larger chilled pack is defensible. If you travel, drink it twice a week, and regularly discard opened liquids, a powder or concentrate likely leaves less behind even before you compare farm practices.
Oat can beat dairy, but packaging, shipping distance, and food waste often decide the better pick in practice.
I would fix waste first, then packaging, then sourcing claims. Finishing what you buy is the one improvement that doesn't depend on a manufacturer's accounting.
Confirm Your Pick Before Committing
Keep your first purchase small and judge it by a repeatable test. A creamer should stay smooth in the kind of hot, acidic instant coffee you drink every day, without special handling.
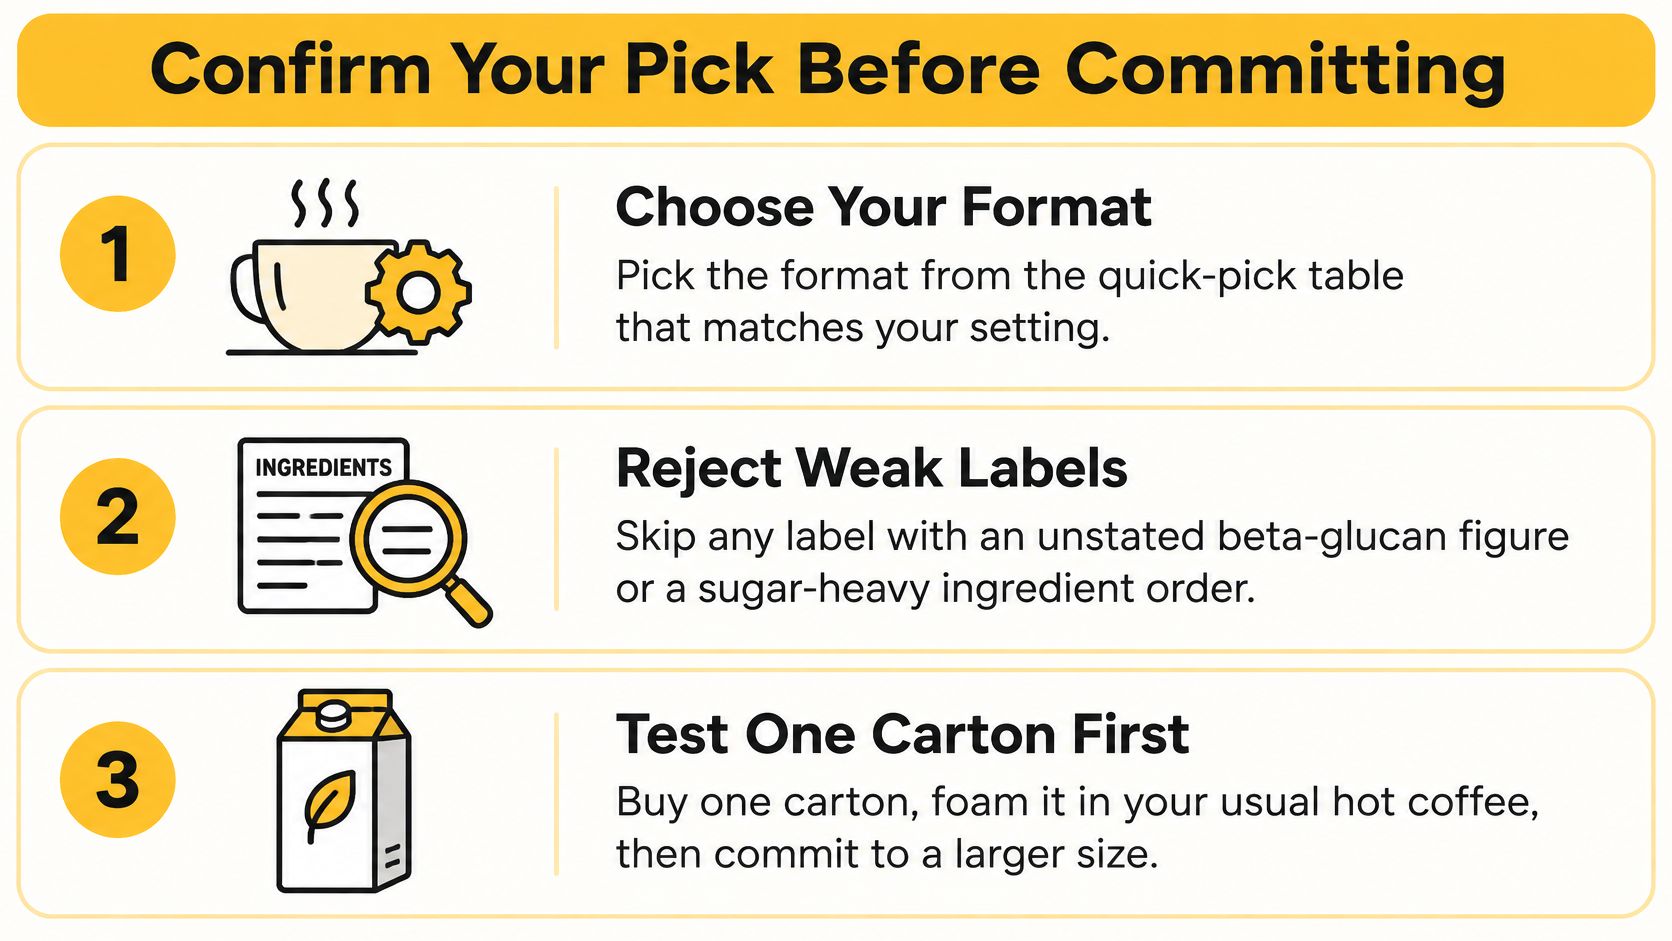
- Choose your format: Use the quick-pick table to match the creamer format to where you make coffee, whether that's a home fridge, an office drawer, or a backpack.
- Reject weak labels: If you want consistent results you can explain, skip labels that omit a beta-glucan figure, put sugar high in the ingredient list, or use an unnamed oil blend.
- Test one carton first: Buy the smallest available pack and try it in hot coffee at two temperatures before choosing a larger size or multipack.
Use one clear decision rule: if the creamer grits, oils, or thins within 15 minutes in your usual coffee, try a different format or brand. Adjusting the dose can change sweetness and body, but it won't fix an emulsion that breaks in the cup.
Storage matters after purchase. Write the open date on the pack and follow its days-after-opening guidance. Seal powders again promptly, and return liquids to the fridge rather than leaving them beside a hot stove. If the label gives a seven-day window, tasting it on day nine won't tell you how it performs within that window.
Compare your candidate with organic instant coffee under the same conditions and at the temperature you normally drink it. Measure the dose, check the cup after 15 minutes, and use that result to decide. Smoothness over time in your actual coffee is more useful than a foam photo or a label claim.
Brew your test cups with organic instant coffee from Cartograph Coffee, described for coffee on the go at work, while camping, or at home. Run your candidate creamer through the two-temperature test in a brew you will drink every day, check it at 15 minutes, and keep the format that stays smooth. Visit the store, pick up a pack for your first side-by-side test, and let your own mug settle the choice.