You bet you can make a fantastic mocha with instant coffee. In fact, it's one of the easiest ways to get that rich, chocolatey coffee fix without any fancy gear. The secret is to create a concentrated "shot" by dissolving good-quality instant coffee and cocoa powder in a little bit of hot water. This simple trick mimics the espresso base you'd get in a coffee shop, setting you up for a seriously delicious drink.
Your Secret Weapon for a Perfect Mocha? Instant Coffee.
Picture this: you skip the morning coffee run and, in just a few minutes, whip up a mocha in your own kitchen that's every bit as good as the one from your favorite cafe. It sounds too good to be true, but it's not. All you need are a few pantry staples. This is your complete guide to turning those simple ingredients into a gourmet treat.
We're going to put those old, tired myths about instant coffee to rest. When you use the right kind and the right technique, you unlock a world of flavor. Brands like Cartograph Coffee have really changed the game by using high-quality beans and better processing methods, like freeze-drying, to lock in all those delicious, nuanced flavors you need for a truly balanced mocha. Trust me, this isn't the instant coffee you remember from your grandparents' kitchen.
The New Wave of Coffee at Home
It's no secret that everyone wants great coffee without the fuss. That's why the global instant coffee market is absolutely exploding, hitting tens of billions in valuation in 2024. This isn't just about convenience; it's about people wanting better, more flavorful options they can make themselves. You can dive deeper into the growing instant coffee market insights on imarcgroup.com if you're curious.
This whole trend is fantastic because it puts you, the home barista, in the driver's seat. Here’s why making your mocha this way is a game-changer:
- You're in Control: You get to be the boss of your drink. Want it stronger? More chocolatey? A little less sweet? You can tweak it until it's perfect for you.
- It's Way Cheaper: Let's be honest, a daily café habit adds up fast. Making your mochas at home will save you a ton of money.
- Fast and Easy: We're talking minutes from start to finish. It's the perfect solution for a hectic morning or a quick afternoon pick-me-up.
- Perfect Every Time: Once you nail down your ideal ratio of coffee, cocoa, and milk, you can make it perfectly consistent every single time.
So, whether you're a student pinching pennies, working from home, or just a coffee lover who enjoys experimenting, you've come to the right place. We'll walk through everything you need to know to dissolve, mix, and froth your way to the perfect mocha, hot or iced.
Choosing Your Core Mocha Ingredients
A truly fantastic mocha doesn't come from a long, complicated shopping list. It's built on just a few essential components, and their quality makes all the difference. When you're making a mocha with instant coffee, the coffee itself is your starting point, and believe me, not all instant coffees are the same.
The first big decision you'll make is between spray-dried and freeze-dried instant coffee. Spray-drying uses high heat, which can sometimes leave you with a slightly burnt or bitter aftertaste. Freeze-drying, on the other hand, is a gentler process that does a much better job of preserving the coffee bean's delicate aroma and flavor. For that smooth, rich foundation you want in a mocha, always reach for freeze-dried.
Selecting Your Chocolate and Milk
Now for the fun part: the chocolate. This is what makes a mocha a mocha, and your choice here will define the entire drink.
- Unsweetened Cocoa Powder: This is my go-to for a deep, dark chocolate flavor that has a hint of bitterness to beautifully complement the coffee.
- Chocolate Syrup: If you're after convenience and a sweeter, more classic dessert-like mocha, syrup is a great choice. It dissolves in a snap.
- Chocolate Chips: Feeling a bit decadent? Melt a tablespoon of good-quality semi-sweet or dark chocolate chips into your hot coffee. The result is pure luxury.
Your choice of milk is all about creaminess and texture. Whole milk gives you that classic, rich body, but non-dairy alternatives can be just as amazing. Oat milk is a superstar for creaminess, almond milk lends a light, nutty flavor, and soy milk provides a lovely, smooth finish.
This simple decision tree can help you quickly decide if it's a mocha kind of day.
As you can see, the path to a delicious coffee experience is a simple "yes."
Why Quality Ingredients Matter
You can truly taste the difference when you use better ingredients. While the mass-market options currently make up 82.67% of instant coffee sales, there's a clear shift happening. The premium segment is on the rise because more people are discovering that a superior at-home coffee experience starts with a better bean. If you're curious, you can dig into more data on these instant coffee market trends and their growth.
Key Takeaway: The quality of your instant coffee and chocolate directly dictates the quality of your final mocha. A high-quality freeze-dried coffee like Cartograph's provides a smooth, non-bitter base that lets the chocolate notes shine through.
The great thing about making a mocha at home is the ability to customize it perfectly to your taste. This guide can help you mix and match to find your ideal combination.
Mocha Component Customization Guide
| Component | Classic Choice | Richer Alternative | Dairy-Free Option |
|---|---|---|---|
| Coffee | Standard Freeze-Dried | Cartograph Single-Origin | Any High-Quality Instant |
| Chocolate | Chocolate Syrup | Melted Dark Chocolate | Unsweetened Cocoa Powder |
| Milk | Whole Milk | Heavy Cream or Half-and-Half | Oat Milk or Almond Milk |
| Sweetener | White Sugar | Maple Syrup | Agave Nectar or Stevia |
Experimenting is half the fun. Don't be afraid to try different milks or a new kind of chocolate until you land on a recipe that feels like it was made just for you.
Finally, don't forget the sweetener, especially if you opted for unsweetened cocoa powder. A touch of maple syrup, agave, or just plain sugar can balance everything out. Getting the ratios of coffee, chocolate, milk, and sweetener just right is the secret to perfecting your personal mocha recipe. For a deeper dive into the coffee-to-water ratio, check out our guide on how much instant coffee to use per cup.
Crafting the Perfect Hot Mocha
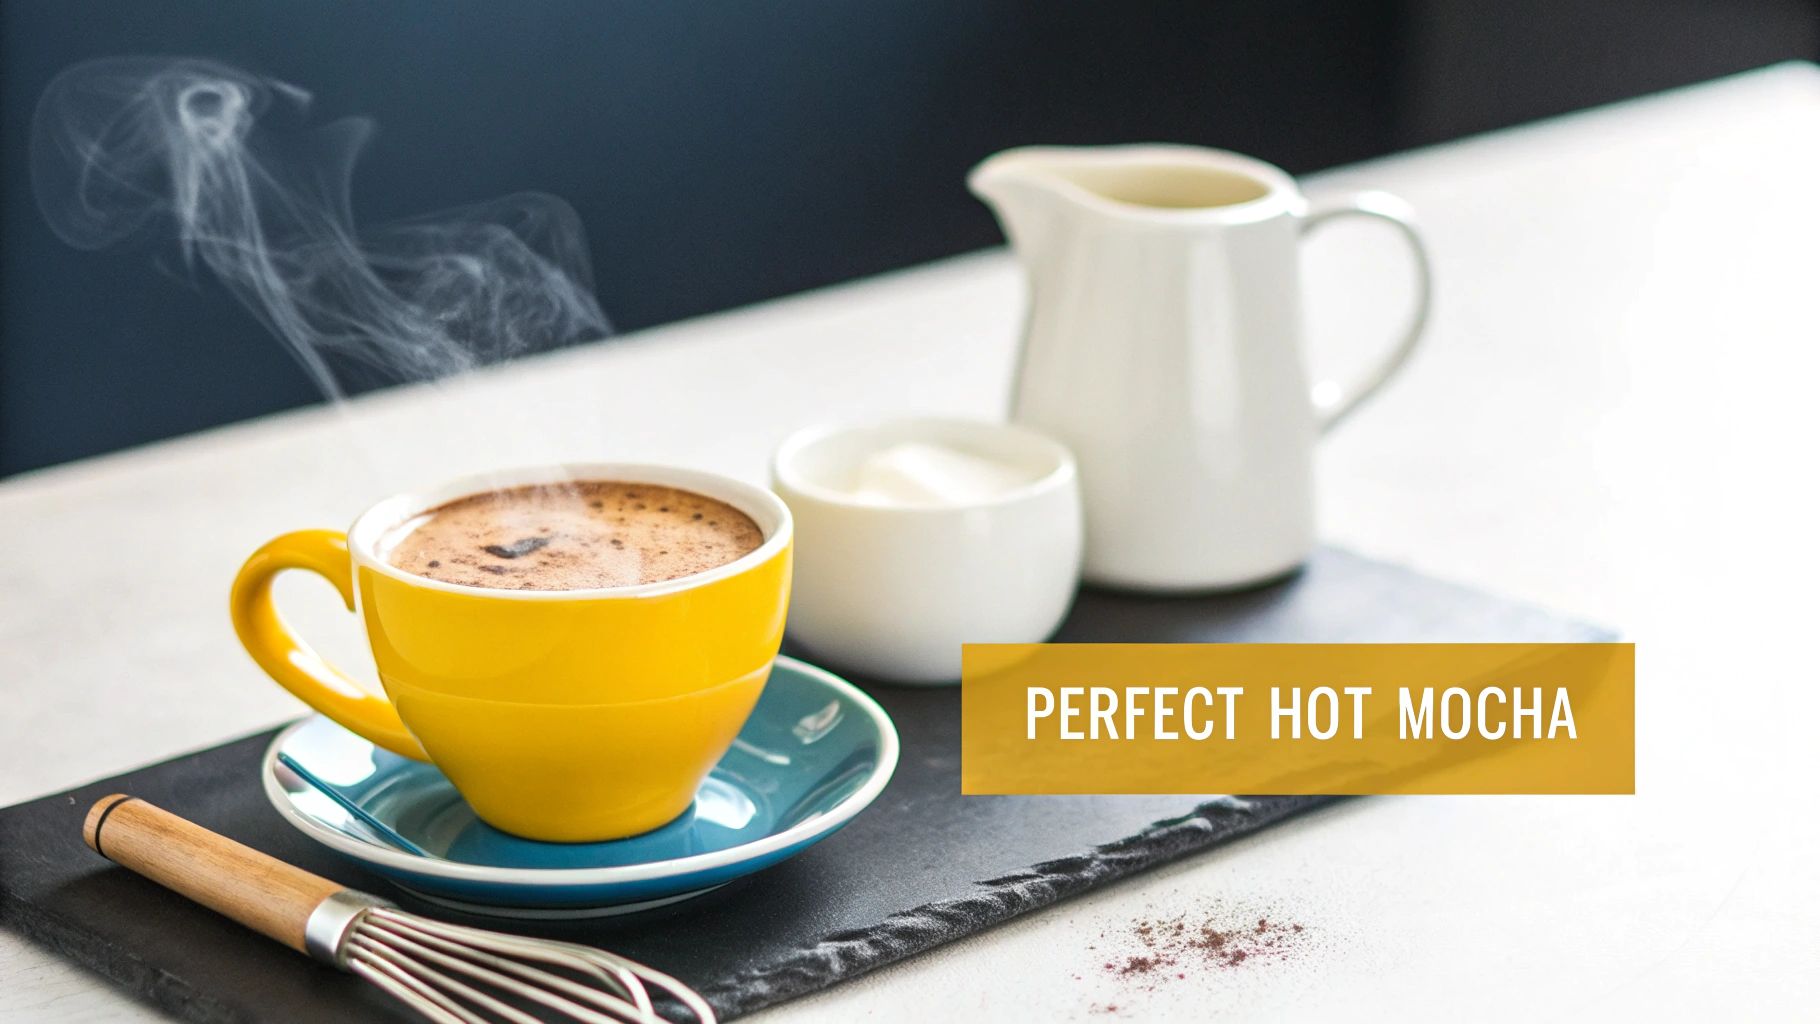
The real secret to a café-quality hot mocha isn't a fancy, expensive machine. It all comes down to a few simple techniques done right. We're going to start by creating a smooth, concentrated coffee base that perfectly mimics a shot of espresso. This first step is where the magic really happens, ensuring your final drink is silky smooth, not gritty.
The key is to dissolve the instant coffee completely without scorching it. That’s a common mistake when making a mocha with instant coffee, but with a little care, it’s easy to avoid.
The Perfect Coffee Concentrate
Your first move is to create what I like to call a "coffee slurry." This rich, dark base is the heart and soul of your mocha.
Start by combining 2 teaspoons of a high-quality instant coffee (a single-origin like Cartograph's makes a world of difference) with 1 to 2 tablespoons of hot water. The water temperature is crucial here. You want it just off the boil, around 200°F (93°C). If the water is boiling, you risk scorching the coffee granules and getting a bitter, unpleasant taste.
Grab a small whisk or a spoon and stir vigorously until every last granule has vanished. What you should have is a thick, glossy liquid that looks remarkably like a freshly pulled espresso shot. Getting this perfectly smooth consistency is absolutely critical for the final texture of your drink.
Integrating the Chocolate
Once your coffee base is ready, it's time to bring in the chocolate. Your method will change slightly depending on the type of chocolate you're using, but the end goal is always a seamless, lump-free blend.
-
For Cocoa Powder: Add 2 teaspoons of unsweetened cocoa powder directly into your hot coffee slurry. Whisk it like you mean it until the mixture is completely uniform. This technique, often called "blooming," really deepens and intensifies the chocolate flavor.
-
For Chocolate Syrup: This is definitely the easiest route. Just squeeze in 1 tablespoon of chocolate syrup and stir it into the coffee concentrate until it’s fully incorporated.
-
For Solid Chocolate: Using chocolate chips or a chopped chocolate bar? Toss them into the hot coffee concentrate and just let them sit for a minute to get melty, then stir until everything is smooth and decadent.
Pro Tip: I swear by this trick. Add a tiny pinch of salt at this stage. It won’t make your mocha salty, but it will dramatically enhance the chocolate notes by balancing the sweetness and bitterness. It makes the flavor pop.
Heating and Frothing Your Milk
That velvety, luxurious texture you love in a coffee shop mocha? It comes from perfectly steamed and frothed milk. And the good news is, you don’t need an expensive machine to pull it off at home.
You'll want to heat your milk to between 150-160°F (65-71°C). If you go much hotter, you risk scalding the milk's natural sugars, which can give it a funky taste. If you have a thermometer, great. If not, just watch for small bubbles forming around the edge of the pan—that’s your cue.
Once it's hot, you have a few ways to get that beautiful froth:
- Handheld Frothing Wand: These little gadgets are fantastic. Submerge the wand just below the surface of the hot milk and turn it on. Gently move it around for about 20-30 seconds until you've built up a nice layer of microfoam.
- French Press: This is a surprisingly effective method. Pour the hot milk into your French press and pump the plunger up and down quickly for about 30 seconds. You’ll be amazed at the dense, creamy foam it creates.
- Sealed Jar: No special tools? No problem. Carefully pour the hot milk into a heat-safe jar, screw the lid on tight, and shake it vigorously for 45-60 seconds. It's a simple yet effective way to build that lovely texture.
Now for the grand finale. Pour the frothy milk over your chocolate-coffee base. A good technique is to hold back the thickest foam with a spoon as you pour in the liquid milk, then spoon the remaining foam on top. Your masterpiece is complete.
Making a Refreshing Iced Mocha
When the weather heats up, nothing beats a cool, creamy iced mocha. It's easy to adapt our hot mocha recipe for a chilled version, but there's one critical technique you have to get right. If you don't, you'll end up with that dreaded gritty texture that completely ruins an otherwise perfect iced coffee.

The secret? You need to make a concentrated hot "mocha shot" first. This little step is non-negotiable. It ensures both the instant coffee and the chocolate dissolve into a perfectly silky base before they ever touch cold milk or ice.
Building Your Iced Mocha Base
First things first, grab your favorite mug.
Into the mug, add 2 teaspoons of Cartograph instant coffee and 2 teaspoons of unsweetened cocoa powder. If you're using chocolate syrup instead, go with 1 tablespoon. Now, add just 2 tablespoons of hot water—and remember, water that's just off the boil is ideal to avoid any bitterness.
Whisk everything together like you mean it. You're looking for a thick, glossy, and completely smooth chocolate coffee concentrate. This small but mighty shot is the foundation of your entire drink, packing in all that flavor without any undissolved bits.
Key Insight: The mistake I see people make all the time is trying to dissolve instant coffee directly in cold liquid. While you can technically make instant coffee with cold water, it takes ages and almost always leaves a sandy residue at the bottom of your glass. For a flawless mocha with instant coffee, this hot water shot is truly the only way to go. We break down the science of it in our guide on making instant coffee with cold water.
Assembling the Perfect Iced Drink
Once your smooth mocha concentrate is ready, the rest is a breeze. Fill a tall glass all the way to the top with ice. Don't be shy here; more ice means a colder drink that won't get watered down as quickly.
Pour your freshly made mocha shot right over the ice. I love watching it cascade down through the cubes. This step also does the important job of rapidly cooling the concentrate before the milk goes in.
Finally, top off the glass with about 6-8 ounces (180-240 ml) of cold milk or your go-to dairy-free alternative. Give it a good stir to mix it all together, and watch it transform into a perfectly chilled, creamy mocha.
Want to take it to the next level with an even frothier texture? Try this little café trick:
- Pour your mocha shot, cold milk, and a handful of ice into a cocktail shaker or a jar with a tight-fitting lid.
- Shake it vigorously for about 15-20 seconds—you'll know it's ready when the outside of the shaker gets frosty.
- Strain your beautifully chilled mocha into a fresh glass filled with ice.
This method aerates the milk and creates a light, delicious foam on top, getting you incredibly close to the texture of an iced latte from your favorite coffee shop.
Pro Tips for Taking Your Mocha to the Next Level
Alright, so you’ve got the basics of the hot and iced mocha down. Now for the fun part: making it your drink. This is where you get to play barista in your own kitchen and turn a simple recipe into something you'll be genuinely excited to make every single day.
Let’s start with the easiest, quickest wins. These little additions take seconds but completely transform the flavor profile.
- A Pinch of Sea Salt: I swear by this. A tiny pinch doesn't make your mocha salty—it just makes the chocolate taste more like itself. It deepens the flavor in a way that’s hard to describe but impossible to miss once you've tried it.
- A Dash of Spice: A bit of cinnamon or a tiny shake of cayenne pepper adds a beautiful, subtle warmth that plays incredibly well with both coffee and chocolate.
- Flavor Extracts: Just a single drop of vanilla extract can lend a creamy, aromatic quality. Feeling festive? A little peppermint extract creates an instant holiday classic. Even almond extract can add a sophisticated, nutty twist.
Ditch the Store-Bought: Making Your Own Mocha Syrup
If you really want to dial in the sweetness and flavor, making your own mocha syrup is the ultimate move. It's shockingly easy and lets you sidestep all the weird preservatives you find in many commercial syrups. Plus, the quality is just so much better.
Here’s all you do: combine equal parts water, sugar, and unsweetened cocoa powder in a small saucepan. A good starting point is 1/2 cup of each.
Get it over medium heat and whisk it constantly until everything dissolves smoothly. Let it bubble gently for about a minute to thicken up, then pull it off the heat. Finish it with a splash of vanilla extract.
Once it cools, you can keep this liquid gold in an airtight jar in the fridge for up to two weeks.
Expert Tip: Want to get really creative? Infuse your syrup. Toss a cinnamon stick or a few strips of orange peel into the pot while it simmers. Just remember to strain them out before you store it. This one small step creates a complex, aromatic syrup that will blow any store-bought version out of the water.
Master the Finish: Perfecting the Presentation
Let's be honest, we drink with our eyes first. A few simple finishing touches are what make a homemade mocha feel like a treat you’d pay $7 for at a coffee shop.
A big, fluffy dollop of whipped cream is the classic go-to for a reason. It adds that decadent, creamy texture that perfectly contrasts the rich mocha. You can whip your own heavy cream with a little powdered sugar or just use your favorite canned version when you're short on time.
But don't stop there. A final garnish adds that last pop of flavor and visual appeal.
- A Dusting of Cocoa Powder: It’s simple, it's elegant, and it doubles down on that chocolatey goodness.
- Chocolate Shavings: Grab a vegetable peeler and a good bar of dark chocolate. The delicate shavings look incredibly professional.
- A Drizzle of Caramel: The buttery, salty notes of caramel are a perfect match for a mocha.
By mixing and matching these ideas, you’ll land on a combination that’s all you. If you’re looking for even more ways to upgrade your coffee game, check out our guide on how to make instant coffee taste better. The real joy is in the experimentation
Common Questions About Making Mochas at Home
Even with a straightforward recipe, a few questions are bound to come up. Getting the right answers is the quickest way to nail your technique for making a perfect mocha with instant coffee. Let's tackle the most common questions I hear, so you can get a delicious result every single time.
A big one I get is about texture. People worry they can't get that signature creamy, velvety feel without fancy café equipment. It's a fair point, but trust me, you've got plenty of great options right in your kitchen.
Can I Make a Mocha Without a Milk Frother?
You absolutely can. While a little handheld frother is handy, you can whip up a surprisingly rich foam using stuff you already own. All we're trying to do is get some air into the warm milk.
Here are a few methods I've used that work like a charm:
- The Jar Shake: Find a heat-safe jar with a tight lid (a mason jar is perfect). Pour in your warm milk, but don't fill it more than halfway. Now, seal it up and shake it like you mean it for 30-60 seconds. You'll be amazed at the dense foam this creates.
- The French Press Method: Got a French press? Pour your warm milk in and pump the plunger up and down—fast. This action forces air into the milk and creates a beautiful, velvety microfoam in less than a minute.
- The Whisk Trick: This is the old-school way. Just pour your milk into a small saucepan and whisk it constantly while it heats on the stove. It makes a lighter, more delicate foam, but it still adds that lovely airy texture to your drink.
What Is the Best Ratio of Coffee to Cocoa?
This is where you get to play a little, but finding that perfect harmony between coffee and chocolate is what makes a mocha truly special. A fantastic place to start is a simple 1:1 ratio. This gives you a balanced flavor where both the coffee and chocolate get to shine without one bullying the other.
I recommend starting with 2 teaspoons of instant coffee and 2 teaspoons of unsweetened cocoa powder.
If you're a real coffee aficionado and want that note to be the star, just tweak the ratio. Maybe dial the cocoa back to 1.5 teaspoons. On the other hand, if you're craving something more decadent and chocolate-heavy, bump up the cocoa and ease back on the coffee. The key is to always dissolve them together in that first bit of hot water to let the flavors marry.
How Do I Keep My Mocha from Tasting Bitter?
Ah, bitterness—the arch-nemesis of a good mocha. The good news is that it's usually an easy fix. The number one reason for a bitter mocha is using water that's just too hot, which basically scalds the instant coffee granules.
To sidestep this, just let your kettle rest for about 60 seconds after it boils. That little pause is all it takes for the temperature to drop into the sweet spot, right around 200°F (93°C).
It also makes a massive difference to start with a high-quality, freeze-dried instant coffee. That process is much gentler on the beans, preserving their natural sweetness and complex aromas. You're just giving yourself a much smoother, richer foundation to build on.
Ready to brew a perfectly smooth, non-bitter mocha every single time? Cartograph Coffee uses premium, freeze-dried beans that guarantee a rich and flavorful base for whatever you’re making. Discover the difference quality makes at cartographcoffee.com.