Making a delicious iced caramel latte at home is surprisingly simple. All it really takes is combining freshly brewed espresso, your favorite milk, and a sweet caramel sauce over a tall glass of ice. With this method, you can skip the coffee shop line and create a perfectly customized, refreshing drink in just a few minutes.
Why Your Homemade Latte Can Beat the Cafe
Forget the morning coffee run and that seven-dollar price tag. Learning how to make an iced caramel latte at home puts you in the driver's seat, letting you craft a drink that's not just cheaper but often tastes so much better than anything from a drive-thru.
The secret isn’t some complicated barista technique; it's all about understanding the core components and why each one matters. This guide is your blueprint for achieving that flawless, cafe-quality taste right in your own kitchen.

What to Expect From This Guide
My goal here is to demystify the whole process and prove you don’t need to be a professional barista to make an incredible drink. We’ll cover everything from brewing strong coffee without an espresso machine to whipping up a simple homemade caramel sauce.
Whether you’re a seasoned coffee lover or a complete beginner, you'll find actionable tips and tricks to elevate your home-brewing game. Get ready to become your own favorite barista.
The Building Blocks of a Perfect Iced Latte
A truly great iced caramel latte is more than just a mix of ingredients; it's a balance of key components. Each one plays a crucial role in the final flavor and texture, and understanding them is the first step.
The global demand for chilled coffee has absolutely exploded, making it a massive market. In fact, one analysis of iced coffee market trends noted that flavored varieties like caramel make up a whopping 67.2% of the market share it measured. It’s clear people love this sweet combination.
Let's break down what goes into your glass.
Core Components for Your Iced Caramel Latte
Getting the foundation right is everything. Think of these three ingredients as the holy trinity of your iced latte.
| Component | Role in the Drink | Pro-Tip for Best Results |
|---|---|---|
| The Espresso | This is the heart of your latte. A well-pulled shot provides a robust, concentrated coffee flavor that stands up to the milk and caramel. | Use a dark roast for a classic, bold flavor. If you don't have an espresso machine, strong-brewed coffee or a Moka pot works wonders. |
| The Milk | Creaminess and body come from the milk. The type you choose—from whole dairy to oat or almond—will define the drink's texture and richness. | For the creamiest result, go with whole milk. For a plant-based option, barista-style oat milk is fantastic because it doesn't separate. |
| The Caramel Sauce | This is where the magic happens. A good caramel adds buttery sweetness and that signature flavor that makes this drink a classic. | A thick, high-quality sauce will give you a better flavor drizzle. Store-bought is fine, but homemade is next-level and surprisingly easy. |
Nailing these three elements is your ticket to a consistently delicious drink every single time.
Key Takeaway: The quality of your three main ingredients—espresso, milk, and caramel—directly determines the quality of your final drink. Don't be afraid to experiment to find your perfect combination.
Getting Your Tools and Ingredients Ready
Before we dive in, let's get everything laid out. Having all your gear and ingredients ready to go is the secret to making the whole process feel less like a chore and more like a fun ritual. You don’t need a fancy, high-end barista setup to make an incredible iced latte at home; you probably have everything you need in your kitchen right now.
The goal here is simple: craft a delicious drink with that perfect balance of rich coffee and sweet, buttery caramel. It’s no surprise this is such a popular drink. In fact, caramel is one of the fastest-growing flavors in the iced coffee market, especially for those of us who love a more indulgent, dessert-style treat.
Your Coffee-Making Gear
A great latte starts with a strong shot of coffee. While an espresso machine is the gold standard, it's definitely not the only way to get that bold flavor we're after. Here are a few of my favorite, no-fuss methods that work wonders for this recipe.
- Moka Pot: This little stovetop workhorse brews a wonderfully rich, espresso-like coffee. It's an affordable and classic way to get a truly robust base for your latte.
- AeroPress: I love the AeroPress because it's so versatile. It makes a super smooth, concentrated shot of coffee that’s never bitter. Plus, it's fast and a breeze to clean up.
- Instant Coffee: Seriously, don't knock it 'til you try it! A good-quality instant coffee can be a lifesaver. Just mix a heaping teaspoon with a tiny bit of hot water, and you've got a powerful coffee shot in seconds. For more on this, check out our guide on what is coffee concentrate.
- Strong Drip Coffee: If you're using a standard coffee maker, just tweak your ratio. Use a little less water or a few more coffee grounds than you normally would to get a much stronger, more concentrated brew.
My Two Cents: No matter which method you pick, make sure your coffee is strong. The biggest mistake people make with homemade lattes is using a weak brew that just gets washed out by the milk and caramel. You want that coffee flavor to shine through!
The Ingredient Lineup
With your coffee method sorted, let's grab the other key players. The quality of these simple ingredients really makes a difference, so choose wisely.
- Coffee: I'd go with a medium or dark roast. These beans have those classic, rich notes that are a perfect match for sweet caramel.
- Milk: Whole milk will give you the creamiest, most luxurious texture. That said, 2%, skim, or your favorite plant-based milk will also work beautifully. If you're going dairy-free, a barista-blend oat milk is fantastic because it froths up nicely and won't separate when it hits the ice.
- Caramel Sauce: A thick, gooey store-bought sauce is your quickest option. If you have a few extra minutes, a homemade version is always a treat.
- Ice: Regular ice cubes from the tray are all you need. If you want to get a little fancy, try making coffee ice cubes ahead of time—they keep your drink from getting watered down.
Bringing It All Together: Your Step-by-Step Latte Build
Alright, you've got your gear and your ingredients. Now for the fun part—actually making your iced caramel latte. This process is less about rigid rules and more about creating a drink that tastes amazing to you. Let's walk through it.
First things first, we need to prep the glass. This isn't just a practical step; it's what makes your drink look like it came straight from a high-end coffee shop.
This visual gives you a great overview of the journey from coffee bean to finished latte.
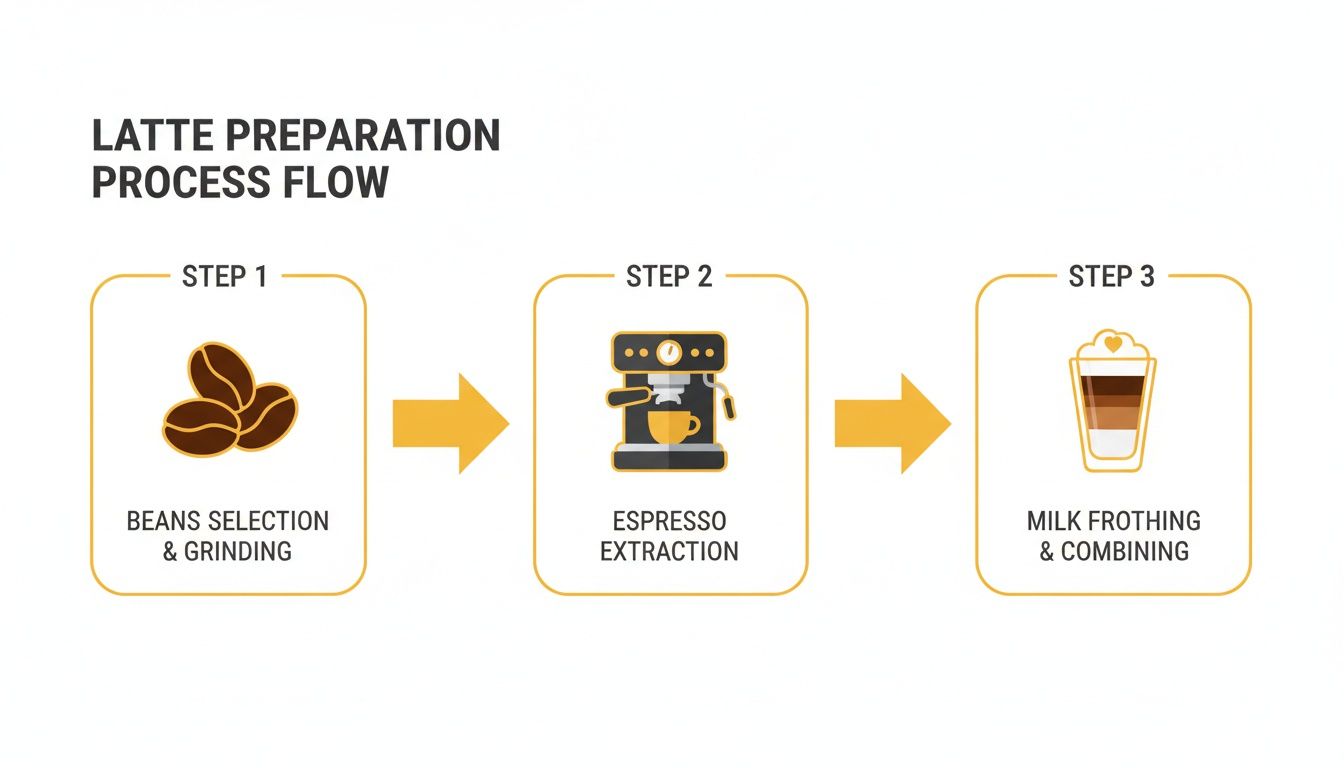
As you can see, it really just comes down to getting your coffee right, prepping your milk, and putting it all together.
The Signature Caramel Drizzle
To get that beautiful caramel swirl, grab your sauce and drizzle it down the inside of your glass. I find it helps to rotate the glass as I pour, which helps coat the sides more evenly. Don't be shy—let some extra sauce pool at the bottom for a sweet surprise when you stir everything together later.
Is your caramel sauce a bit too thick? A quick 5-10 seconds in the microwave will loosen it up perfectly, making it much easier to pour without getting it too hot.
Brewing and Chilling the Coffee
Next up is the coffee. Go ahead and brew your espresso or strong coffee using whatever method you prefer—an AeroPress, a Moka pot, or even good-quality instant coffee will work just fine. If you're short on time, knowing how to whip up a great iced coffee with instant coffee is a fantastic shortcut.
Once it's brewed, let the coffee sit for a minute or two. A common mistake is pouring scorching hot espresso directly over ice, which instantly melts it and leaves you with a watery, sad latte. A little patience here goes a long way in preserving the drink's rich flavor.
Barista Tip: Need to chill that espresso fast? Place your shot glass in a small bowl of ice water for about 60 seconds. It cools down the coffee rapidly without diluting a single drop, while you get the milk and ice ready.
How to Layer Your Latte Like a Pro
Now it's time to assemble your masterpiece. Layering is what gives the drink that stunning, café-style look before you mix it all up. It's a simple trick that makes a huge difference.
Here's the foolproof order I always follow:
- Ice First: Fill your caramel-coated glass about three-quarters of the way with ice. A generous amount of ice is key to keeping every sip cold to the very last drop.
- Milk Next: Slowly pour your cold milk over the ice. Leave about an inch of room at the top for the grand finale—the coffee.
- Top with Espresso: Gently pour your slightly cooled espresso over the back of a spoon and onto the ice. This little technique helps the coffee "float" on top of the milk, creating that gorgeous, distinct layer.
And that's it! You've just made a professional-looking iced caramel latte. Give it a quick stir to blend the rich coffee, creamy milk, and sweet caramel, and take a well-deserved sip.
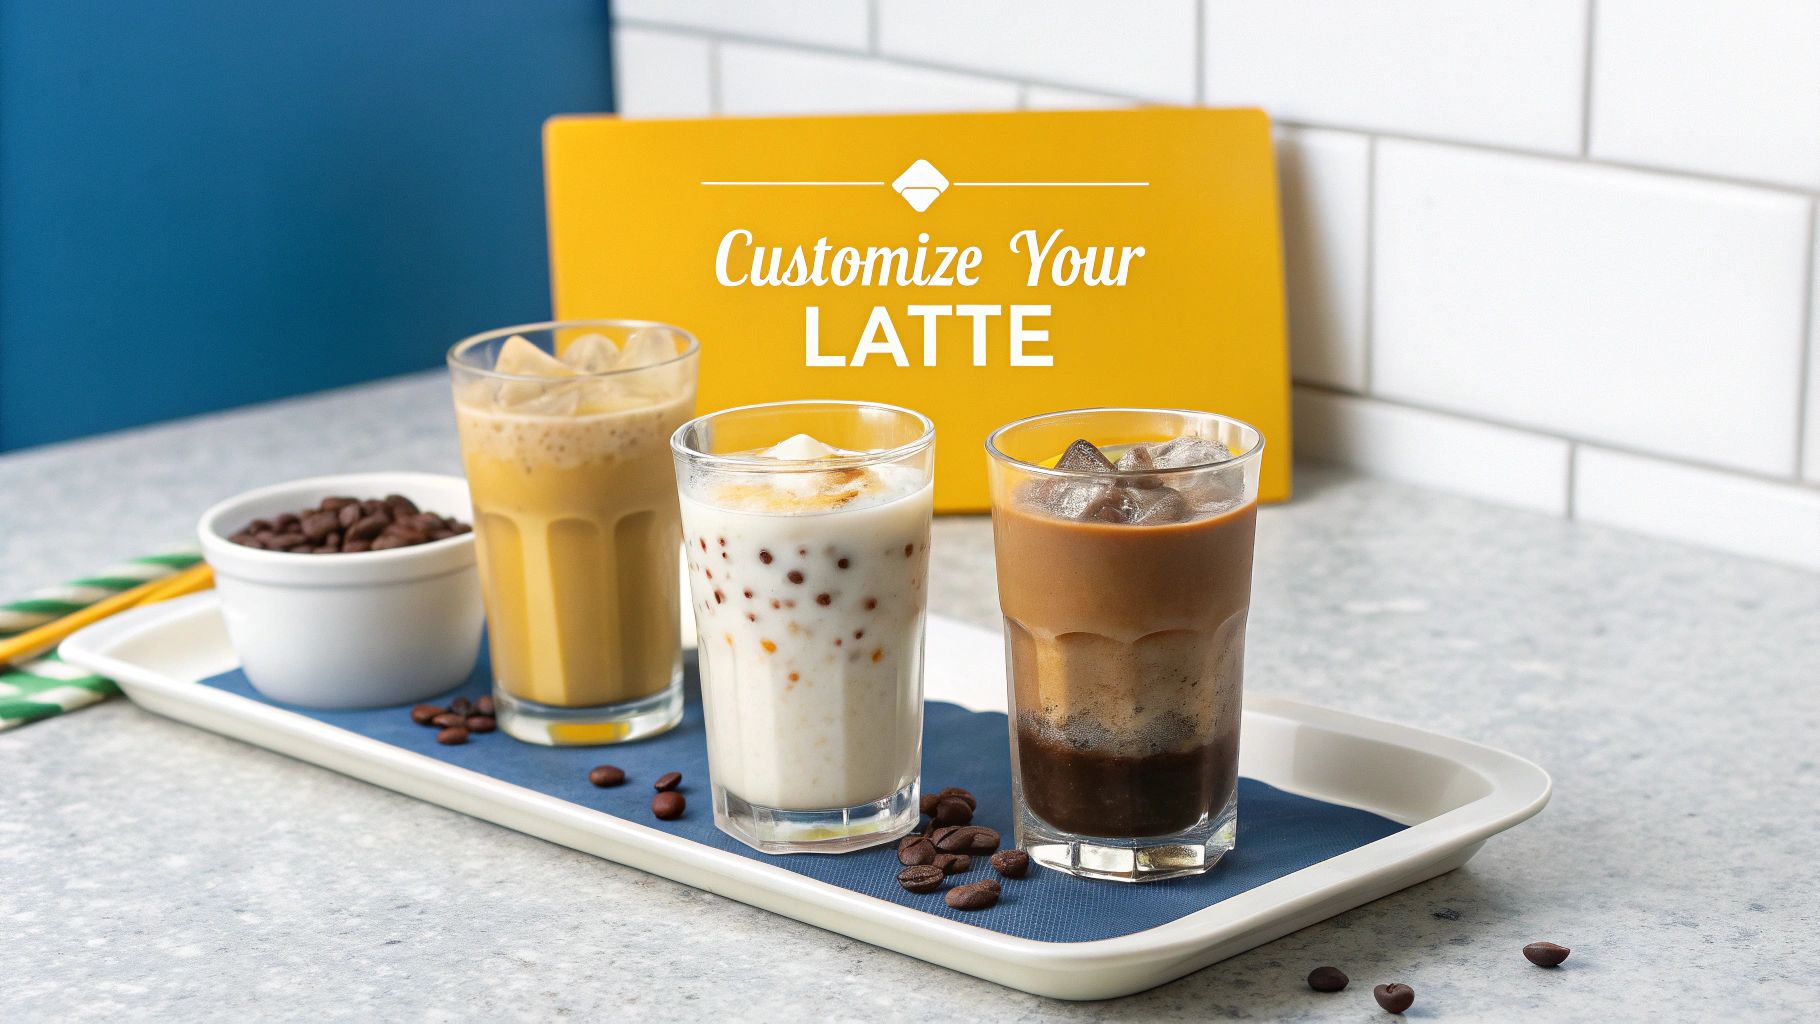
Personalizing Your Iced Caramel Latte
Once you've mastered the basic recipe, this is where the fun really starts. Becoming your own barista means you can play around with flavors and ingredients to perfectly match your taste, dietary needs, or even just what you have on hand. Don't be afraid to experiment—you might just create your new go-to drink.
This kind of flexibility is a big reason why iced coffee is so popular. In fact, market research shows that North America is the biggest market for it, with all those ready-to-drink options you see in stores. But those big brands have to create a one-size-fits-all product for mass production. When you make it at home, you have complete creative control. If you're curious, you can read the full research on cold coffee market trends.
Creating a Delicious Vegan Version
Making a dairy-free iced caramel latte is surprisingly easy, and you don't have to sacrifice any of the creaminess. The trick is to pick a plant-based milk that works well with coffee.
- Oat Milk: This is my personal favorite for a vegan latte. It has a natural creaminess and subtle sweetness that comes incredibly close to dairy milk. For the best results, grab a "barista blend" if you can find one.
- Almond Milk: A fantastic low-calorie choice. It adds a light, nutty flavor that lets the caramel and coffee shine. Unsweetened versions are perfect for this.
- Soy Milk: If you want a richer, more full-bodied drink, soy milk is an excellent option thanks to its higher protein content.
As for the caramel, you can find plenty of vegan sauces at the store, usually made from coconut milk. Or, make your own with coconut cream and coconut sugar. It's all about finding what you like best, and you can explore a great list of the best substitutes for milk in coffee to get more ideas.
Low-Sugar and Sugar-Free Lattes
Trying to cut back on sugar? No problem. You can still enjoy this delicious treat with a couple of smart adjustments.
For the caramel sauce, look for sugar-free options sweetened with alternatives like monk fruit or erythritol. You can also whip up a quick "caramel" syrup yourself by simmering a sugar-free sweetener with a little water and a dash of caramel extract. This way, you know exactly what's in it.
Pro Tip: Here’s a little trick I use—swap regular milk for unsweetened vanilla almond milk. The hint of vanilla tricks your taste buds into perceiving more sweetness, so you can get away with using less caramel sauce without sacrificing flavor.
The Cold Brew Concentrate Method
If you sometimes find espresso a little harsh or acidic, try using cold brew concentrate instead. Cold brew is made by steeping coffee grounds in cold water for 12-24 hours, which produces a super smooth, less acidic, and naturally sweeter coffee.
It’s an easy swap: just replace the espresso shots with the same amount of cold brew concentrate. I usually start with two ounces of concentrate and adjust from there based on how strong I want my coffee. This method gives the latte a deep, almost chocolatey flavor that’s incredibly smooth and refreshing.
Getting It Right: Common Mistakes and Pro Tips
Even a recipe this simple has a few little secrets that make the difference between a pretty good latte and a fantastic one. If you’ve ever made an iced coffee at home that ended up tasting weak and watery, you're not alone. It's easily the most common mistake.
The culprit is almost always temperature shock. When you pour that piping hot espresso directly over a glass full of ice, a good chunk of that ice melts instantly. The result? A diluted, lackluster drink that's a shadow of its potential. A little patience goes a long way here.
Avoiding the Watery Latte Trap
Luckily, this is an easy fix once you know the trick. The whole game is about managing the temperature of your ingredients before they all meet in the glass. You want to minimize that initial ice melt to keep your latte perfectly chilled and full of flavor.
Here are a few simple but incredibly effective strategies I swear by:
- Cool Down Your Espresso: Once you've pulled your shots, just let them sit on the counter for a few minutes. If you're in a hurry, pour the espresso into a small metal pitcher and pop it in the freezer for just 2-3 minutes. It makes a huge difference.
- Make Coffee Ice Cubes: This is my favorite pro move. Brew some extra coffee, let it cool, and freeze it in an ice cube tray. As the cubes melt, they add more coffee flavor instead of just water. Your drink literally gets better as it sits.
- Chill Your Glass: Think like a bartender! Sticking your empty latte glass in the freezer for 5-10 minutes before you start building your drink gives you a huge head start on keeping things cold.
My Two Cents: Don't ever skip the chilling step. A cold glass, cold milk, and cooled-down espresso are the trifecta for a latte that stays bold and delicious from the first sip to the very last.
A Few Issues You Might Run Into
Making coffee drinks at home is a learning process, and sometimes things don't go exactly as planned. Here’s a quick guide to troubleshooting some of the most common hiccups.
Common Iced Latte Problems and Solutions
| Problem | Likely Cause | Quick Solution |
|---|---|---|
| My drink is too weak. | Hot espresso melted the ice, diluting the coffee. | Pre-chill your espresso for 2-3 minutes in the freezer or use coffee ice cubes. |
| The caramel sauce sank to the bottom. | The sauce is denser than the milk. | Stir vigorously before sipping, or drizzle the caramel in after adding the milk and ice. |
| My latte tastes too bitter. | The espresso was over-extracted (brewed too long). | Check your machine's settings. For instant coffee, use slightly less powder. |
| The milk isn't creamy enough. | Using skim milk or a low-fat milk alternative. | Use whole milk or 2% milk for a richer texture. Barista-blend oat milk is great for dairy-free. |
This little table should help you pinpoint what went wrong and get you back on track to making the perfect latte every time.
Pro Tips for That True Café Vibe
Once you’ve nailed the basics and beaten the dilution problem, you can start playing with the fun stuff. These are the little touches that will make your homemade latte feel like a real treat.
An easy place to start is with the caramel itself. Try adding a tiny pinch of flaky sea salt to your caramel sauce. This creates a salted caramel that cuts through the sweetness with a savory kick—it's unbelievably good.
Want to get even fancier? Add a vanilla sweet cream cold foam on top. Just whisk together a little heavy cream, 2% milk, and a splash of vanilla syrup until it gets thick and cloud-like. Spooning that over your finished latte adds a velvety, decadent layer that's pure heaven.
Finally, set yourself up for speed. I like to make a bigger batch of my homemade caramel sauce and keep it in a squeeze bottle in the fridge; it lasts for about two weeks. If you're a cold brew person, always have a pitcher ready to go. With those components prepped, you can whip up a top-tier iced caramel latte in less than a minute.
Answering Your Iced Caramel Latte Questions
Even the simplest recipes can bring up a few questions. I've been making these for years, and I've run into just about every little snag you can imagine. Let's walk through some of the most common things people ask so you can nail your technique from day one.
What's the Best Coffee for an Iced Caramel Latte?
Honestly, the "best" coffee is the one you already love to drink. But if you want that classic coffee-shop flavor, you can't go wrong with a medium to dark roast.
These roasts have those rich, chocolatey, and nutty notes that stand up beautifully to the sweet caramel and creamy milk. A lighter roast, with its brighter, more acidic profile, tends to get a little lost in the mix. If you're using something like an AeroPress or a Moka pot, grabbing a bag labeled "espresso roast" will give you that bold, concentrated flavor that makes a fantastic base.
How Long Does Homemade Caramel Sauce Last?
This is a smart question if you're planning on making these lattes a regular treat. Your homemade caramel sauce, stored in an airtight jar or a squeeze bottle, will stay good in the fridge for about two weeks.
You might notice it gets pretty thick when it's cold. Just pop it in the microwave for 10-15 seconds to bring it back to that perfect drizzly consistency. Also, give it a quick stir before using it, as it can separate a bit while it sits.
My Pro Tip: Always use a clean spoon when you dip into your caramel sauce. It’s a tiny thing, but it keeps bacteria out and helps your sauce last as long as possible.
Can I Make a Big Batch of Lattes Ahead of Time?
I get the appeal, but I really wouldn't recommend it. As soon as the ice hits the liquid, it starts melting. If you let it sit, you’ll come back to a sad, watery latte.
But you can prep the components to make assembly super fast.
- Batch-brew your coffee: Make a big batch of coffee or cold brew concentrate and keep it in a sealed pitcher in the fridge. It’ll be good for up to a week.
- Have your caramel ready: Your homemade sauce is good to go right from the fridge.
When you do it this way, throwing together a perfect iced latte takes less than 60 seconds. You get all the convenience of meal prep without sacrificing that fresh-made taste. It’s a lifesaver when that 3 PM craving hits and you need a good coffee, now.
For those moments when you need incredible coffee flavor without any of the prep, Cartograph Coffee offers premium organic instant coffee perfect for a quick and delicious latte base. Learn more about our convenient coffee solutions at Cartograph Coffee.