A coffee pot for camping over fire doesn't need to be expensive to make a satisfying cup. In fact, the pot usually gets too much attention. The fire does the heavy lifting, and an uncontrolled flame can ruin coffee in a well-made brewer just as quickly as it can ruin coffee in a basic metal pot.
The practical advantage belongs to the camper who can move heat, not the camper who owns the fanciest equipment. Build a hot zone for boiling, shift the pot to steady embers for brewing, and keep the liquid from roaring at a rolling boil. That simple sequence solves more camp coffee problems than premium materials ever will.
The Heat Management Myth
The most popular advice about camp coffee usually starts with the pot. Look for thicker metal, a better lid, a more elaborate percolator, or a premium finish. Those details matter, but they won't rescue coffee brewed directly in an aggressive flame. A basic all-metal vessel placed over a controlled ember bed can produce a better cup than an expensive brewer exposed to unstable heat.
Open-fire brewing is a thermal problem before it's a gear problem. Flames create fast, uneven heating. Embers provide a steadier source of radiant heat, which gives water and grounds time to extract without forcing the liquid into a violent boil. The pot only needs to transfer and contain that heat reliably.
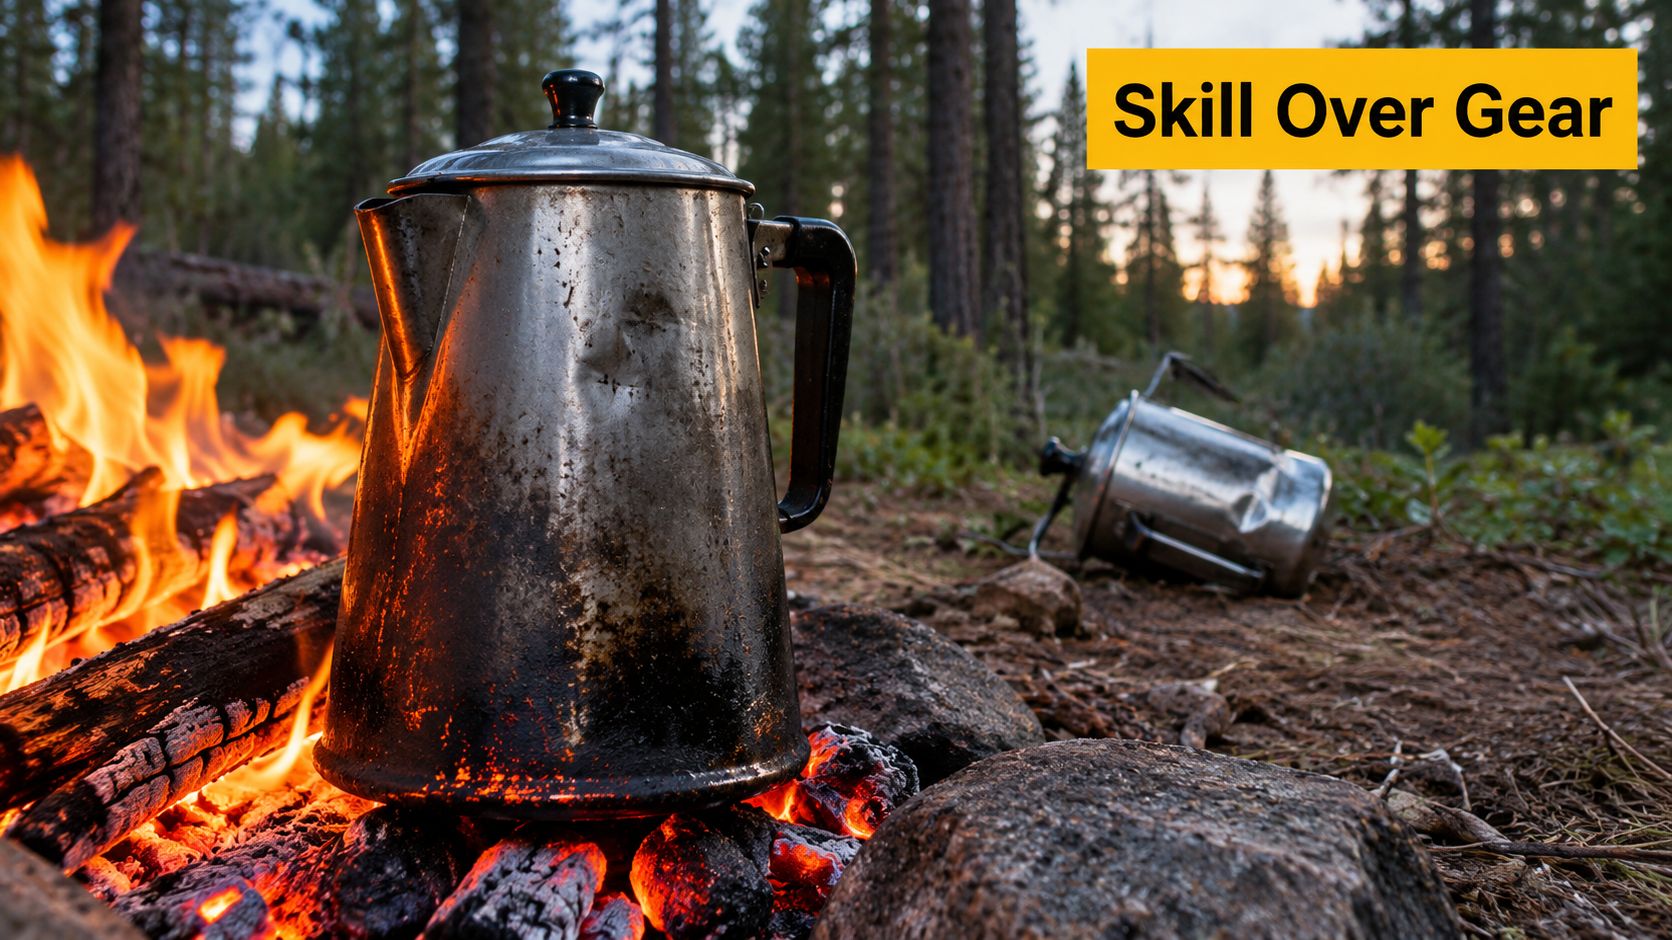
Why simple vessels keep working
The modern camping coffee pot over fire is most closely tied to the coffee percolator. The earliest known U.S. patent for that design was filed by James H. Mason in 1865, while Hanson Goodrich's improvements in 1889 added the metal filter basket and tube system that made repeated circulation of hot water through grounds practical for rugged brewing over flame, as described in this history of percolators and drip coffee.
That design endured because it needed no electricity and could sit over an open fire. By the early twentieth century, percolators had become a common brewing method before automatic drip machines reduced their household popularity in the 1970s. The camping version survived because its strengths still matter outdoors: it is portable, unpowered, and suited to rough cooking conditions.
Practical rule: Improve your fire placement before you replace your pot.
Frontier coffee followed the same logic. Cowboy coffee relied on immersion in a simple pot because cattle drives, military campaigns, and wagon trains demanded equipment that was easy to carry and dependable around a campfire. The broader history of unfiltered pot brewing reaches back centuries in the Middle East and North Africa, while cowboy-style brewing is associated with the American frontier from roughly the 1820s through the late 1800s, according to this background on cowboy kettle brewing.
If you want to refine the water side of the process, Cartograph's guide to the correct temperature for coffee is a useful reference. The main lesson remains straightforward: a durable pot and controlled heat beat a fancy pot and careless fire.
Choosing Your Brewing Vessel
Choose the vessel around your trip, not around a product photograph. A solo backpacker, a car camper, and a group cooking at base camp have different tolerances for weight, cleaning, capacity, and damage.
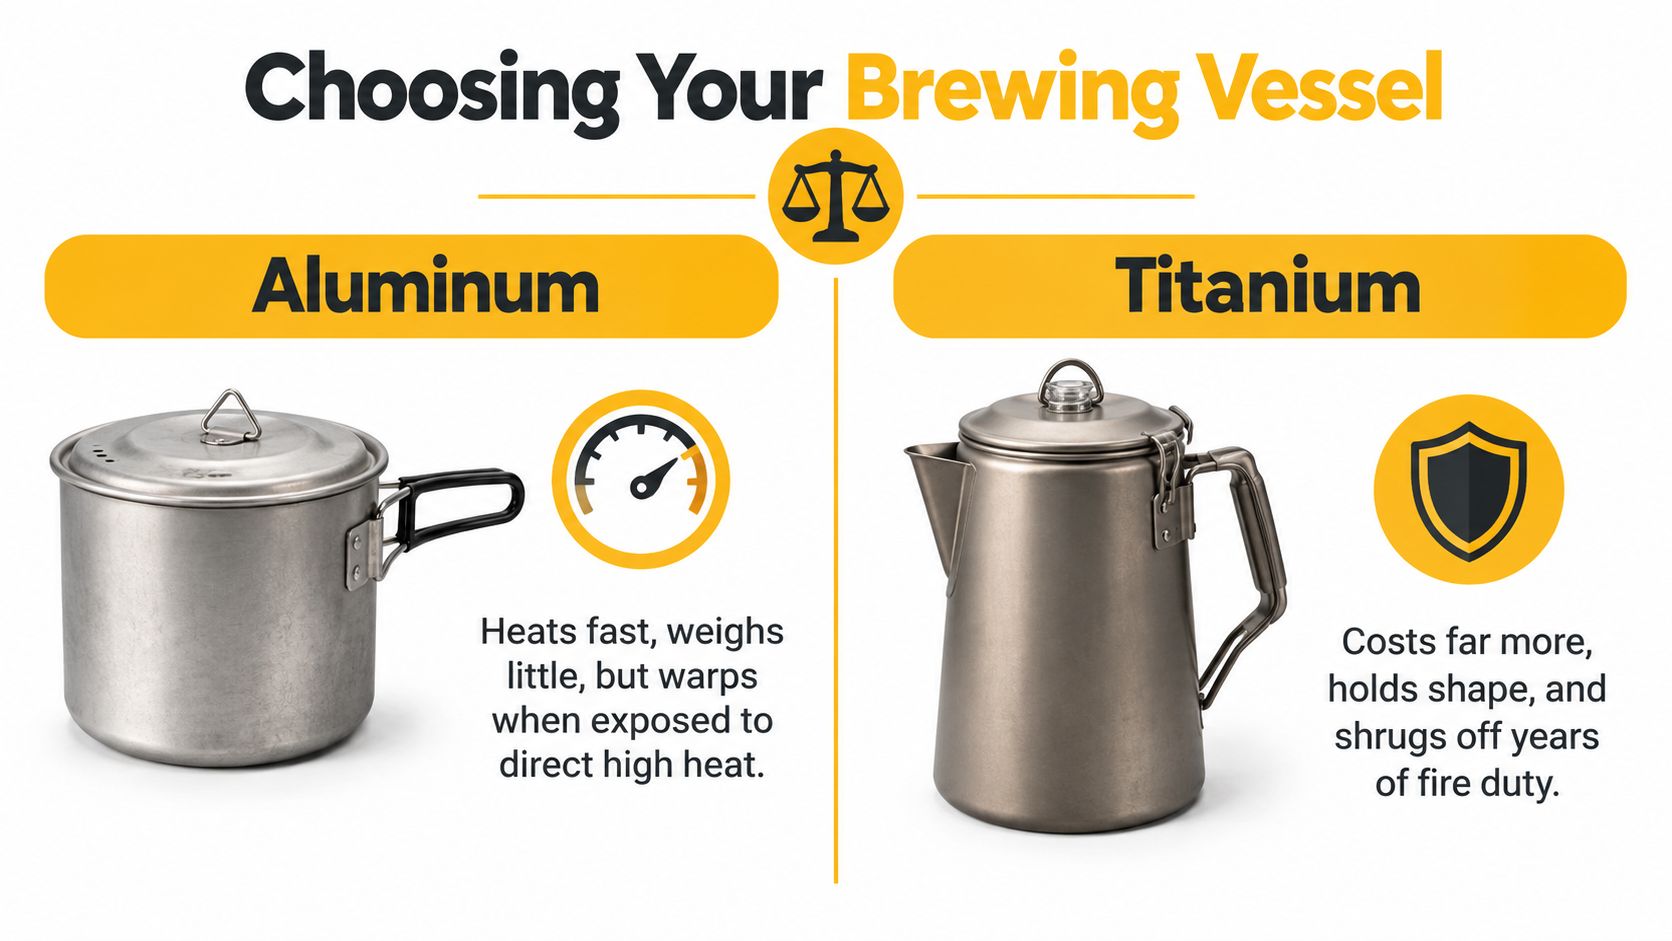
Match the metal to the trip
Aluminum heats quickly and keeps pack weight down, which makes it practical for lightweight travel. The drawback appears at the fire ring. Thin aluminum reacts poorly to intense, uneven flame and can warp if left over high heat, especially when the vessel is empty or nearly empty. Use it over embers, keep liquid inside, and avoid placing it directly in the hottest part of the fire.
Stainless steel offers a more forgiving choice for regular campfire use. It tolerates rough handling and is less concerning when the fire shifts or a grate sits slightly unevenly. It may not heat as quickly as a thin aluminum pot, but that slower response can help prevent sudden scorching when you're learning to manage an open fire.
Cast iron makes sense where carrying weight isn't the primary concern. It holds heat strongly and works well at a settled base camp or car campsite, but it demands more effort to move and cool. It also stays hot long after the visible flames disappear, so treat it as a cooking tool rather than something you can casually grab and pack.
| Vessel | Works well for | Main trade-off |
|---|---|---|
| Aluminum pot | Lightweight trips and simple immersion brewing | Fast heating, but vulnerable to harsh direct flame |
| Stainless steel pot | Repeated campfire use and general-purpose cooking | More forgiving, though not the lightest option |
| Cast-iron pot | Base camps and car camping | Excellent heat retention, but heavy and slow to handle |
| Percolator | Bold, circulating brew with a dedicated basket and stem | Requires careful low heat to avoid over-extraction |
Pick the brewing architecture
A plain pot with a lid is enough for cowboy coffee. You add grounds directly to heated water, allow them to steep, settle them, and pour carefully. This approach has fewer parts to lose and works well when you value simplicity over a sediment-free cup.
A percolator adds a basket and stem, allowing water to cycle through the grounds. It suits campers who want a traditional, concentrated brew or need to prepare coffee for several people. Before buying one, understand what a percolator coffee maker is, especially how the internal basket changes your grind and heat requirements.
A pot with a grate or diffuser gives you a useful middle ground. The grate keeps the vessel above the most aggressive heat, while the pot remains useful for more than coffee. That arrangement often makes better financial and packing sense than carrying a dedicated brewer for a single task.
Don't choose titanium, stainless steel, aluminum, or cast iron as if one material automatically wins every trip. The best vessel is the one that matches your carrying limits and your ability to control the fire.
Building the Perfect Ember Bed
Fancy cookware cannot compensate for a badly managed fire. Use open flame to heat the water quickly, then brew over embers. That change in position gives you control over extraction and matters more than the pot's price or material.
Build two heat zones
Start the fire on one side of the fire ring. Feed that side enough wood to maintain strong flames, while leaving space beside it for coals. As the wood collapses, rake the glowing pieces into a compact bed. Gray ash on top with a steady glow underneath shows that the fuel is ready to provide usable ember heat.
Set a grate over the coal bed, away from the tallest flames. Without a grate, use stable, level stones intended to support cookware. Keep the pot clear of loose fuel, damp wood, and uneven surfaces. A basic pot placed securely over steady embers will usually outperform expensive gear sitting in aggressive flame.
Flames are for reaching temperature. Embers are for holding it.
Preheat the water in the flame zone if you need to save time. Once it reaches a full boil, move the pot away from direct flame and let the liquid rest for about 30 to 45 seconds, bringing it to roughly 200°F, or 93 to 96°C, before adding coarse grounds. This sequence appears in camping coffee brewing guidance, and Cartograph Coffee's guide to heating water for coffee while camping provides further temperature guidance. The pause reduces the risk of harsh extraction.
For a straightforward immersion brew, use about 2 tablespoons of coarse coffee for each 6 ounces of water. Let it steep for about 4 minutes, then add a small splash of cold water to help the grounds settle. Pour slowly and leave the final portion behind when loose sediment reaches the spout.
Keep the heat below the boil
Coffee should steep gently, without violent bubbling. If the pot starts to churn, shift it farther from the embers or lift it briefly with a heatproof tool. A two-zone fire gives you a controlled place to move the pot without stopping the brew.
Direct flame creates hot spots across the base, scorches residue, can damage thin metal, and keeps the liquid hotter than needed. An ember bed spreads heat more gently, giving you time to make small adjustments before the cup turns bitter. Keep a few coals aside so you can add heat gradually rather than rebuilding the fire after the brew has cooled.
Brewing Methods for Every Skill Level
The pot matters less than the heat beneath it. A basic vessel on a steady ember bed can outperform expensive gear placed over an open flame. Choose the method for the cup you want, then control fuel placement so the brew stays hot without boiling aggressively.
Percolator method
Use a coarse-to-medium grind and a coffee-to-water ratio of about 1:15 by weight, following this campfire percolator guidance. Fill the lower chamber, fit the stem and basket, add the grounds, and secure the lid. Set the brewer at the edge of the ember zone, where heat rises steadily without flames licking the base.
Let the water circulate, then reduce the heat quickly. A percolator is usually ready when bubbling reaches the top after roughly 15 minutes, but the sound tells you more than the clock. Gentle, regular bubbling indicates useful heat. Loud, rapid cycling means the fire is too hot and can drive the coffee toward bitterness and astringency. Move the pot farther from the coals or remove a few embers before the flavor suffers.
Cowboy method
Heat water in a lidded pot over embers, using open flame only to get the fire established or recover lost heat. Once the water reaches a full boil, move the pot away from the flame and wait about 30 to 45 seconds. Add coarse grounds, stir once, cover the pot, and steep for about 4 minutes.
A small splash of cold water helps floating grounds settle. It cannot correct rough handling, though. Tip the pot slowly and leave the final portion behind when sediment approaches the spout. This method uses almost no equipment, but it rewards careful pouring and leaves more grit than filtered brewing.
Improvised pour-over
Place a collapsible dripper over a mug or serving pot. Use a paper filter or clean cloth, wet it with hot water if the setup permits, add medium-ground coffee, and pour slowly in several passes. Keep the dripper stable throughout. Silicone should remain away from direct flame, and its handle must not rest against hot metal.
Pour-over produces a cleaner cup, but the improvement costs extra parts, setup time, and filter waste. Carry it when you already use a dripper on trail, not when reducing the camp kitchen is the priority. Campers comparing lighter options can also review this guide to compact coffee gear for campers.
| Method | Grind size | Equipment | Total time |
|---|---|---|---|
| Percolator | Coarse to medium | Percolator with basket and stem | Roughly 15 minutes once cycling begins |
| Cowboy coffee | Coarse | Lidded pot and serving cup | About 4 minutes of steeping after the water rests, plus heating time |
| Improvised pour-over | Medium | Dripper, paper filter or clean cloth, cup | Depends on the pour and water volume |
Choose percolator coffee for a hearty communal brew, cowboy coffee when equipment must stay minimal, and pour-over when a clearer cup justifies carrying the extra dripper and filter. In every case, ember placement does more for consistency than a premium pot over uncontrolled flame.
Safety and Gear Maintenance
A camp coffee routine isn't finished when the last cup is poured. Hot cookware, wet grounds, and dirty rinse water can create more trouble during pack-out than during brewing. Build cleanup into the process before you set the pot over the fire.
Use oven mitts, leather gloves, or a thick dry cloth to move the vessel. A metal handle can become dangerously hot even when it looks cool, and the pot may retain heat after the visible fire has faded. Set it on a stable, nonflammable surface where nobody will brush against it.
Don't pack the pot while it's still hot. Heat can damage nearby equipment, melt synthetic materials, or create a concealed hazard inside a tightly packed bag. Give the vessel time to cool completely, then empty the grounds into your waste container rather than scattering them around camp.
Rinse before the oils set
Rinse the pot promptly with hot water. Coffee oils cling more stubbornly after they cool, particularly in cold conditions, and residue can give the next brew a stale or bitter flavor. A soft brush or cloth removes loose grounds without requiring a complicated cleaning kit.
Avoid sending coffee grounds or greasy rinse water into a stream, lake, or drainage channel. In the backcountry, strain solids into your waste system and disperse wastewater away from water sources according to local guidance. If soap is necessary, use a biodegradable option sparingly and keep it out of natural waterways.
A percolator deserves an extra inspection. Check the stem, basket, lid, handle attachment, and any seal or gasket before each trip. Repeated heating and cooling can degrade rubber components, while a loose basket can allow grounds into the finished coffee.
The video below shows the kind of hands-on handling that matters around a live fire.
Pack the vessel only after it is clean, dry, and cool. That routine protects the equipment and prevents coffee residue from becoming tomorrow morning's problem.
Troubleshooting Common Failures
Bitter coffee isn't proof that campfire brewing is hopeless. It usually means the pot received too much heat for too long. Move from flame to embers, shorten the exposure, and remove the percolator when bubbling becomes vigorous instead of waiting for a darker brew.
The question is not just whether a pot can go over a fire. The better question is whether it can handle the way you're applying heat. Independent outdoor guidance emphasizes ember beds and two-zone fires over roaring flames, while also warning that thin metal can warp and plastic- or silicone-wrapped handles can melt or fail, as outlined in this camping cookware heat-control guide.
Fix the cup before replacing the pot
Weak coffee usually needs more contact between water and grounds, not a hotter fire. Check that the grind isn't excessively coarse and that the steeping stage isn't being cut short.
Sediment points to pouring technique or incomplete settling. Let immersion coffee rest, use the cold-water settling step, and pour slowly. A cloth or paper filter can remove more particles if you prefer a cleaner cup.
A warped pot often indicates empty cookware left over intense heat. Keep liquid in the vessel whenever it is exposed to substantial heat, and use the ember zone for the brewing phase. Move the pot instead of trying to overpower an uneven fire.
A melted handle is a placement problem as much as a material problem. Keep wrapped handles away from flame and hot grate supports, and choose an all-metal vessel when the fire will be difficult to control.
The useful contrarian lesson is simple: don't diagnose every bad cup as a gear failure. First change the fuel placement, lower the heat, and shorten the brew. A basic pot on calm embers will often outperform a premium brewer on an uncontrolled flame.
Cartograph Coffee offers organic instant coffee packets that need no brewing equipment, making them a practical backup when fire restrictions, weather, or an early departure rule out a full brew setup. Visit Cartograph Coffee to explore a lightweight option for camping and travel, then use a carefully heated pot of water when you want coffee without carrying a dedicated brewer.